Homemade Fruity Pebble Marshmallows: A Nostalgic, Crunchy, Sweet Treat
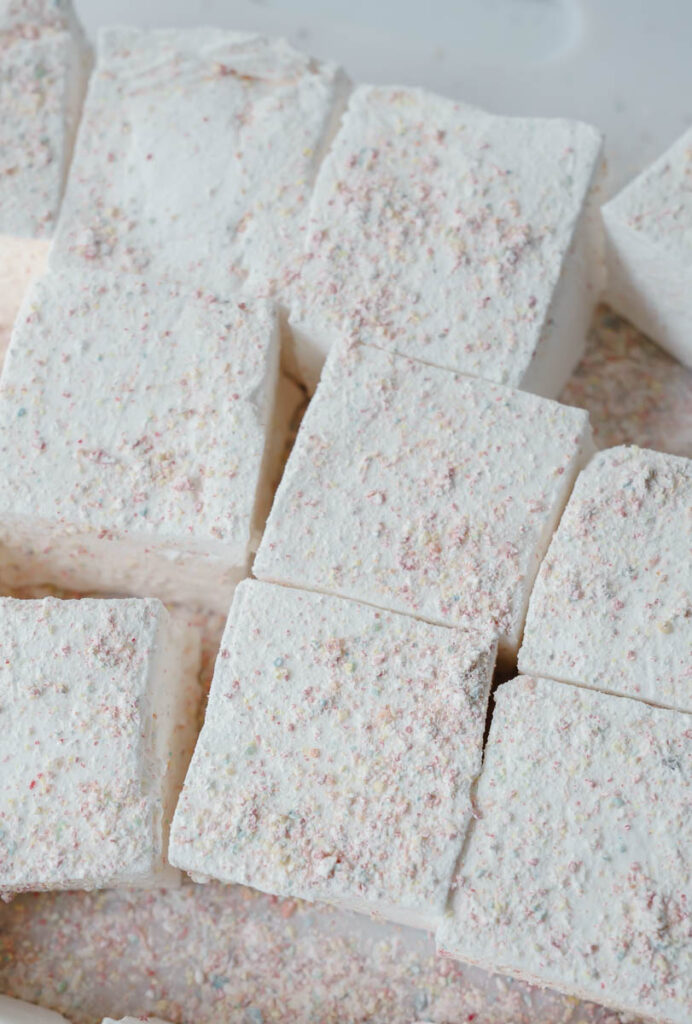
Get ready to elevate your snack game with our incredible Homemade Fruity Pebble Marshmallows! Forget store-bought; these delightful treats combine the soft, airy texture of freshly made marshmallows with a vibrant, satisfyingly crunchy coating of your favorite childhood cereal, Fruity Pebbles. Each bite offers a playful explosion of fruity flavor and gooey sweetness, creating an irresistible experience that’s perfect for kids and adults alike. Prepare to treat yourself to an easy-to-make dessert that brings a touch of whimsical nostalgia to any occasion.
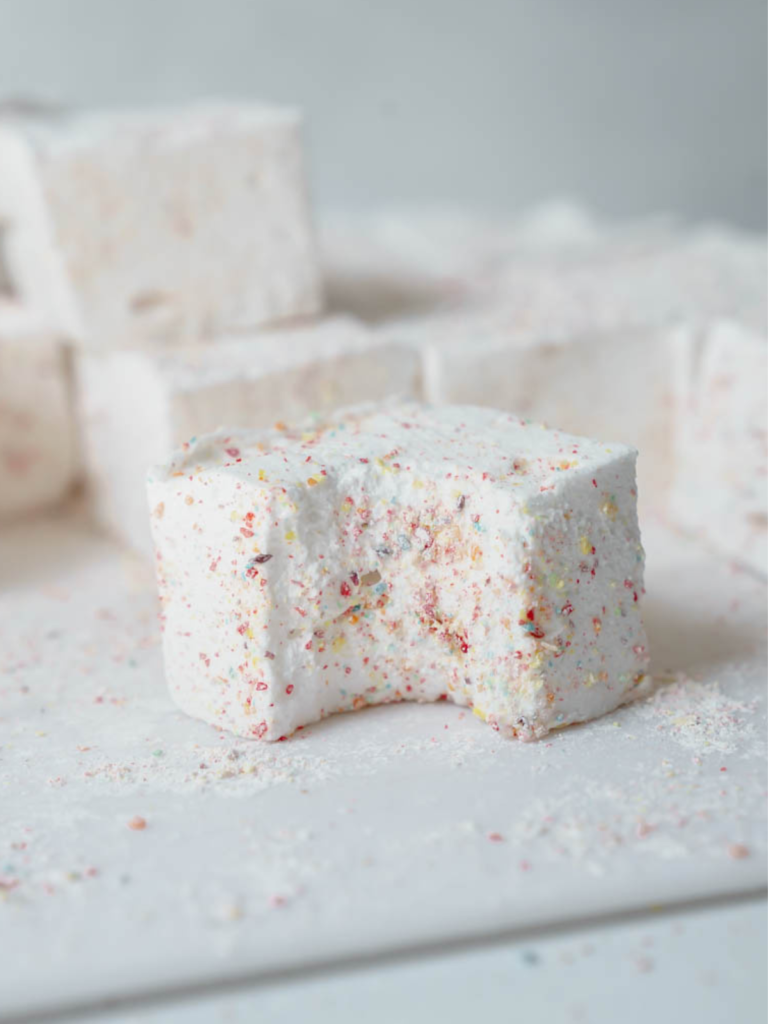
Experience breakfast nostalgia reinvented with our Fruity Pebbles Marshmallows – a truly delightful fusion of bright, fruity cereal goodness and incredibly gooey, soft marshmallows. It’s a match made in cereal heaven that effortlessly takes you back to carefree Saturday mornings and joyous childhood memories. Whether you savor them on their own, use them to elevate your milk, or get creative by incorporating them into other exciting recipes, these marshmallows are pure joy in every bite.
Looking for more fruity and fun dessert ideas? Here are some other delectable recipes you might enjoy from our kitchen:
- Spring Inspired S’mores Strawberry Cake
- Strawberry Funfetti Cake With Real Strawberries
- Phenomenal and Festive Funfetti Birthday Cake
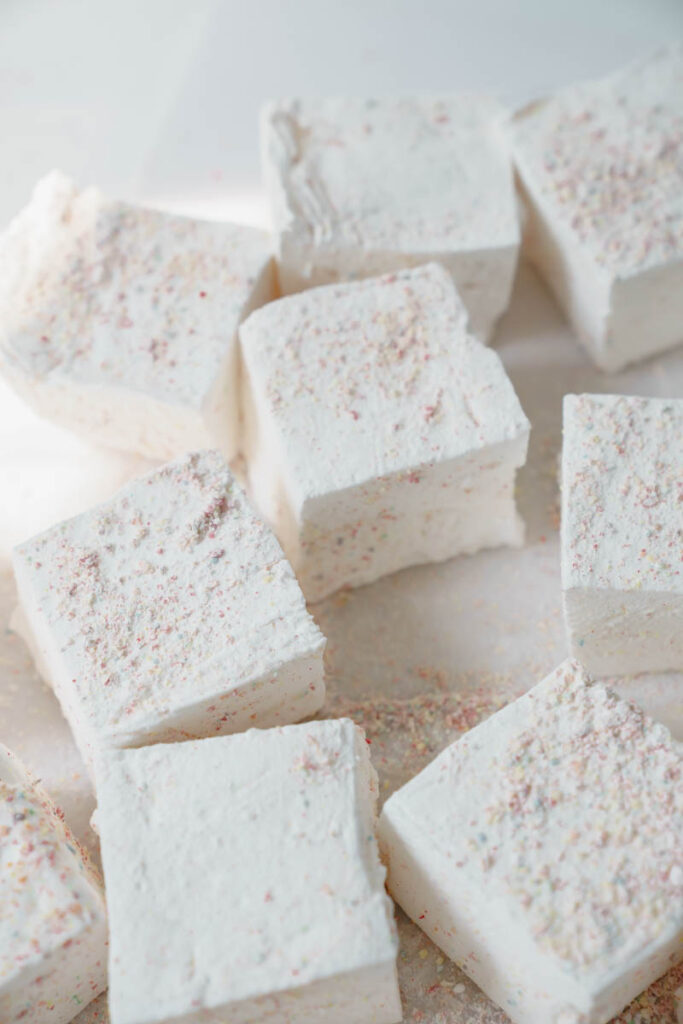
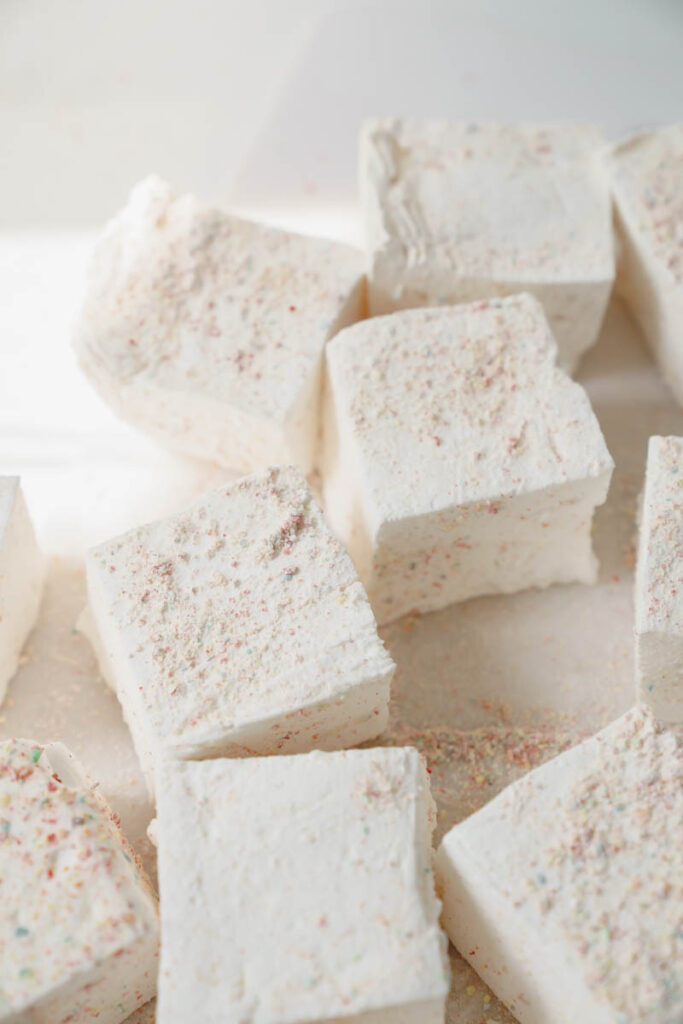
Why Make These Fruity Pebbles Marshmallows?
These aren’t just any marshmallows; they’re an experience! Here’s why you absolutely need to whip up a batch of these extraordinary Fruity Pebbles Marshmallows:
- A Unique & Playful Twist: Go beyond traditional marshmallows with a fun and flavorful Fruity Pebble coating. This addition doesn’t just look amazing with its vibrant colors, but it also provides a delightful, unexpected crunch that perfectly contrasts the soft interior. It’s a dessert that stands out!
- Indulge in Childhood Nostalgia: Every bite combines the fluffy, melt-in-your-mouth texture of homemade marshmallows with the familiar, sweet, and fruity taste of Fruity Pebbles cereal. This delightful blend will instantly transport you back to happy childhood memories and carefree mornings.
- Impress with a Homemade Creation: Making marshmallows from scratch is a rewarding experience, and adding Fruity Pebbles makes them truly special. Your friends and family will be amazed by this whimsical, homemade treat that’s perfect for dessert tables, parties, or simply as a special snack.
- Customize to Your Liking: The beauty of homemade treats lies in customization. You can easily adjust the amount of Fruity Pebbles coating to control the intensity of the crunch and sweetness, tailoring them perfectly to your preference.
- Incredibly Versatile: These Fruity Pebble-coated marshmallows are fantastic on their own, offering a burst of flavor and texture. But their versatility doesn’t stop there! Use them as a colorful topping for ice cream, hot cocoa, or cupcakes. They’re also an absolute game-changer in a delicious white chocolate s’mores, adding an extra layer of flavor and crunch.
Essential Ingredients: Your Grocery Store Checklist
While many ingredients for marshmallows are pantry staples, there are a few key items you might need to pick up to ensure perfect results. Below is a list of these specific ingredients, along with helpful notes. For a complete list of all ingredients and precise measurements, please refer to the detailed recipe card further down.
- Unflavored Gelatin: This is the crucial ingredient for giving marshmallows their signature bouncy and fluffy texture. I recommend using unflavored gelatin, typically found in small packets (e.g., a box of four .25 oz packets). Ensure it’s unflavored to let the fruity cereal shine through.
- Light Corn Syrup: Corn syrup is essential for preventing sugar crystallization, which keeps your marshmallows smooth and soft. It also helps achieve that perfect chewy consistency. It’s vital to use *light* corn syrup, as dark corn syrup will alter both the color and flavor of your marshmallows, making them less vibrant and potentially adding an unwanted molasses taste.
- Powdered Sugar (Confectioners’ Sugar): This fine sugar is used in combination with the pulverized Fruity Pebbles to create the coating. Unlike many cake recipes where sifting is critical, you do not need to sift it for this marshmallow coating. Its fine texture helps create a smooth, non-sticky outer layer.
- Fruity Pebbles Cereal: The star of the show! You’ll need enough to crush into a fine coating. This adds the iconic fruity flavor and vibrant colors to your marshmallows.
- Clear Vanilla Extract: While regular vanilla extract works, clear vanilla extract is preferred to maintain the bright white color of the marshmallow base before coating, allowing the Fruity Pebbles to truly pop.
Step-By-Step Instructions: Creating Your Fruity Pebble Marshmallows
Now for the fun part – let’s get baking! Follow these detailed instructions and helpful notes to create perfectly fluffy, crunchy, and colorful Fruity Pebble Marshmallows.
Step 1: Prep Your Pan. Start by preparing your baking dish. Line an 8×8 or 9×13 inch baking dish with plastic wrap, ensuring that there is an overhang on all sides. This overhang will make it much easier to lift the set marshmallow slab later. Generously spray the plastic wrap with a non-stick cooking spray. This step is crucial to prevent the sticky marshmallow mixture from adhering to the pan. Set the prepared pan aside.
Step 2: Bloom Your Gelatin. In the large bowl of an electric stand mixer fitted with the whisk attachment, pour ⅔ cup of cold water. Evenly sprinkle the three packages of unflavored gelatin over the surface of the cold water. Do not stir it. Allow the gelatin to soak undisturbed for about 5 minutes. This process, known as “blooming,” rehydrates the gelatin, forming a thick, jelly-like paste. Blooming ensures a smooth, lump-free marshmallow mixture and is essential for achieving the perfect texture.
Step 3: Cook Your Sugar Syrup. While the gelatin is blooming, combine ⅓ cup of water, ½ cup of light corn syrup, and 1 ½ cups of granulated sugar in a medium-sized heavy-bottomed saucepan. Do not stir the mixture, as stirring can encourage sugar crystallization. Place the saucepan over medium heat and bring the mixture to a roaring boil. Allow it to boil for exactly 2 minutes without stirring. Ensure all the granulated sugar has completely dissolved by visually checking the syrup. If you have a candy thermometer, the syrup should reach about 240°F (115°C), which is the soft-ball stage, but boiling for 2 minutes is usually sufficient.
Step 4: Combine & Whip. Once your sugar syrup has boiled for 2 minutes, carefully remove it from the heat. Turn your stand mixer on to medium speed. Slowly and carefully pour the hot sugar mixture in a steady stream into the gelatin mixture. Be very cautious as the syrup is extremely hot. This pouring process should take approximately 1-2 minutes. Once all the sugar syrup has been added, increase the mixer speed to high and beat the mixture for 12 minutes. During this time, the mixture will transform into a thick, fluffy, and glossy marshmallow cream, forming stiff peaks when you lift the whisk. Finally, add 1 teaspoon of clear vanilla extract and beat on low speed just until it is fully combined.
Step 5: Transfer to Pan. Working quickly, pour the warm marshmallow mixture into your prepared baking pan. Use a greased spatula (grease it with non-stick spray or a little oil) to gently spread and smooth the top evenly. The mixture will be very sticky, so a greased spatula is key.
Step 6: Cover and Set. To prevent a skin from forming on top and to ensure proper setting, lightly spray the top surface of the marshmallow mixture with non-stick cooking spray. Then, lay another piece of plastic wrap directly on top, pressing it down gently to make sure it completely covers and seals the surface of the candy. This also helps press the marshmallow evenly into the pan. Allow the marshmallow candy to rest and set at room temperature for at least 4 hours, or ideally, overnight. Do not refrigerate, as this can affect the texture.
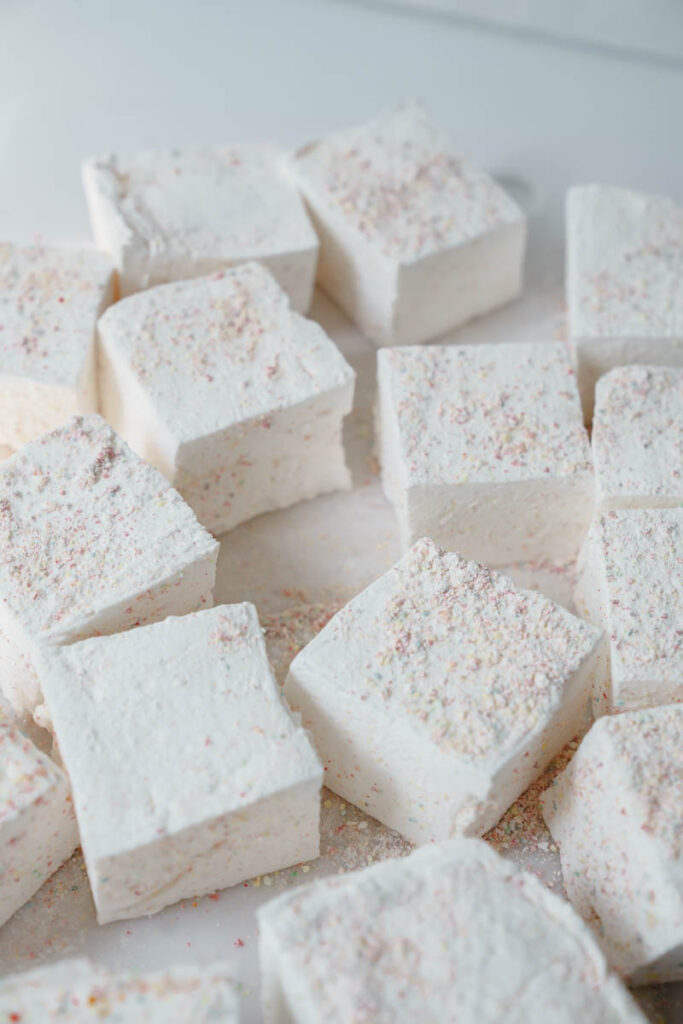
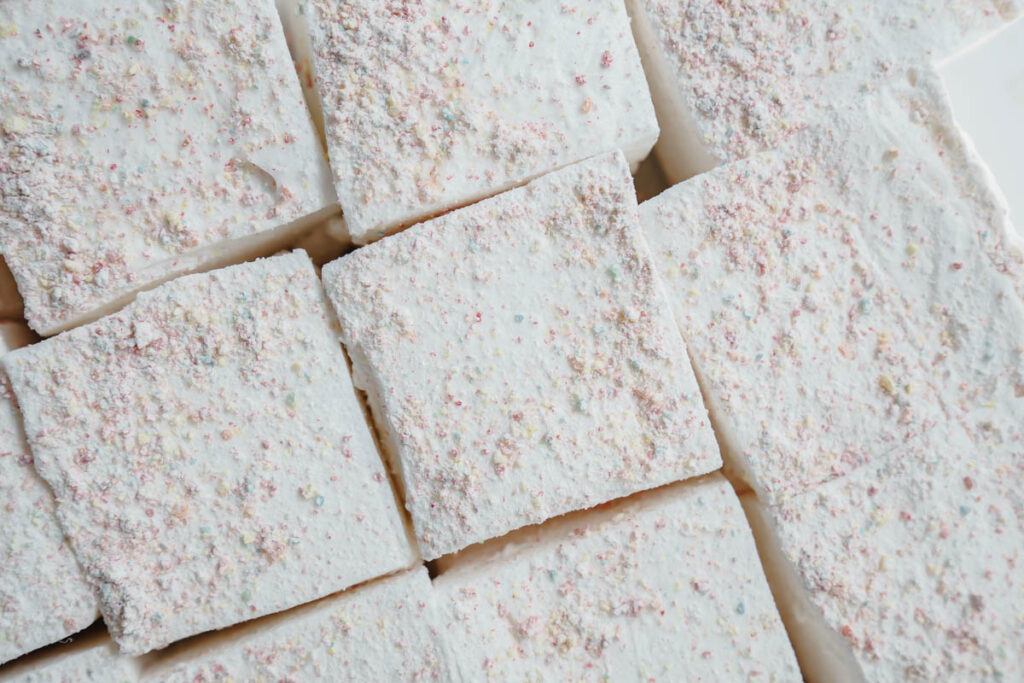
Step 7: Prepare the Fruity Pebble Coating. Once the marshmallows have fully set and are firm to the touch, it’s time to prepare the crunchy coating. Pulverize ⅓ cup of Fruity Pebbles cereal in a food processor until it forms a fine, sandy crumb. This ensures an even coating. In a shallow baking bowl or dish, mix the pulverized Fruity Pebbles with ½ cup of powdered sugar until well combined. This mixture will be your flavorful coating.
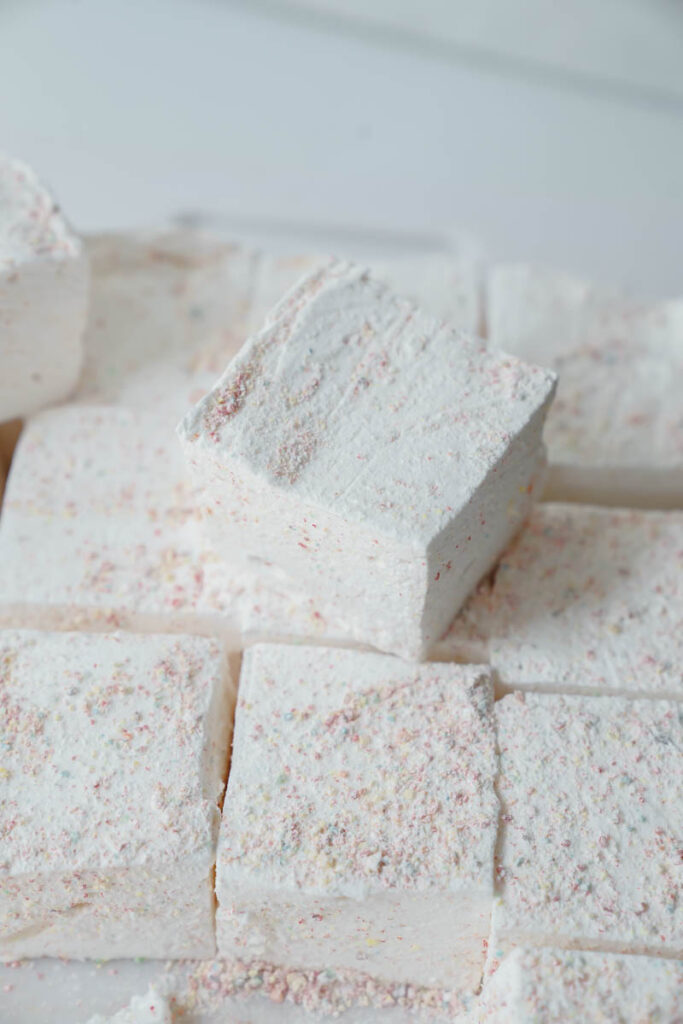
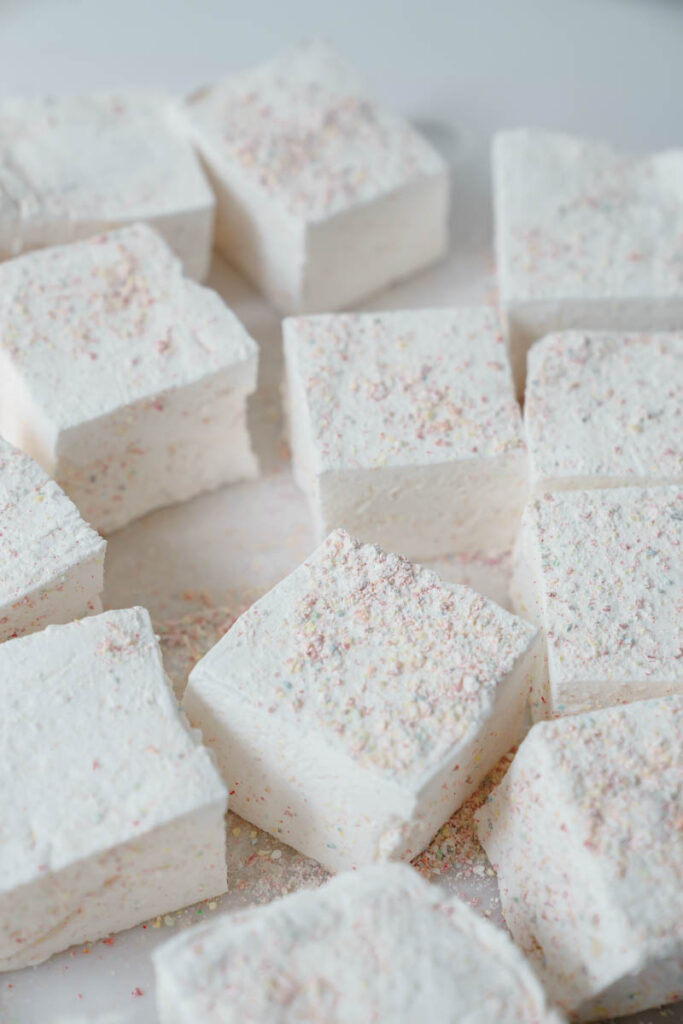
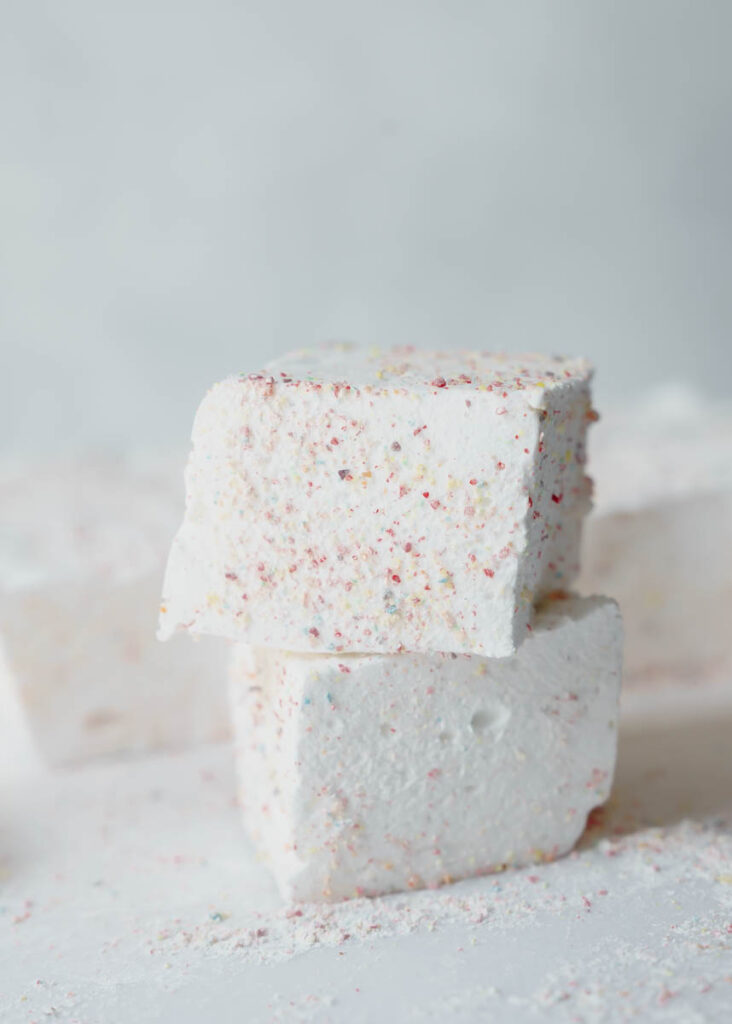
Step 8: Cut and Coat the Marshmallows. Carefully remove the set marshmallow slab from the pan by lifting the plastic wrap overhang. Peel off the top layer of plastic wrap. Lightly grease a sharp knife or kitchen scissors with non-stick spray. Cut the marshmallow slab into desired shapes and sizes – squares are traditional, but cookie cutters can also be fun (remember to grease them!). As you cut each marshmallow piece, immediately dredge it thoroughly in the Fruity Pebbles and powdered sugar mixture, coating all sides. You can also get creative by dipping the marshmallows in melted white or dark chocolate first, and then sprinkling them with extra Fruity Pebbles for an extra decadent touch.
Serve immediately or store them for later enjoyment. These homemade Fruity Pebble Marshmallows are a truly unforgettable treat!
Frequently Asked Questions (FAQ)
Have questions about making or customizing your Fruity Pebble Marshmallows? We’ve got answers!
Can I use cookie cutters for fun shapes?
Absolutely! Using cookie cutters is a fantastic way to make your marshmallows even more fun and festive. Just remember to lightly spray your cookie cutter with non-stick cooking spray before each cut. This will prevent the marshmallow from sticking and ensure clean, perfectly shaped treats.
Can I add food coloring to the marshmallow mixture?
Yes, you can certainly add food coloring to create even more vibrant marshmallows! For best results, I recommend using gel food coloring, as it provides intense color without adding excess liquid that could alter the marshmallow’s texture. My favorite brand is Americolor; here is a great starter pack that offers a range of beautiful colors. Add it during the last minute of whipping.
Can I use a larger 9×13 inch baking pan?
Yes, a 9×13 inch pan will also work, but your marshmallows will be thinner than if you used an 8×8 inch pan. If you prefer thicker marshmallows, you might consider doubling the recipe for a 9×13 inch pan. You can find a reliable 9×13 inch pan here if you need one.
Can I use flavored extracts or alternative flavors in homemade marshmallows?
Absolutely! Experimentation is encouraged with homemade marshmallows. You can easily switch out or add different flavored extracts like peppermint, almond, lemon, or orange to create unique flavor profiles. Besides extracts, consider incorporating a small amount of cocoa powder for chocolate marshmallows or even fruit purées (just be mindful of the added liquid content) for a natural fruit flavor. The possibilities are endless!
What if my marshmallows are too sticky after coating?
If your marshmallows feel too sticky even after coating, it usually means they haven’t been fully coated, or the coating mixture itself needs more powdered sugar. Ensure you generously dredge each marshmallow piece in the Fruity Pebbles and powdered sugar mix, covering all sides thoroughly. If they still feel tacky, you can gently toss them in a bit more powdered sugar. Also, proper setting time is important; ensure they’ve rested for at least 4 hours or overnight.
Creative Ways to Enjoy Your Fruity Pebble Marshmallows!
These incredible marshmallows aren’t just for eating plain! Here are some fantastic ideas to incorporate them into other delicious treats:
- S’mores: Elevate your s’mores game! Replace traditional marshmallows with these Fruity Pebble delights for an explosion of flavor and an added crunch. The fruity notes pair wonderfully with chocolate and graham crackers for a truly gourmet twist on a classic campfire treat.
- Dessert Toppings: Chop them into smaller pieces and use them as a vibrant, flavorful topping for a variety of desserts. They’re perfect for ice cream sundaes, hot cocoa, milkshakes, cupcakes, or even a colorful garnish for fruit salads.
- Rice Krispie Treats: Take your Rice Krispie treats to the next level by mixing in or topping them with these Fruity Pebble Marshmallows. The double dose of cereal goodness combined with the marshmallow’s chewiness creates an irresistible texture and a burst of fruity flavor.
- Hot Chocolate Stirrers: Place a large marshmallow on a stick and let it set further, then use it as a delightful stirrer for your hot chocolate. As it melts, it will infuse your drink with sweet marshmallow goodness and a hint of fruity flavor.
- Cereal Milk: Drop a few marshmallows into a glass of cold milk and let them sit for a few minutes. The milk will absorb some of the fruity flavor, creating a fun “cereal milk” experience reminiscent of the bottom of a cereal bowl.
Tools and Equipment for Perfect Fruity Pebble Marshmallows
Having the right tools can make all the difference in successfully creating homemade marshmallows. Here’s a list of essential items you’ll need:
- Saucepan: A medium-sized, heavy-bottomed saucepan is required to safely heat and melt the sugar syrup mixture. A heavy bottom helps distribute heat evenly and prevents scorching.
- Electric Mixer: An electric mixer is absolutely crucial for whipping the marshmallow mixture to achieve its desired fluffy, airy, and stiff consistency. A stand mixer with a whisk attachment is ideal, as the whipping time is quite long (12 minutes). A powerful handheld mixer can also work if a stand mixer isn’t available.
- Baking Pan: A square or rectangular baking pan, typically an 8×8 inch or 9×13 inch, will be used to pour and allow the marshmallow mixture to set. The size impacts the thickness of your finished marshmallows.
- Offset Spatula: An offset spatula is incredibly useful for gently smoothing and leveling the sticky marshmallow mixture evenly in the baking pan, ensuring a uniform thickness.
- Plastic Wrap: You’ll need plenty of plastic wrap to line the baking pan and to cover the top of the marshmallow while it sets. It’s essential for easy removal and prevents sticking.
- Sharp Knife or Pizza Cutter: A sharp, greased knife or a greased pizza cutter will be used to cleanly cut the set marshmallow slab into individual squares or other desired shapes.
- Food Processor: This is a key tool for pulverizing the Fruity Pebbles cereal into a fine crumb, creating the perfect coating texture.
- Airtight Storage Container: Finally, you’ll need an airtight container or resealable bags to properly store your homemade marshmallows and keep them fresh, soft, and delicious.
Storing and Freezing Homemade Fruity Pebble Marshmallows
Proper storage is key to maintaining the freshness and delightful texture of your homemade Fruity Pebble Marshmallows. Here’s how to do it:
Storing at Room Temperature
To store these Fruity Pebble Marshmallows, first ensure they have completely cooled and set at room temperature for at least 4 hours or overnight. Once firm, cut them into your desired shapes. Place the marshmallows in an airtight container or resealable bags, making sure the container is tightly sealed to prevent them from drying out or becoming sticky. Store them in a cool, dry place away from direct sunlight and humidity. When stored properly at room temperature, these homemade marshmallows will remain fresh, soft, and delicious for about 1 to 2 weeks. Avoid refrigerating, as the cold can cause them to harden and lose their signature fluffiness.
Freezing – Fruity Pebble Marshmallows
Yes, you can freeze homemade marshmallows! For longer storage, you can freeze your Fruity Pebble Marshmallows. First, ensure they are fully set and coated. Arrange the cut marshmallows in a single layer on a parchment-lined baking sheet. Place the baking sheet in the freezer for 1 to 2 hours, or until the marshmallows are firm. This step prevents them from sticking together. Once individually frozen, transfer the firm marshmallows to airtight freezer bags or a freezer-safe container. Press out as much excess air as possible from the bags to prevent freezer burn. Label the container or bag with the date and contents. Frozen marshmallows can be stored for up to 3 months.
When you’re ready to enjoy them, thaw the frozen marshmallows in the refrigerator overnight or at room temperature for a few hours. Keep in mind that freezing and thawing may slightly alter the texture, making them a little chewier or less airy than freshly made marshmallows. However, they will still be perfectly delicious and enjoyable, especially when used in hot beverages or s’mores!
For more delicious and fun recipes, here are some you will definitely want to try!
Remember, if you love this recipe or have any questions, please LEAVE A STAR AND A COMMENT REVIEW below! Your feedback is greatly appreciated. Don’t forget to follow me on Instagram, Pinterest, and TikTok for more fun and delicious content. I post so many exciting things on all platforms!
Recipe Card
Fruity Pebble Marshmallow
Molly Murphy
Pin Recipe
Ingredients
For the Marshmallows
- ⅔ cup cold water
- 3 packages unflavored gelatin (each package is .25 ounces)
- ½ cup light corn syrup
- ⅓ cup water
- 1 ½ cups granulated sugar
- 1 teaspoon clear vanilla extract
- ⅓ cup fruity pebbles (finely pulverized into a fine crumb)
- ½ cup powdered sugar
Instructions
For the marshmallows
-
Line an 8×8 inch baking dish with plastic wrap, leaving an overhang, and spray generously with non-stick cooking spray. Set aside.
-
In the bowl of an electric mixer fitted with the whisk attachment, pour ⅔ cup of cold water and sprinkle the gelatin evenly on top. Let it soak for about 5 minutes until bloomed.
-
While gelatin is soaking, in a medium saucepan, combine ⅓ cup of water, corn syrup, and granulated sugar. Do not mix. Bring the mixture to a roaring boil over medium heat for 2 minutes, ensuring the sugar is fully dissolved.
-
Turn the stand mixer to medium speed and carefully pour the hot sugar mixture into the bloomed gelatin in a slow, steady stream (this should take 1-2 minutes). Once combined, increase to high speed and beat for 12 minutes until fluffy and stiff peaks form. Add vanilla extract and beat on low until just combined.
-
Pour the marshmallow mixture into the prepared baking pan, using a greased spatula to smooth the top evenly.
-
Lightly spray the top of the marshmallow with cooking spray, then lay a piece of plastic wrap directly on top, pressing down to create a light seal and cover completely.
-
Allow the marshmallow candy to rest and set at room temperature for at least 4 hours or overnight.
-
When the marshmallows have set, pulverize the Fruity Pebbles in a food processor until it becomes a fine crumb. Mix the pulverized Fruity Pebbles with the powdered sugar and place in a shallow baking bowl.
-
With greased kitchen scissors or a knife, cut the marshmallow slab into squares (or desired shapes). Immediately dredge each marshmallow piece in the Fruity Pebbles/powdered sugar mixture, coating all sides thoroughly. Store in an airtight container, or enjoy right away!
