Irresistible Oreo Red Velvet Cookies with Tangy Cream Cheese Frosting: Your Ultimate Homemade Recipe
Oreo Red Velvet Cookies – Experience the ultimate indulgence with these soft, cake-like cookies featuring a vibrant red velvet flavor, perfectly complemented by a rich and tangy cookies and cream cream cheese frosting!
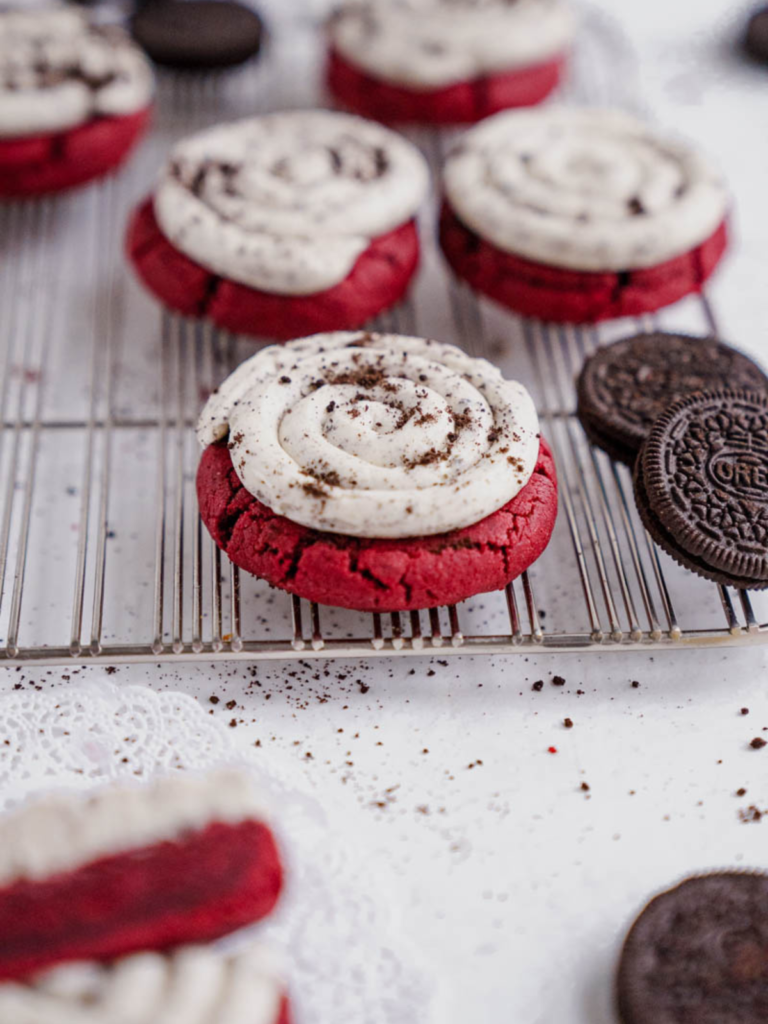
Forget the long lines and high prices of specialty cookie shops when you can effortlessly create these magnificent Oreo Red Velvet Cookies right in your own kitchen! Featuring a delightful red velvet base and topped with an irresistible tangy cream cheese frosting, these cookies are a true labor of love that pays off in every single bite. Get ready to elevate your baking game and treat your taste buds to something truly special. Happy Baking!
Is it Valentine’s Day yet? Even if Valentine’s Day isn’t your favorite holiday, the aesthetic of deep reds and rich chocolates is universally appealing. Luckily, these homemade Oreo Red Velvet Cookies perfectly capture that romantic vibe and offer a delicious excuse to indulge in chocolate. Whether you’re celebrating with a loved one or enjoying a cozy night in, this recipe is perfect. Why share when you can have these incredible red velvet Oreo cookies all to yourself? Get ready to discover your new favorite cookie recipe – the full details are waiting for you at the bottom of this post!
So, dust off your baking sheet, gather your ingredients, and find your favorite red food coloring (or emulsion) because it’s time to create some baking magic!
For more delightful red velvet and chocolate recipes, be sure to check out these fan favorites:
- Red Velvet Oreo Cake
- Easy Red Velvet Oreo Brownie Recipe
- Copycat Portillo’s Chocolate Cake Recipe

Why You Will Absolutely Love These Homemade Oreo Red Velvet Cookies
If my introduction hasn’t already convinced you, let me provide even more compelling reasons why these chewy red velvet cookies deserve a prime spot in your baking repertoire. Prepare to fall in love with every aspect of this delightful treat!
Cream Cheese + Chocolate – A Match Made in Dessert Heaven: The combination of tangy cream cheese and rich chocolate is simply iconic, especially when it comes to red velvet. These two flavors are a perfect pairing, creating a harmonious balance that truly elevates the distinct red velvet profile. The creamy, slightly tart frosting cuts through the sweetness of the cookie, resulting in a sophisticated and utterly satisfying taste experience that will leave you craving more.
Oreos – The Ultimate Cookie Inclusion: While classic Oreo cookies are fantastic on their own, imagine them crushed and incorporated into a soft red velvet cookie, then topped with a luscious cream cheese frosting that also contains Oreo crumbs. This isn’t just a cookie; it’s a culinary masterpiece. The subtle crunch and familiar chocolatey goodness of Oreos add an extra layer of texture and flavor, transforming these red velvet cookies into something truly extraordinary. It’s a combination so delightful, it’s rumored to mend even the most fractured relationships (results may vary, but happiness is guaranteed!).
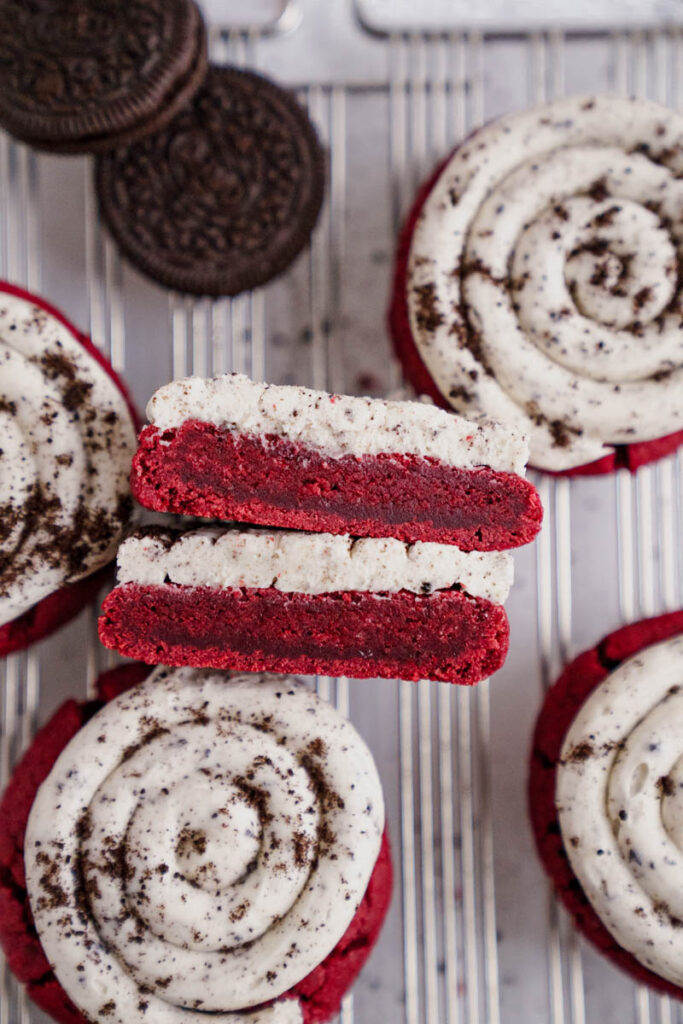
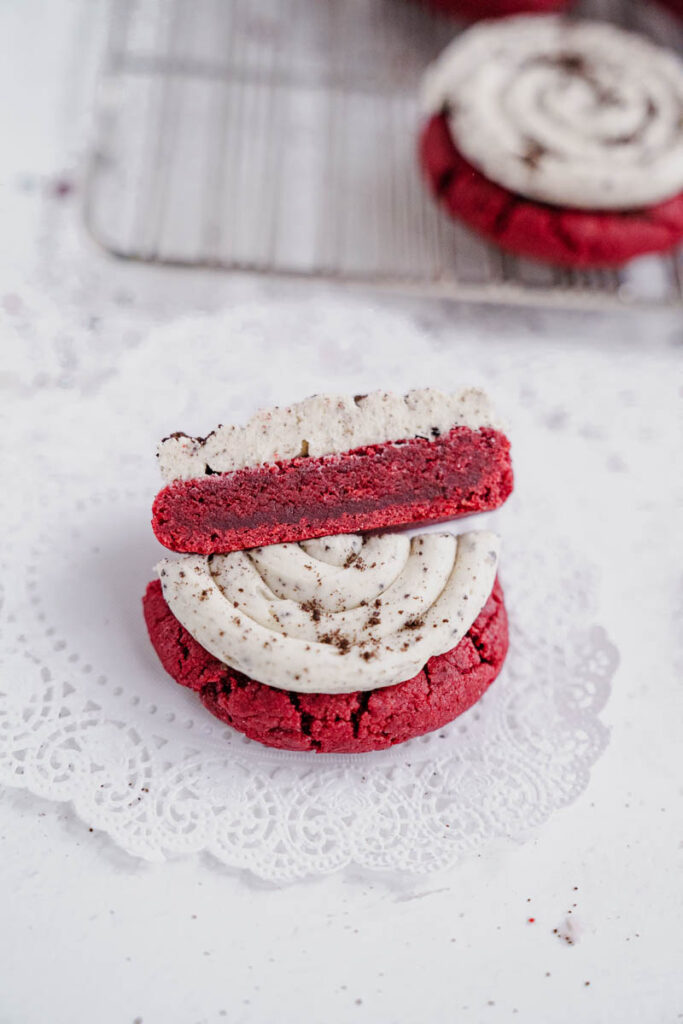
Velvety Red Velvet Texture – Pure Indulgence: Red Velvet desserts are cherished for their incredibly soft, moist, and velvety texture, and these cookies are no exception. We’ve meticulously crafted this recipe to ensure each cookie delivers that classic, melt-in-your-mouth experience. Forget dry or crumbly cookies; these are designed to be wonderfully chewy and tender, embodying the true essence of red velvet. This desirable texture sets them apart and makes them an absolute joy to eat.
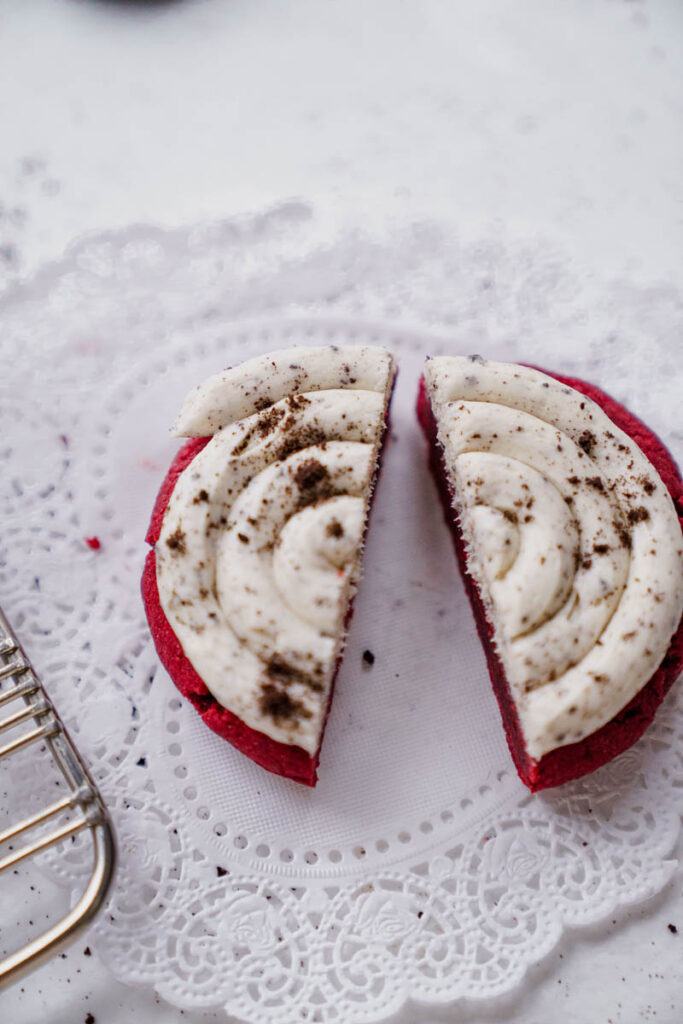
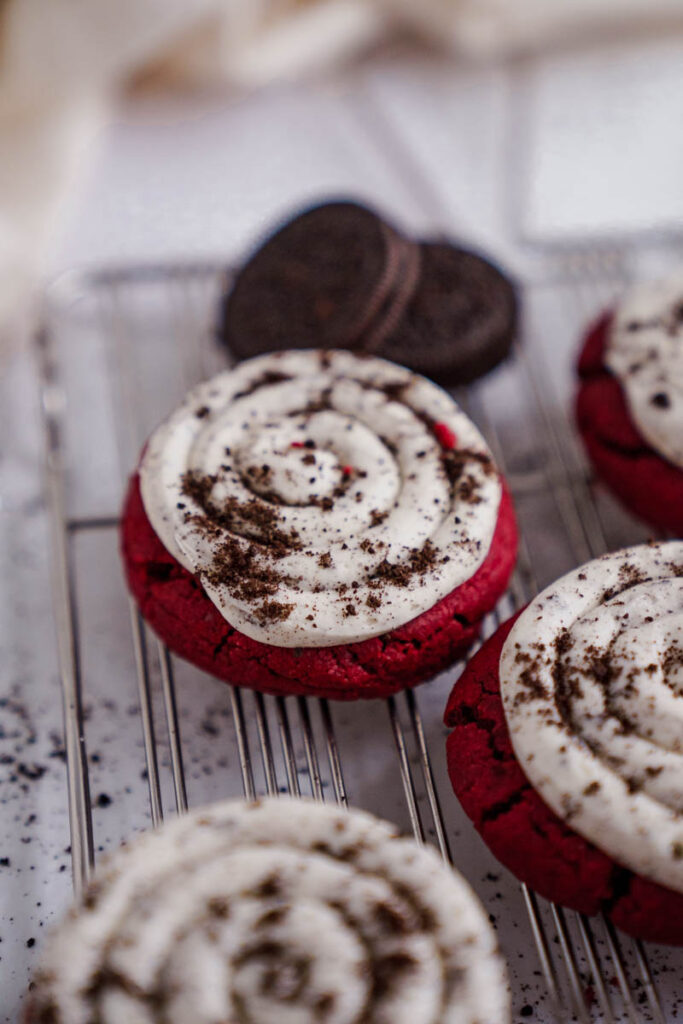
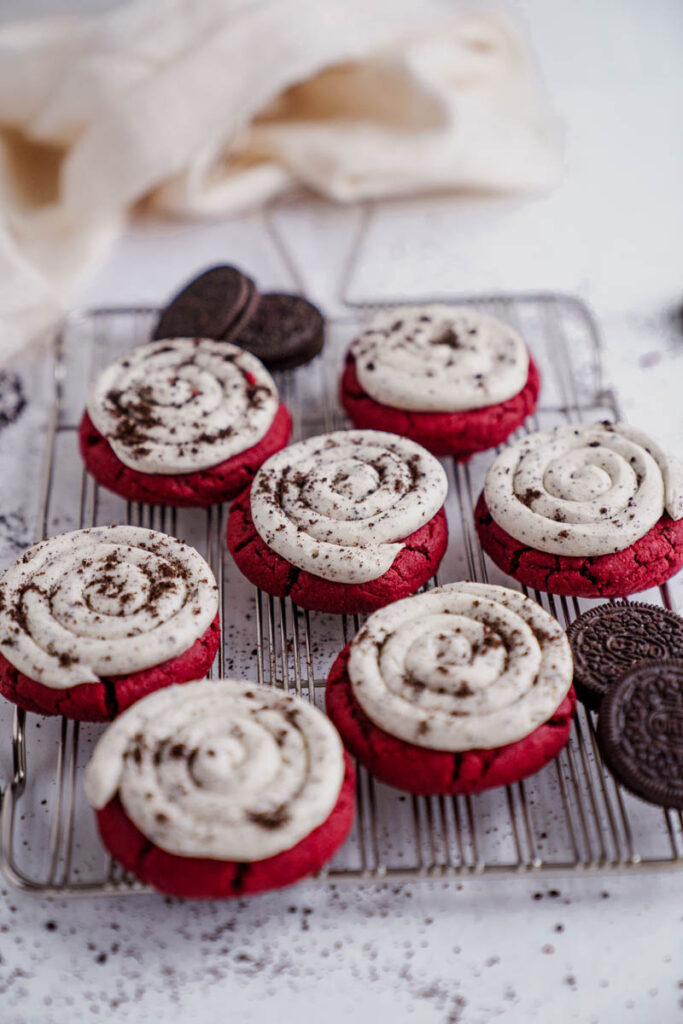
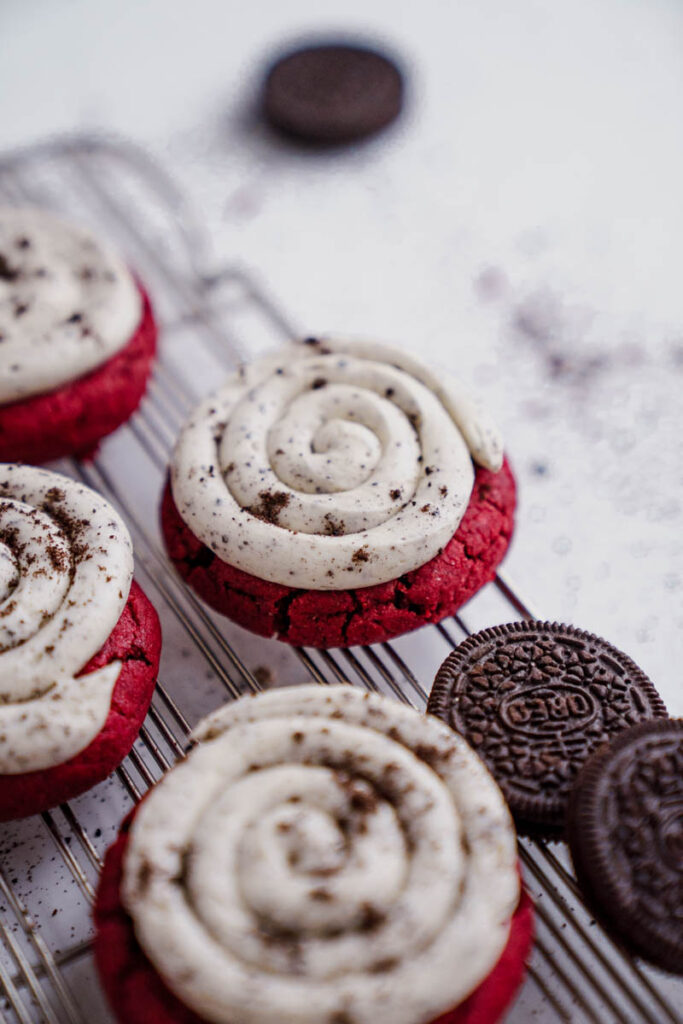
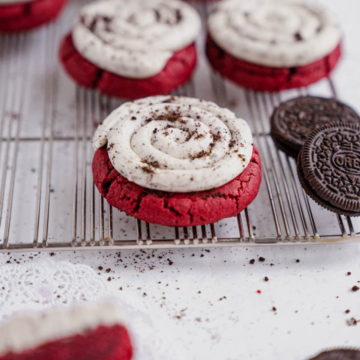
Aesthetic Appeal – Picture Perfect Treats: Let’s be honest, we eat with our eyes first! With their striking red hue, decadent frosting swirls, and speckled Oreo bits, these cookies are a feast for the eyes. They radiate warmth, luxury, and celebration, making them ideal for special occasions or simply brightening an ordinary day. These cookies don’t just taste amazing; they look absolutely stunning on any dessert table, passing all the visual “vibe checks” for a truly impressive homemade treat.
Essential Ingredients For Crafting Your Oreo Red Velvet Cookies
Vanilla Extract: A good quality vanilla extract is crucial for enhancing the depth of flavor in both the cookies and the frosting. Recently, I’ve been experimenting with Madagascar vanilla beans, and the subtle yet profound differences in aroma and taste are truly game-changing. Using pure vanilla extract ensures a rich, authentic flavor that cheap imitations simply can’t replicate.
Oreos: Rule Number 1 of Cake Babe Bakery: AHO – Always Have Oreos! These classic cookies are not just a topping but an integral part of the flavor and texture profile. Crushed Oreos are incorporated into the cream cheese frosting, providing a delightful cookies and cream twist that perfectly complements the red velvet. Don’t underestimate the power of a good Oreo!
Cake Flour: For that signature soft, cake-like texture, cake flour is your secret weapon. Its lower protein content results in a more tender crumb. If you don’t have cake flour on hand, you can create a reasonable substitute by using all-purpose flour. For every cup of all-purpose flour, remove two tablespoons and replace them with two tablespoons of cornstarch, then sift them together thoroughly. This simple trick helps mimic the lighter texture of cake flour in a pinch.
Unsweetened Cocoa Powder: A touch of unsweetened cocoa powder is what gives red velvet its characteristic subtle chocolate flavor and helps deepen the red color. I personally swear by King Arthur’s Cocoa Powder; its rich, dark notes truly bring out the best chocolate flavor without being overpowering, which is exactly what you want in a red velvet recipe.
Unsalted Butter: Using unsalted butter across all your baking allows you to control the exact amount of salt in your recipe. This is key for achieving perfectly balanced flavors, preventing your treats from becoming too salty. Always ensure your butter is at the correct temperature (softened for creaming, slightly chilled for dough) as specified in the recipe for optimal results.
Red Velvet Emulsion or Food Coloring: To achieve that iconic vibrant red color, a good quality red velvet emulsion or gel food coloring is essential. Emulsions typically provide a more intense color with less product and can also add a subtle depth of flavor. If using standard red food coloring, you may need a bit more to get the desired bright red hue. Always start with a smaller amount and add gradually until you reach your preferred shade.
Cream Cheese (for frosting): The star of the frosting, cream cheese, provides that signature tangy flavor that beautifully contrasts the sweet red velvet cookie. Make sure it’s softened to room temperature for a smooth, lump-free frosting. Full-fat cream cheese is recommended for the best texture and richness.
Top Tips for Making Perfect Oreo Red Velvet Cookies
To ensure your homemade Oreo Red Velvet Cookies turn out absolutely perfect every time, pay close attention to these tried-and-true baking tips. For the FULL, detailed instructions, please refer to the recipe card below!
- Room Temperature Ingredients are Non-Negotiable: Always make sure your eggs and cream cheese are at room temperature before you begin. This is paramount for achieving a smooth, homogenous, and well-incorporated cookie dough and a silky, lump-free frosting. Cold ingredients don’t emulsify properly, leading to uneven textures.
- The Magic of Slightly Chilled Butter for Cookies: For the cookie dough, using butter that’s slightly chilled (not rock hard, but cooler than room temperature) is a crucial tip. This helps the cookie dough maintain its shape during baking, preventing excessive spreading and ensuring your cookies have that desirable thick, chewy center.
- Avoid Overmixing the Dough: When combining your dry and wet ingredients for the cookie dough, mix only until just combined. Overmixing develops the gluten in the flour, which can lead to dense, tough cookies. A light hand will result in that signature velvety, tender texture.
- Precise Flour Measurement is Key: Whether you’re using cake flour or a combination of all-purpose flour and cornstarch, accurate measurement is vital. Too much flour can result in dry, crumbly cookies. Always spoon your flour into the measuring cup and then level it off with a straight edge (like a knife) rather than scooping directly from the bag.
- Uniform Cookies with a Scoop: Utilize a consistent 4-tablespoon size cookie scoop to ensure all your cookies are the same size. This not only makes them look professionally baked but, more importantly, promotes uniform baking. No more battling between undercooked centers and overcooked edges!
- Patient Cooling for Perfect Texture: After baking, allow your cookies to cool on the baking sheets for a few minutes before moving them. This brief resting period helps them set up properly without becoming too firm or falling apart when transferred. Then, move them to a wire rack to cool completely, especially before frosting.
- Adjust Frosting Consistency to Your Liking: The cream cheese frosting should be smooth and pipeable/spreadable. If it’s too thick, add a tiny bit more heavy cream, a teaspoon at a time, until it reaches your desired consistency. If it’s too thin, gradually add more powdered sugar until it thickens up.
Mastering Your Bake: Expert Tips for Oreo Red Velvet Cookies
- Read the Entire Recipe First: Before you even touch an ingredient, take a moment to read through the entire recipe from start to finish. This helps you understand the process, identify potential pitfalls, and ensures you have all necessary ingredients and tools on hand, avoiding frantic searches mid-bake.
- Invest in Quality Ingredients: The flavor of your cookies is directly proportional to the quality of your ingredients. Fresh eggs, premium unsalted butter, and a good brand of cocoa powder can make a noticeable difference in the taste and texture of your final product. Don’t skimp on the essentials!
- Always Preheat Your Oven Adequately: Preheat your oven to the specified temperature for at least 30 minutes before placing your cookies inside. This allows the oven to reach and stabilize its temperature, which is critical for consistent baking and preventing your cookies from spreading too much.
- Good Bakeware Makes a Difference: Quality bakeware can significantly impact your baking success. Sturdy, light-colored baking sheets prevent over-browning, and lining them with parchment paper ensures easy release and even baking.
- Accurate Measuring is Crucial: Baking is a science, and precise measurements are key. Use proper dry measuring cups for dry ingredients (like flour and sugar) and liquid measuring cups for wet ingredients (like milk or oil). Remember the “spoon and level” method for flour: spoon the flour into the measuring cup until overflowing, then level it off with a straight edge.
- Room Temperature is Key (Again!): As mentioned, ingredients like butter for frosting, eggs, and cream cheese should be at room temperature unless explicitly stated otherwise. Room temperature ingredients blend more easily and create a smoother, more emulsified batter or frosting, leading to better overall texture.
- Sift Dry Ingredients: Sifting together dry ingredients such as flour, cocoa powder, baking powder, and salt helps remove any lumps and ensures they are evenly distributed throughout the mixture. This contributes to a smoother batter and a more uniform texture in your baked goods.
- The Dangers of Overmixing: Overmixing is one of the most common baking mistakes. Once the wet and dry ingredients are combined, mix only until just incorporated. Excessive mixing develops gluten, leading to tough and dense cookies, which is the opposite of the soft, velvety texture we’re aiming for.
- Trust Your Timer (and Your Eyes): Set a timer to prevent over-baking. Cookies can go from perfectly baked to dry in a matter of minutes. Look for visual cues: the edges should be set, and the centers should appear slightly soft. They will continue to set as they cool on the baking sheet.
Frequently Asked Questions About Oreo Red Velvet Cookies
Do you have questions about making these delightful cookies? Let me help! If you don’t see your question addressed below, please feel free to leave a comment, and I’ll be happy to assist!
Q: Can I make the cookies ahead of time for an event?
A: Absolutely! You can bake the cookies in advance and store them in an airtight container at room temperature. For the best freshness and presentation, I recommend frosting them just before you plan to serve them. This prevents the frosting from drying out or getting smudged.
Q: What’s the specific purpose of using slightly chilled butter in the cookie dough?
A: Slightly chilled butter is key for controlling the spread of your cookies in the oven. It helps the dough hold its shape longer before melting, resulting in thicker, chewier cookies with less spread. If your butter is too soft, your cookies might flatten out too much.
Q: Do I have to use Dutch process cocoa powder, or can I use regular?
A: While Dutch process cocoa powder is highly recommended for red velvet recipes (it’s less acidic and gives a darker, richer color), you can use natural unsweetened cocoa powder as a substitute if that’s all you have. Just be aware that the color might not be as deep, and the flavor could be slightly different. Dutch process cocoa reacts differently with leavening agents, so a minor adjustment to baking soda/powder might be needed in some recipes, but for this one, it should work fine.
Q: Can I use red food coloring instead of red velvet emulsion?
A: Yes, you can absolutely substitute red food coloring for red velvet emulsion. Keep in mind that gel food coloring will give you a more vibrant and concentrated color than liquid food coloring. Start with a smaller amount and add more gradually until you achieve your desired intense red hue, as the strength can vary between brands.
Q: How do I prevent my cookies from spreading too much?
A: Several factors can cause cookies to spread. Ensure your butter is slightly chilled, not overly soft. Don’t overmix the dough. Make sure your oven is fully preheated to the correct temperature. You can also briefly chill the scooped cookie dough balls in the refrigerator for 15-20 minutes before baking to help them hold their shape better.
Q: What if my cream cheese frosting is too runny?
A: If your frosting is too runny, it’s likely due to overly soft butter/cream cheese or too little powdered sugar. Try adding more powdered sugar, about a quarter cup at a time, mixing until smooth. You can also pop the frosting into the refrigerator for 15-30 minutes to firm it up slightly before beating it again.
Storing And Freezing Your Oreo Red Velvet Cookies
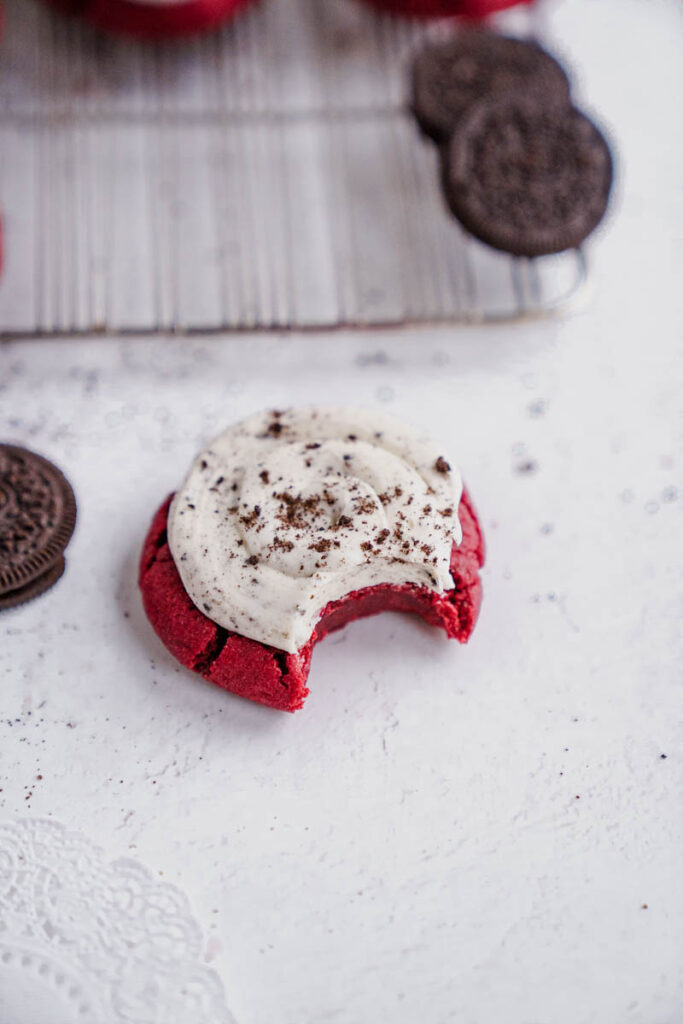
Proper storage is essential to maintain the freshness and delightful texture of your Oreo Red Velvet Cookies. Store frosted cookies in an airtight container in the refrigerator for up to 3-4 days. The cream cheese frosting necessitates refrigeration to keep it fresh and prevent spoilage. Before serving, allow them to come to room temperature for about 15-20 minutes for the best flavor and a perfectly soft, chewy texture. Unfrosted cookies can be stored in an airtight container at room temperature for up to 2-3 days.
Freezing – Extend the Life of Your Oreo Red Velvet Cookies
These cookies are fantastic for freezing, making them perfect for meal prep or enjoying a homemade treat whenever a craving strikes! To freeze the Oreo Red Velvet Cookies (preferably unfrosted): place them in a single layer on a baking sheet and freeze until solid, about 1-2 hours. Once frozen, transfer the cookies to a zip-top freezer bag or an airtight freezer-safe container, separating layers with parchment paper to prevent sticking. They will keep well in the freezer for up to 2-3 months.
To thaw, simply remove the desired number of cookies from the freezer and let them sit in the refrigerator overnight or at room temperature for a few hours. Once thawed, you can then frost them freshly and enjoy!
For more of my favorite recipes that are sure to impress, here are some you should definitely try:
- The Easiest Flourless Chocolate Cake
- Best White Chocolate Raspberry Bundt Cake Recipe
- Simple Red Velvet Cake Recipe
Remember to LEAVE A 5-STAR REVIEW AND A COMMENT if you loved this recipe or have any questions. Your feedback is incredibly valuable! Follow me on Instagram, Pinterest, and TikTok for even more fun baking content and delicious inspiration!
Recipe
Oreo Red Velvet Cookies
Molly Murphy
Pin Recipe
Ingredients
For The Cookies
- ½ cup butter unsalted softened
- 1 ¼ cup granulated sugar
- 2 teaspoon LorAnn’s Red Velvet Emulsionor Sub red food dye
- 1 large or extra large egg white room temperature
- 1 large or extra large whole egg
- 1 teaspoon pure vanilla extract
- 3 tablespoons dutch process cocoa powder
- 2 cups cake flour all purposecan be subbed, just add 1 more tablespoon of cornstarch
- ¾ teaspoon salt
- 1 tablespoon cornstarch
- ¾ teaspoon baking powder
For The Cream Cheese Frosting
- 4 Regular oreo’s pulverized into a fine crumb
- 4 ounces cream cheese softened
- 1 cup unsalted butter softened
- 1 tablespoon heavy whipping cream
- ¼ teaspoon vanilla extract
- 3 cups powder sugar
- Pinch of salt
Instructions
For The Cookie Dough:
-
Preheat your oven to 350°F (180°C). Line a baking sheet with parchment paper. Set aside.
-
In a medium-sized bowl, using an electric hand mixer or in a bowl of a stand mixer fitted with the paddle attachment, cream together the slightly chilled butter and granulated sugar until light and fluffy, about 3 minutes.
-
With a rubber spatula, scrape down the sides and the bottom of the bowl. Add the red gel food coloring, egg white, whole egg and pure vanilla extract. Mix until well combined, about 30-60 seconds.
-
Add the Dutch process cocoa powder, cake flour, salt, cornstarch, and baking powder to the wet ingredients, mixing on low until just combined. Be careful not to overmix.
-
Using a 4-tablespoon size cookie scoop, scoop out the dough onto the prepared baking sheets, leaving enough space between each cookie. You will get 9 cookies. With the back of a spatula, or the bottom of a flat cup, gently flatten down the cookies until they’re about an inch thick.
-
Bake in the preheated oven for about 10-12 minutes or until the edges are set and the centers are slightly soft.
-
Allow the cookies to cool on the baking sheets for a few minutes before transferring them to a wire rack to cool completely.
-
Once the cookies are completely cooled, you can frost them with the cream cheese frosting.
For the Cream Cheese Frosting:
-
Place the Oreo cookies in a food processor or blender and pulse until the Oreos are finely ground.
-
In a medium-sized bowl using a hand electric mixer, combine the butter and cream cheese. Cream on medium speed for about two minutes. Scrape down the sides and bottom of the bowl. Beat again for 2 more minutes.
-
With the mixer on low speed, add the powdered sugar, followed by the vanilla, heavy whipping cream, and salt. Beat on low just until mixed. Then turn the mixer to medium-high speed and beat the mixture for 2-3 minutes.
-
With the rubber spatula, gently stir in the cookie crumbs until you start seeing gray streaks.
Assembly:
-
Once the cookies are completely cooled, spread or pipe the cream cheese frosting onto the cookies.
-
Sprinkle extra crumbs on top and serve at room temperature or cold!
Nutrition
