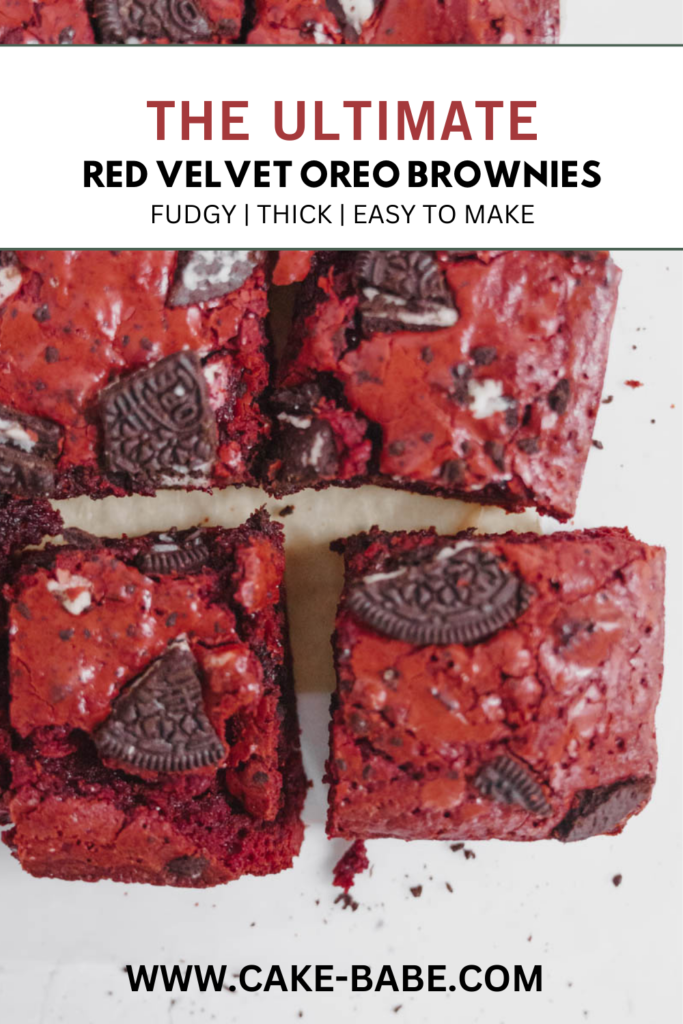
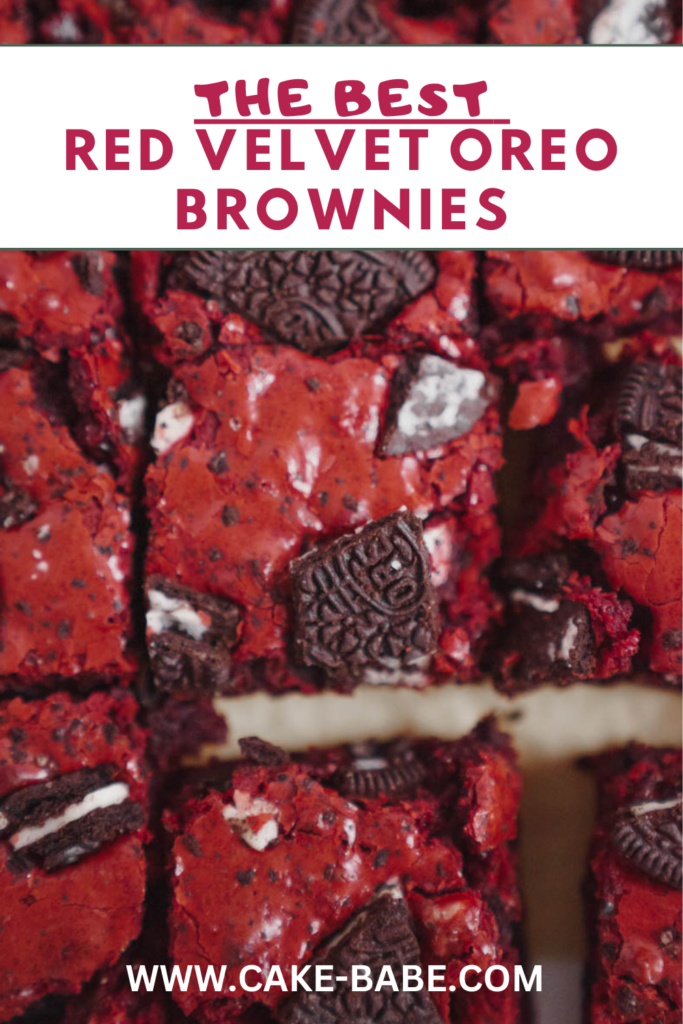
The Ultimate Fudgy Red Velvet Oreo Brownies: Your New Favorite Homemade Treat
Prepare yourself for an extraordinary dessert experience with these **Red Velvet Oreo Brownies**. Imagine incredibly fudgy, intensely rich red velvet flavored brownies, generously studded and topped with the classic, universally adored Oreo cookies. This recipe is designed to deliver a decadent treat that combines the best of both worlds: the iconic taste and vibrant color of red velvet with the delightful crunch of America’s favorite cookie.

If you’re a true chocolate connoisseur, or even if you’re not typically a chocolate fanatic (like me!), this **Red Velvet Oreo Brownie recipe** is destined to become your new culinary obsession. These brownies aren’t just fudgy; they define fudgy. Each bite offers a moist, dense interior that melts in your mouth, perfectly complemented by the delightful crunch of crushed Oreos. It’s the kind of dessert that makes you question everything you thought you knew about chocolate treats.
Confession time: While many people adore chocolate, I’ve always leaned more towards fruity or gummy candies. However, the moment I tasted these incredibly fudgy brownies, my dessert preferences took an unexpected turn. There’s an undeniable magic that happens when you combine the classic flavor of Oreo cookies with a rich red velvet brownie base, especially when enjoyed warm, straight from the oven. What makes these even more special is that we’re making them entirely from scratch. No shortcuts with a box mix here – just pure, honest baking that results in a deeply satisfying, gooey brownie you’ll be proud to serve.
So, gather your ingredients, ensure your eggs are at room temperature, and grease your baking pan. It’s time to dive into the wonderful world of baking these irresistible **Red Velvet Oreo Brownies**. Get ready to impress your taste buds and everyone lucky enough to share them with you!
More Irresistible Red Velvet Desserts
Craving more red velvet goodness? Explore these fantastic recipes to satisfy your sweet tooth:
- The Best Copycat Red Velvet Crumbl Cookie Recipe
- Simple Red Velvet Cake Recipe
- The Best Oreo Red Velvet Cake With Oreo Frosting
- Easy Red Velvet Cake Recipe With Cream Cheese
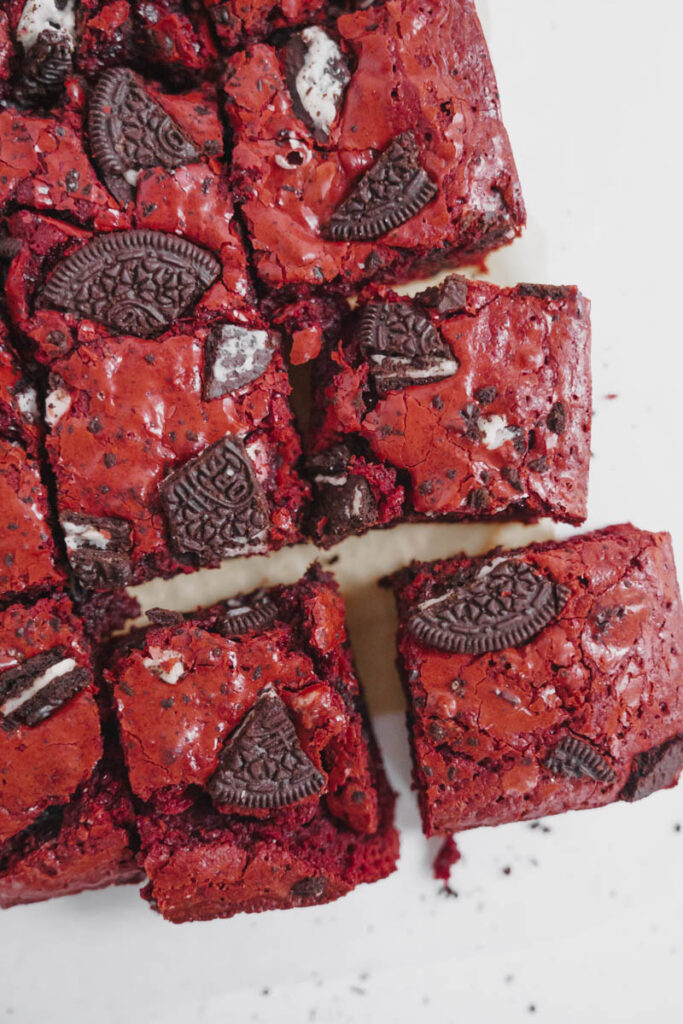
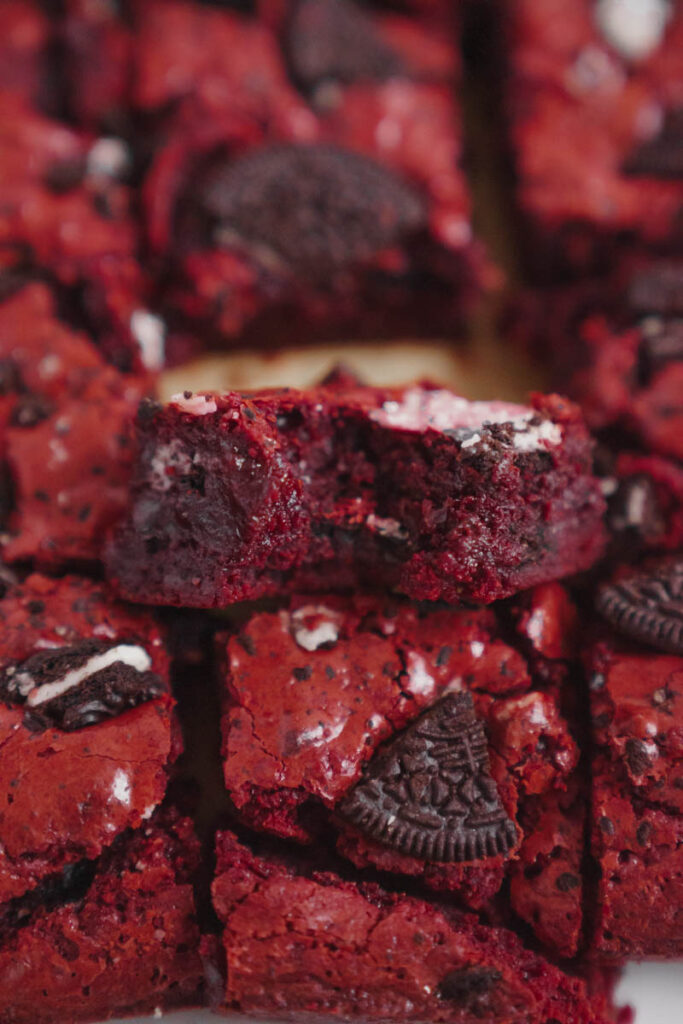
Why You Should Make These Red Velvet Oreo Brownies Today
If you’re still not convinced, let me highlight why these **Red Velvet Oreo Brownies** aren’t just another dessert, but a baking project you absolutely need to undertake this week:
-
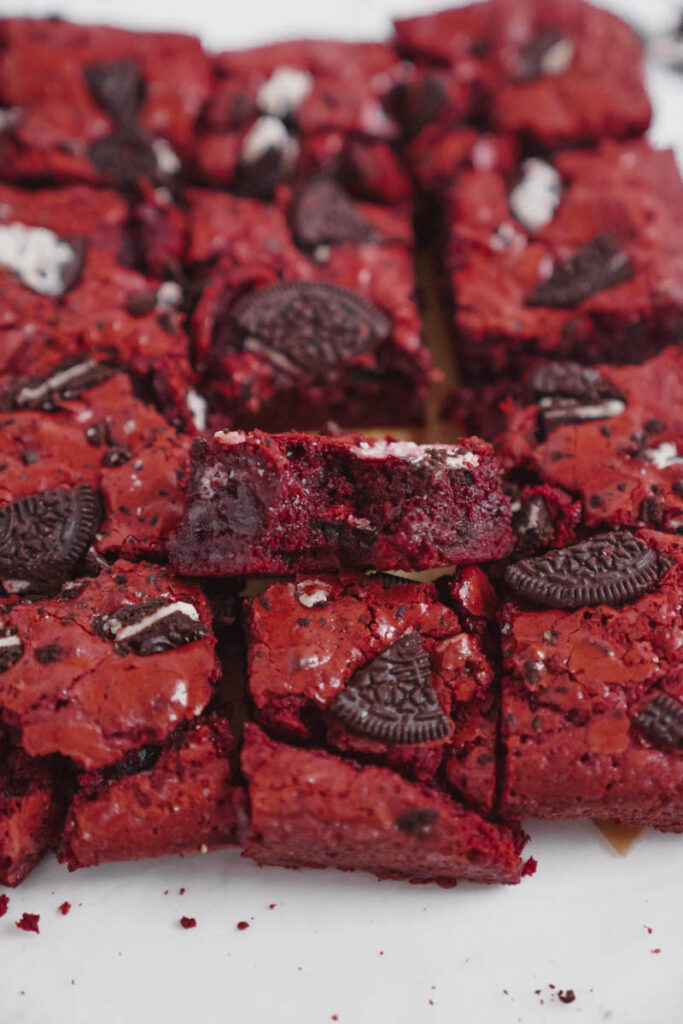
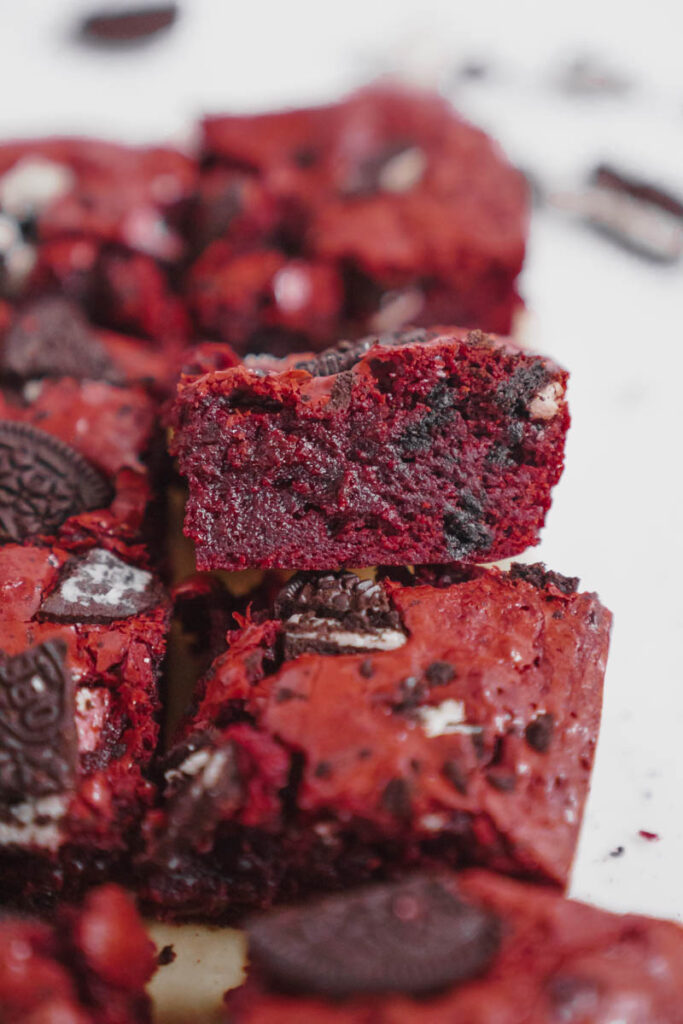
Unbeatable Fudginess: Get ready for the fudgiest brownies you’ve ever tasted. We’re talking rich, dense, and moist perfection that sets these apart from any other brownie recipe out there. They are truly an experience for your palate, offering a delightful chewiness that all brownie lovers crave.
-
Dynamic Texture Profile: The addition of crushed Oreo pieces elevates these already amazing fudgy brownies. You’ll experience a delightful contrast between the moist, tender crumb of the red velvet brownie and the satisfying crunch from the Oreo bits. It’s a complex and exciting mouthfeel that keeps you coming back for more, adding a playful element to every bite.
-
Surprisingly Easy to Make: Don’t let the gourmet taste fool you – these brownies are incredibly simple to prepare. You can mix the batter in about ten minutes, then let your oven do the rest. In roughly an hour, you’ll have a batch of these delectable treats. That’s less time than watching a blockbuster movie, and the reward is infinitely more delicious and homemade!
-
Proudly Made from Scratch: There’s a special kind of satisfaction that comes from baking something delicious from scratch. Channel that inner baker and enjoy the process of transforming simple ingredients into a masterpiece. You’ll not only savor the taste but also the pride of your culinary accomplishment, far surpassing any box mix and creating a truly personal touch.
-
Fun Fact: The Truth About Red Velvet: Did you know that “red velvet” isn’t actually a flavor profile in itself? Historically, the reddish hue in red velvet cake came from a chemical reaction between old-school cocoa powder and acidic ingredients. During World War II, beets were sometimes used as a natural colorant. Today, it’s primarily achieved with red food coloring, but a quality red velvet emulsion can infuse that distinct subtle chocolate and vanilla essence along with the vibrant color. Using a good emulsion, like LorAnn’s (which I highly recommend!), ensures you get that authentic red velvet taste and iconic deep red color without needing excessive food coloring.
Essential Ingredients for Your Red Velvet Oreo Brownies
While some baking staples are always on hand, there might be a few items you’ll want to pick up for these spectacular brownies. For a comprehensive list with exact measurements, make sure to check out the recipe card further down!
-
Cocoa Powder: This is key to achieving the rich, chocolatey depth in our red velvet brownies. Choose a good quality cocoa powder for the best flavor and a distinct red velvet taste. Unless you enjoy eating it plain (like some people I know!), ensure you have enough for the recipe.
-
Large Eggs: A friendly reminder from your baking buddy: always bring your large eggs to **room temperature** before you start mixing. This helps them incorporate better into the batter, creating a smoother, more consistent texture, and contributing to the signature shiny top crust of your finished brownies.
-
Oreos: Let’s be honest, who doesn’t have Oreos tucked away in their pantry? These iconic cookies are central to this recipe, providing both flavor and a delightful textural contrast. Just remember to reserve a few extra crushed Oreos to sprinkle on top before baking – it adds both visual appeal and an extra layer of delicious crunch.
-
All-Purpose Flour: A foundational ingredient in most baking, all-purpose flour provides the structure for our brownies. I use a lot of it, so it’s a permanent fixture on my grocery list. Ensure it’s fresh for optimal results in your **homemade brownies**, contributing to their perfect tender crumb.
-
Unsalted Butter: Using unsalted butter gives you precise control over the overall saltiness of your brownies, allowing you to fine-tune the flavor profile. If you only have salted butter, you can use it but reduce the added salt in the recipe slightly. I recently stocked up when I found a great deal – because, let’s face it, a good brownie is always worth it!
-
Light Brown Sugar: This provides essential moisture and a lovely caramel-like depth to the brownies, significantly contributing to their irresistibly fudgy texture. For that signature rich chewiness, avoid substituting it with granulated sugar.
-
Red Velvet Emulsion (or Red Food Gel): While red velvet technically refers to a chocolate cake with red coloring, a good emulsion or gel provides not just the iconic deep red hue but also a subtle flavor blend that defines classic red velvet. LorAnn’s is highly recommended for its potent color and authentic taste, making your brownies truly stand out.
Helpful Tips For Making Perfect Red Velvet Oreo Brownies
Creating these sensational **Red Velvet Oreo Brownies** is a breeze, and these tips will ensure your baking experience is smooth and the results are absolutely divine. Don’t stress – just follow these simple guidelines for utterly delicious, fudgy brownies!
-
Whisk Those Eggs Vigorously: After each egg addition, make sure to whisk the mixture vigorously for about 30 seconds. This step is crucial for incorporating air, which helps create a lighter texture in the finished brownie and also contributes to that beautifully shiny, crinkly top crust that everyone loves on a perfect brownie.
-
Melting Butter and Sugar: In the microwave, gently melt your butter and sugar together. Heat in short 30-second bursts, stirring in between, until the butter is fully melted and the sugar is mostly dissolved. Don’t worry if there are still a few sugar granules; this is completely normal and actually helps to achieve that signature dense, fudgy texture in the brownies.
-
Achieving the Perfect Red Hue: For that iconic deep red color and subtle red velvet flavor, use about 2 tablespoons of red velvet emulsion (LorAnn’s is a fantastic choice for its concentrated color and flavor) or a high-quality red food gel. You can always adjust the amount based on your desired intensity, adding a little at a time until you reach the perfect vibrant shade.
-
Gentle Folding for Texture: Once you add the dry ingredients like cocoa powder, salt, and your red velvet flavor, fold them gently into the wet mixture. Use a rubber spatula for this, as it helps prevent overmixing. Overmixing can develop the gluten in the flour too much, leading to tougher, more cakey brownies instead of the desired rich and fudgy kind.
-
Careful Flour and Oreo Incorporation: Similarly, when it’s time to add the all-purpose flour and the crushed Oreo chunks, fold them in *just* until they are combined. You want to see no more dry flour streaks, but stop mixing immediately after that. This delicate approach ensures your brownies remain tender, moist, and prevents them from becoming dry or tough.
-
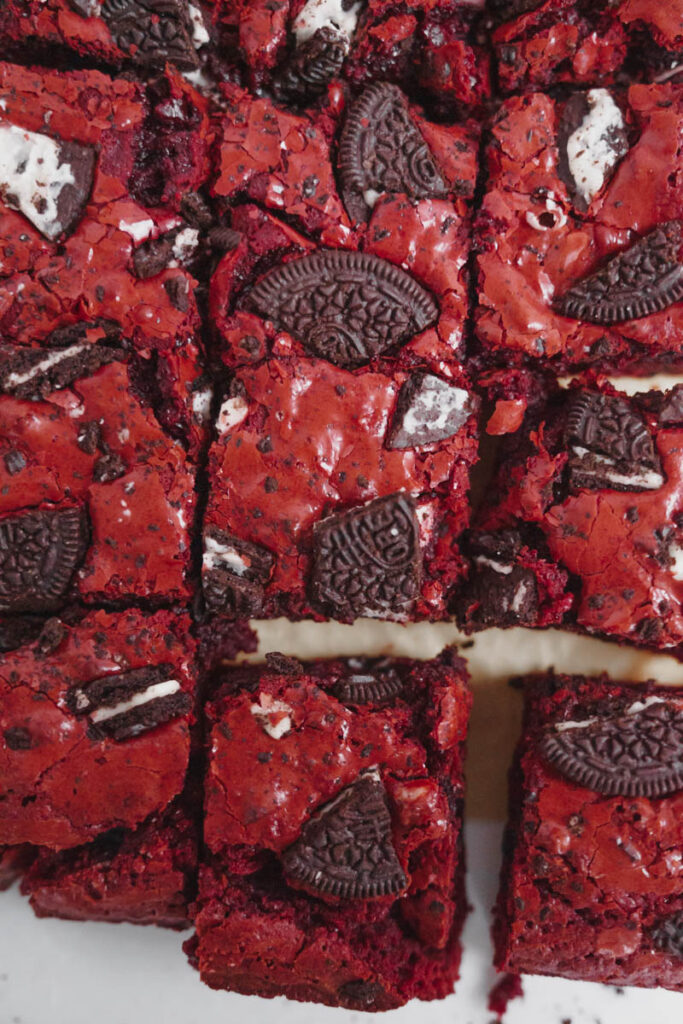
The Final Oreo Garnish: Before placing your brownies in the oven, take those extra 3 crushed Oreos and sprinkle them generously over the top of the batter. This not only enhances the visual appeal with a lovely speckled look but also adds an extra layer of crunch and intense Oreo flavor right on the surface, making each piece even more enticing and irresistible.
-
Monitoring Baking Time: Bake your brownies at 350°F (175°C) for approximately 55-65 minutes. Start checking for doneness around the 50-minute mark. Insert a toothpick into the center; it should come out with a few moist crumbs clinging to it, but not wet batter. Remember, ovens vary, so keep a close eye on them. For truly fudgy brownies, it’s always better to slightly underbake than overbake.
-
Patience for Cooling: This is perhaps the hardest tip, but it is absolutely crucial! Allow your **Red Velvet Oreo Brownies** to cool completely in the pan for at least 15-20 minutes after baking. This cooling period allows them to set properly, making them much easier to cut into clean, perfect squares. Resist the urge to cut them hot!
-
Prepare Your Pan Properly: For easy removal and clean slices, always line your baking pan with parchment paper. Leave an overhang on two sides to create “handles” that you can use to lift the entire slab of brownies out once cooled. Additionally, spray the bottom and sides of the parchment paper (and any exposed pan surface) with a non-stick cooking spray to guarantee nothing sticks.
My Favorite Kitchen Tools for Perfect Brownies
Having the right tools can make all the difference in your baking journey. Here’s a list of some of my go-to kitchen essentials that help me create these amazing **Red Velvet Oreo Brownies** with ease and consistency:
- 8×8 Inch Baking Pan: Essential for perfectly thick and fudgy brownies. A lighter colored metal pan is often preferable for even heat distribution and baking.
- Parchment Paper: Your absolute best friend for easy removal of the brownies from the pan and minimal cleanup afterwards. Don’t skip this step!
- Rubber Spatula: Crucial for gentle folding, which prevents overmixing of the batter. It also helps scrape down the sides of the bowl to ensure all ingredients are well incorporated without overworking the gluten.
- Whisk: For thoroughly combining wet ingredients and incorporating air, especially when beating the eggs into the sugar mixture, leading to that desirable crinkly top.
- Heat-Proof Bowl: Ideal for safely melting butter and sugar together in the microwave or over a double boiler. Glass or ceramic bowls work best.
- Sieve/Sifter: To ensure your cocoa powder and flour are lump-free before adding them to the wet ingredients, resulting in a smooth, uniform batter. This helps prevent dry pockets in your brownies.
- Measuring Cups and Spoons: Accuracy is incredibly important in baking. Using proper measuring cups for dry ingredients (leveling off!) and spoons for smaller quantities ensures consistent results every time.
Frequently Asked Questions About Red Velvet Oreo Brownies
Got questions about making these delicious brownies? Here are some common queries and helpful answers to guide you to brownie perfection:
Can I use salted butter instead of unsalted butter?
Yes, you can substitute salted butter for unsalted butter. However, if you do, I recommend reducing the amount of additional salt called for in the recipe by about half a teaspoon. This adjustment helps prevent your brownies from becoming too salty and ensures a balanced flavor profile.
What if I don’t have red velvet emulsion or red food gel?
While the emulsion or gel provides the best color and subtle flavor, you can still make delicious brownies. You can omit it entirely for a regular chocolate brownie with Oreos, or use a liquid red food coloring. If using liquid, add it gradually until you achieve your desired red hue, keeping in mind the color might not be as vibrant or deep as with a concentrated gel or emulsion.
Can I use regular cocoa powder instead of special dark cocoa powder?
The recipe specifies regular cocoa powder, which provides a classic red velvet flavor base. If you prefer a darker, more intense chocolate flavor (and a slightly darker red velvet color), you could opt for Dutch-processed cocoa powder. Special dark cocoa powder, if you have it, would give an even richer, darker result and a deeper red hue.
How can I tell if the brownies are done baking?
The best way to check for doneness is to insert a toothpick into the center of the brownies. For truly fudgy brownies, it should come out with a few moist crumbs clinging to it, but no wet batter. If the toothpick comes out completely clean, your brownies might be on the drier, more cake-like side, so try to catch them just before that point.
Can I use a different size baking pan?
You can use a different size pan, but you’ll definitely need to adjust the baking time. For a larger pan (e.g., 9×13 inch), the brownies will be thinner and likely bake faster (start checking around 30-40 minutes). For a smaller pan, they will be thicker and take longer. Always rely on the toothpick test for accurate doneness.
Can I use a hand mixer instead of whisking by hand?
Absolutely! A hand mixer can significantly speed up the process, especially when incorporating the eggs into the butter-sugar mixture. However, exercise caution and do not overmix the batter once the flour is added. Mix only until the ingredients are just combined to keep the brownies tender and maintain their fudgy texture.
How important is bringing eggs to room temperature?
Bringing eggs to room temperature is quite important in baking. Room temperature eggs emulsify better with other ingredients, creating a smoother, more uniform batter. This leads to a more consistent, tender texture in your finished brownies and prevents the batter from seizing or curdling.
Can I add other mix-ins to these brownies?
While Oreos are the star here, you could certainly experiment with other mix-ins! White chocolate chips, dark chocolate chunks, or even a swirl of cream cheese frosting (added before baking) could make delicious additions. Just be mindful not to overcrowd the batter to maintain the brownie’s structure.
Storing and Freezing Your Red Velvet Oreo Brownies
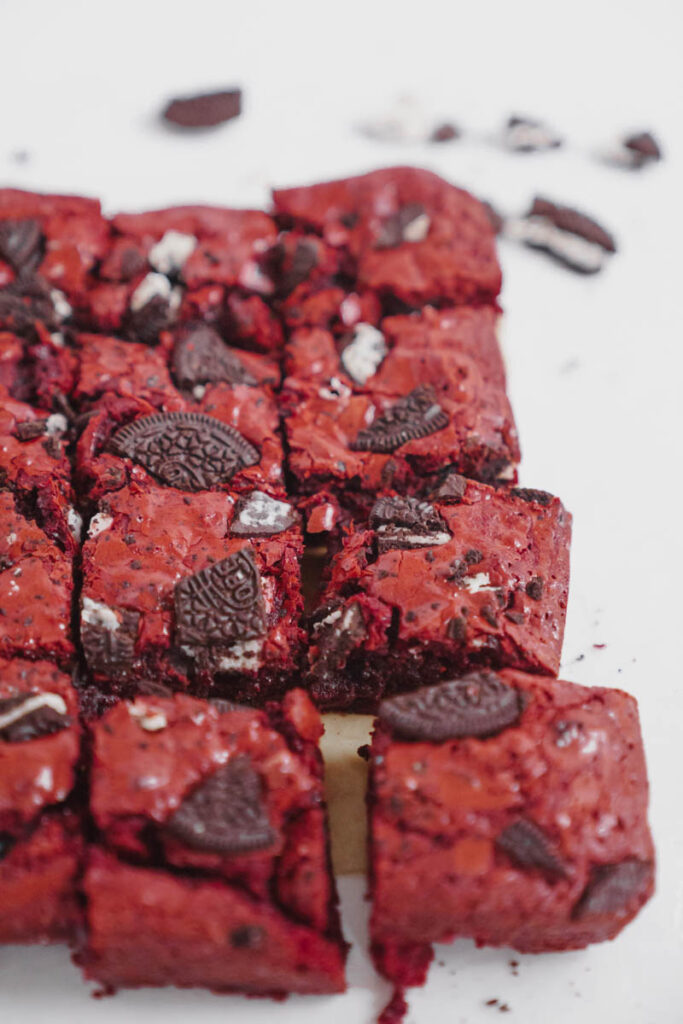
To keep your **Red Velvet Oreo Brownies** as fresh and delicious as possible, proper storage is key. For optimal flavor and texture, store them in an airtight container at room temperature. They will stay wonderfully fresh and fudgy for up to 3-4 days. If you’d like to extend their shelf life, you can refrigerate the brownies, ensuring they are well-sealed in a container or a ziploc bag, for up to a week. Just bring them back to room temperature (or gently warm them in the microwave) before serving for the best experience.
Freezing Instructions
These **Red Velvet Oreo Brownies** are also fantastic for freezing, making them perfect for meal prep or unexpected cravings! Once they have completely cooled, individually wrap each brownie tightly in plastic wrap, then add an additional layer of aluminum foil. This double-layer protection helps prevent freezer burn and keeps them fresh. Place the wrapped brownies in a freezer-safe bag or container, removing as much air as possible before sealing. They can be frozen for up to three months without significant loss of quality. To enjoy, simply thaw them in the refrigerator overnight, or at room temperature for a few hours. You can even gently warm them in the microwave for a just-baked taste!
Remember to **LEAVE A 5-STAR REVIEW AND A COMMENT** if you love the recipe or have any questions. Your feedback means the world to me and helps others discover these amazing treats! Follow me on Instagram, Pinterest, and TikTok. I post so many fun things and delicious recipes on all platforms!
For more great recipes, check out these chocolatey delights:
- The Easiest Flourless Chocolate Cake
- Copycat Portillo’s Chocolate Cake Recipe
- Easy 9 x13 Chocolate Cake With Buttermilk
Oreo Red Velvet Brownies
Molly Murphy
10 mins
1 hr
5 mins
Dessert
Brownies
16
Ingredients
- 1¼ cups unsalted butter
- 2½ cups light brown sugar
- 4 large eggs (room temperature)
- 1½ cups regular cocoa powder
- 1 teaspoon salt
- 2 tablespoons red velvet emulsion (LorAnn’s or red food gel)
- ⅔ cup all-purpose flour
- 15 crushed Oreo cookies
- 3 extra Oreos (crushed, for garnish)
Instructions
-
Preheat your oven to 350°F (175°C). Line an 8×8 inch baking pan with parchment paper, allowing some overhang on two sides to create “handles.” Use metal binder clips to secure the parchment if needed. Spray the parchment paper and any exposed pan surfaces with non-stick cooking spray. Set aside.
-
In a large microwave-safe bowl, combine the unsalted butter and light brown sugar. Melt them together in 30-second intervals in the microwave, stirring well after each interval, until the butter is fully melted and the sugar is mostly dissolved. The mixture should appear glossy. It’s okay if a few sugar granules remain.
-
Allow the butter and sugar mixture to cool slightly (just enough so it’s not scorching hot to the touch). Then, whisk in the large eggs one at a time, vigorously whisking for about 30 seconds after each addition. Continue whisking until the mixture becomes lighter in color and slightly fluffy. Next, stir in the red velvet emulsion or red food gel until the desired vibrant red color is achieved.
-
Sift the cocoa powder and salt into the wet ingredients. Using a rubber spatula, gently fold these dry ingredients into the mixture until just combined. Be careful not to overmix. Then, fold in the all-purpose flour and the 15 crushed Oreo cookies until no dry streaks of flour are visible.
-
Pour the brownie batter evenly into your prepared 8×8 inch pan. Garnish the top of the batter with the 3 extra crushed Oreos, scattering them artfully across the surface.
-
Bake for 55-65 minutes. Begin checking for doneness at the 50-minute mark by inserting a toothpick into the center of the brownies. The toothpick should come out with a few moist crumbs attached, but not wet batter. If it comes out clean, they might be overbaked. In my oven, they usually take the full 65 minutes to reach perfection.
-
Once baked, remove the pan from the oven and allow the brownies to cool in the pan for 15-20 minutes on a wire rack. This cooling period is essential for them to set properly, making them easier to cut into neat, delicious squares. After cooling, use the parchment paper overhang to lift the entire slab of brownies out of the pan, cut into desired serving sizes, and enjoy!
brownies, red velvet, fudgy, oreo, homemade
Tried this recipe?
Let us know how it was!


