Irresistible No-Bake Peanut Butter Chocolate Pie: The Ultimate Easy Dessert with Oreo Crust
Peanut Butter Chocolate Pie – A dream come true for dessert lovers! This exquisite no-bake creation perfectly combines the rich, creamy goodness of peanut butter with a decadent chocolate ganache, all nestled in a delightfully crunchy Oreo crust. It’s an effortless masterpiece designed to impress without the hassle of baking.
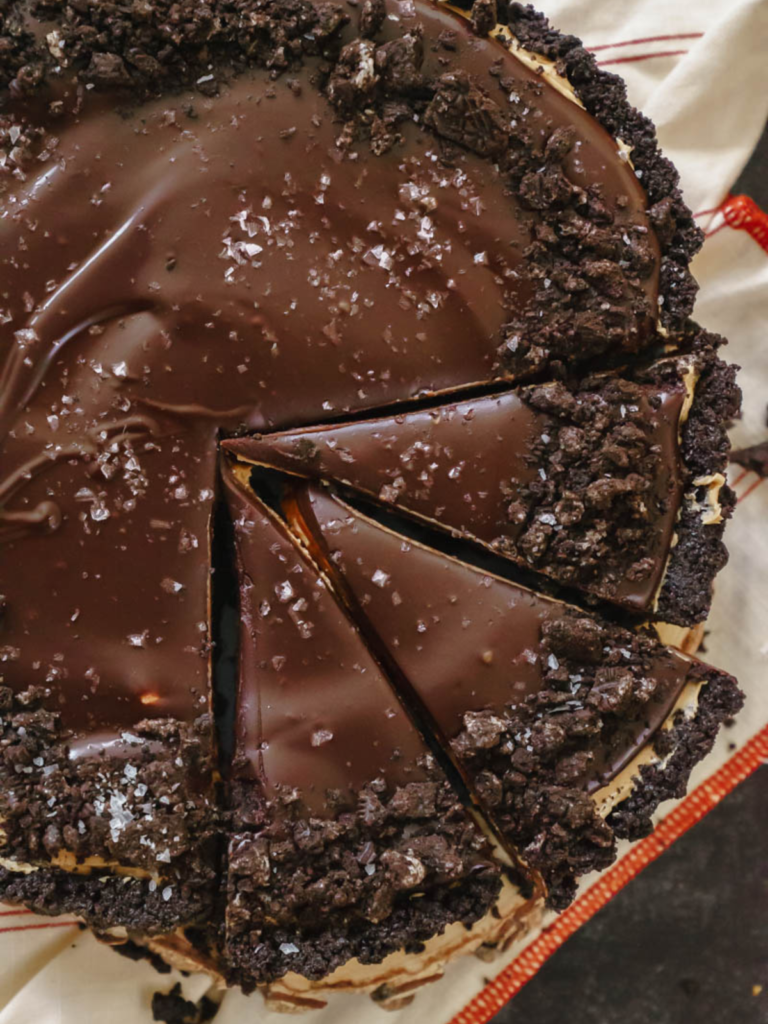
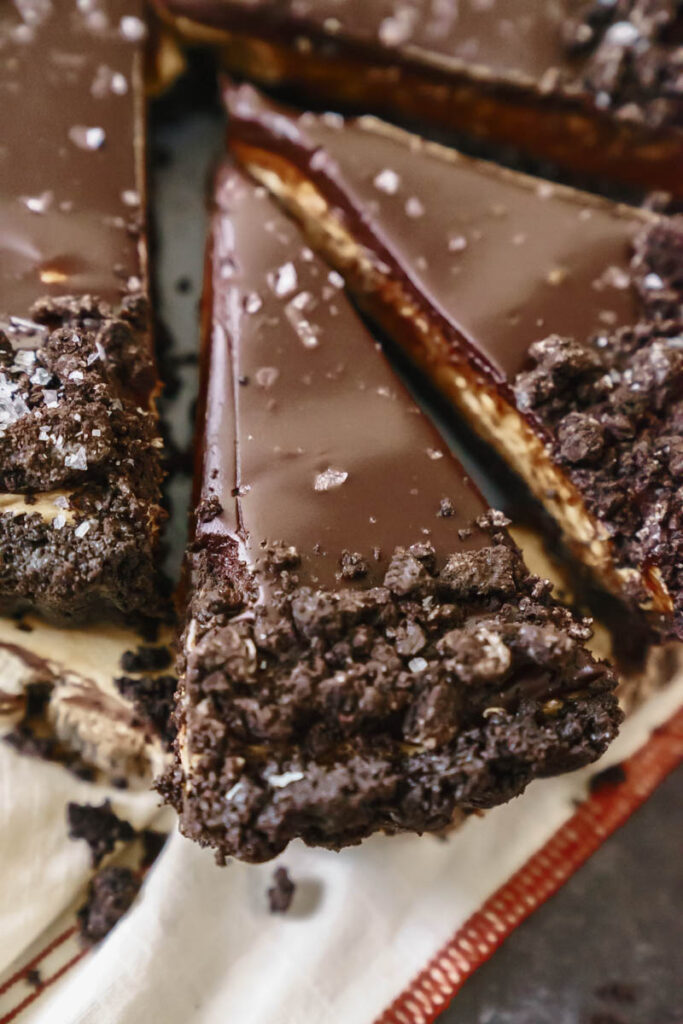
While some might hesitate to call this a “pie,” fearing the traditional, often demanding nature of baked pies, this Peanut Butter Chocolate Pie is truly in a league of its own. It transcends the conventional with its dynamic textures and intensely satisfying flavors. Imagine sinking your teeth into a robust, crunchy Oreo crust, followed by a layer of velvety, creamy peanut butter filling that melts in your mouth. Then comes the rich, smooth embrace of a dark chocolate ganache, perfectly balanced with a delicate sprinkle of flaky sea salt that elevates every bite. This isn’t just a dessert; it’s an experience. If you’re a devoted fan of the classic chocolate and peanut butter combination, prepare to meet your new favorite indulgence!
Looking for more delightful treats that celebrate these beloved flavors? Explore some of our other popular recipes:
- Chocolate Peanut Butter Marshmallow Cake
- The Best Peanut Butter Oreo Cookies
- Easy One Bowl Peanut Butter Oreo Bars
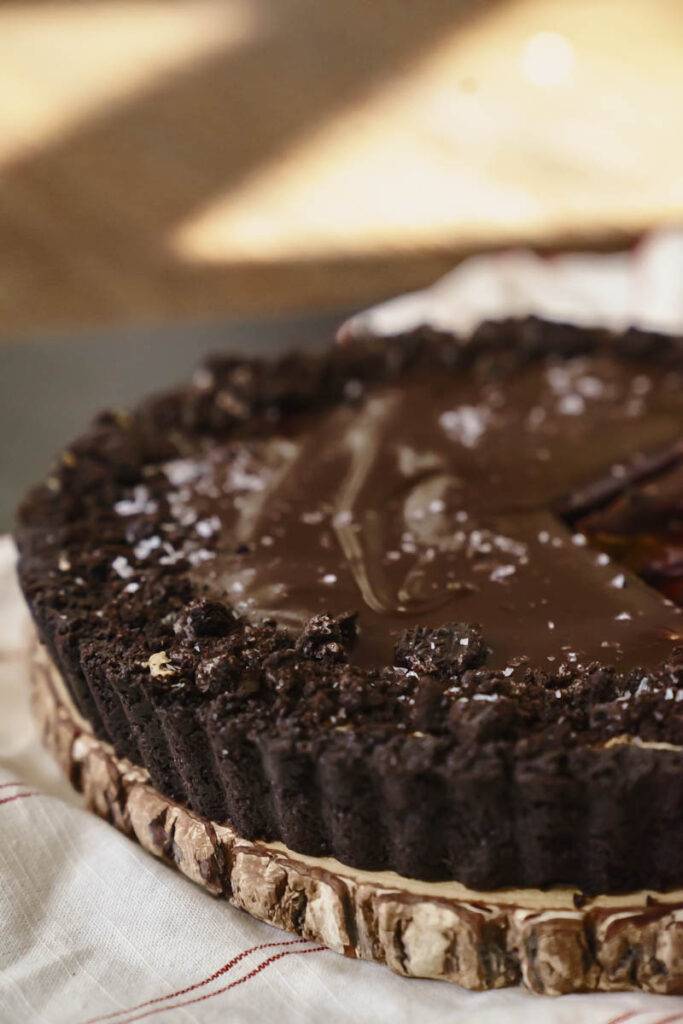
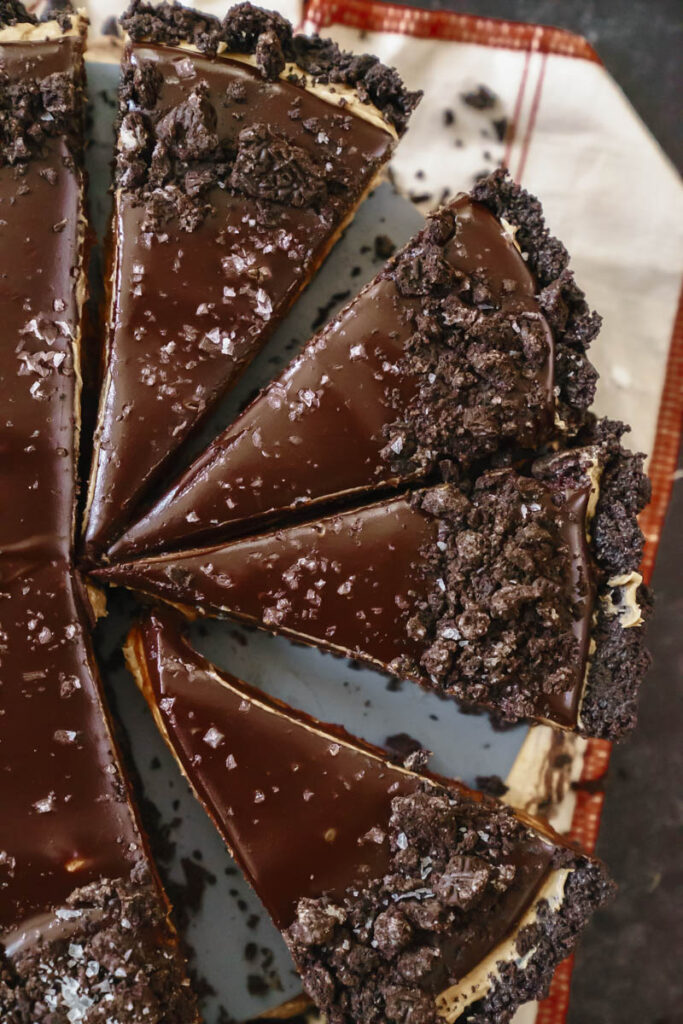
Why You Should Make This No-Bake Peanut Butter Chocolate Pie Today
This no-bake sensation isn’t just a dessert; it’s a statement. Here’s why this Peanut Butter Chocolate Pie will become your go-to recipe for every celebration, or simply when a craving strikes:
- Effortlessly No-Bake: Ditch the oven and the stress of precise baking! This recipe is a dream for anyone who loves desserts but dreads the baking process. You can whip this up in record time, making it perfect for last-minute gatherings or when you simply want to enjoy a decadent treat without heating up your kitchen, especially during warmer months. It’s truly a no-fuss, all-flavor solution.
- The Ultimate Flavor Trio: Oreo, Chocolate, and Peanut Butter: Some combinations are just destined for greatness, and this trio is at the pinnacle! The rich, classic flavor of Oreo cookies forms the perfect foundation, providing a deep chocolatey crunch. This is beautifully complemented by the creamy, savory notes of peanut butter, and finally crowned with a luscious, bittersweet dark chocolate ganache. Each layer builds upon the last, creating a harmonious symphony of flavors and textures that is simply irresistible.
- A Guaranteed Thanksgiving Winner (or Any Holiday!): Searching for a dessert that will stand out on your holiday table and earn rave reviews? Look no further! This Peanut Butter Chocolate Pie is a crowd-pleasing masterpiece that will have everyone talking. Its stunning presentation and universally loved flavors make it an ideal centerpiece for Thanksgiving, Christmas, potlucks, or any special occasion where you want to impress your guests with minimal effort. Prepare for compliments and requests for the recipe!
- Simple & Few Ingredients: Forget about a daunting, lengthy shopping list! This recipe prides itself on its simplicity, requiring only a handful of readily available ingredients. You’ll be amazed at how such an incredible dessert can be created from such a straightforward list. This makes it not only easy to prepare but also budget-friendly, proving that you don’t need exotic ingredients to create something truly spectacular.
Essential Grocery Store List for Your Peanut Butter Chocolate Pie
While many of these items might already be staples in your pantry, I’ve highlighted some key ingredients for this delicious Peanut Butter Chocolate Pie that you might want to specifically add to your shopping list. For the complete, detailed list of ingredients and precise measurements, be sure to check out the comprehensive recipe card below!
- Oreo Cookies: The star of our crunchy, chocolatey crust! For the best results and a deep flavor, stick with original Oreo cookies. A regular-sized pack will suffice for the crust, but if you love an extra garnish or simply want more for snacking, I recommend grabbing a family size. Crushing them finely ensures a cohesive and firm base for your pie.
- Unsalted Butter: This is crucial for binding the Oreo crumbs into a perfectly solid crust. You’ll need it melted to mix thoroughly. While unsalted butter is generally preferred in baking to control the salt content, for this crust, salted butter can also work if that’s all you have on hand, adding a slight savory note that complements the sweet.
- Creamy Peanut Butter: The heart of our pie! It’s absolutely essential to use creamy peanut butter for that smooth, luscious filling texture. Brands like Jif or even a good quality store-brand (like Walmart’s off-brand, as mentioned) work wonderfully. Avoid natural peanut butter that requires stirring, as its oil separation can affect the consistency of the filling.
- Powdered Sugar: Also known as confectioners’ sugar, this fine sugar is key to creating a silky-smooth peanut butter filling that doesn’t feel gritty. There’s no need for sifting here; simply pour it in and mix until fully incorporated for a perfectly smooth texture.
- Semi-Sweet Chocolate Chips: For the rich, velvety chocolate ganache topping, semi-sweet chocolate chips are my top choice. They strike the perfect balance, ensuring the ganache is decadent without being overly sweet, beautifully complementing the peanut butter and Oreo flavors. While dark chocolate chips can also be used for a more intense flavor, milk chocolate might make the pie too sweet, potentially overpowering the other elements.
- Heavy Cream: This is the secret ingredient for a truly luxurious, smooth, and glossy chocolate ganache. When heated and combined with the chocolate chips, heavy cream provides that rich, creamy texture that makes the ganache so wonderfully pourable and indulgent. It’s essential for achieving the perfect consistency.
- Flaky Salt: Don’t skip this magical finishing touch! A delicate pinch of flaky sea salt sprinkled over the dark chocolate ganache is a game-changer. It enhances the chocolate and peanut butter flavors, cutting through the sweetness and adding a sophisticated contrast that brightens every bite. It’s a simple addition that makes a significant impact.
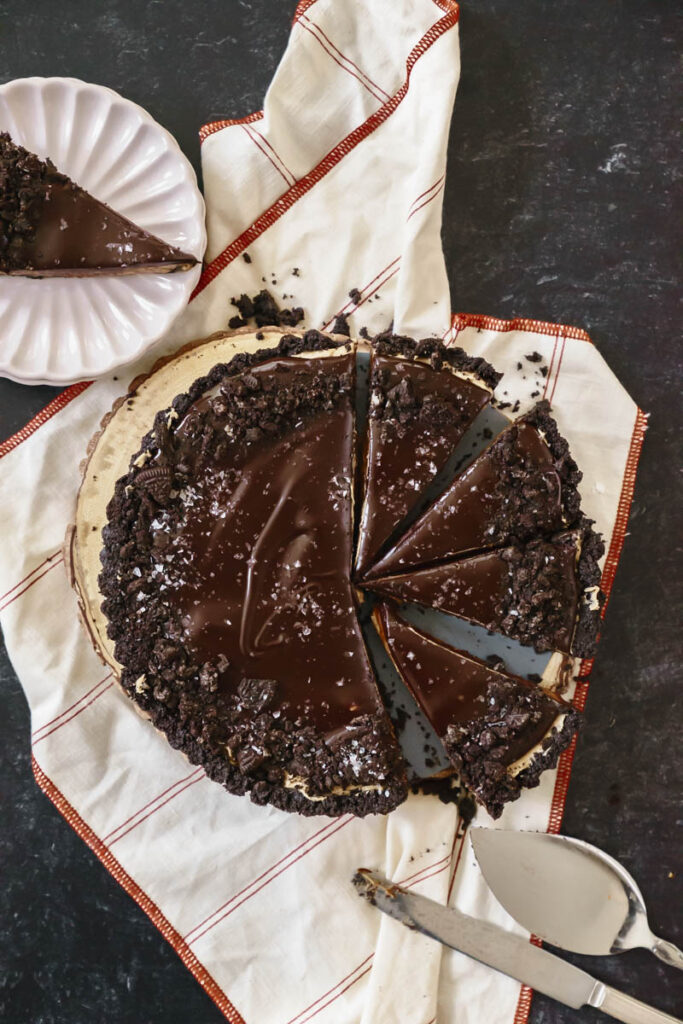
Expert Tips for Crafting the Perfect No-Bake Peanut Butter Chocolate Pie
Achieving dessert perfection is all about the details! Here, I’ve compiled some invaluable tips to ensure your No-Bake Peanut Butter Chocolate Pie turns out absolutely flawless and delicious every single time. For the full, step-by-step instructions, make sure to consult the complete recipe card provided below.
- Choose High-Quality Ingredients: The flavor of your pie is only as good as its components. Opt for good quality Oreo cookies, creamy peanut butter you genuinely enjoy, and decent chocolate chips for the ganache. These choices will significantly impact the final taste and texture of your dessert.
- Finely Crush Oreo Cookies for the Crust: A consistent, sturdy crust is key. Use a food processor or a high-powered blender to pulverize your Oreo cookies until they resemble fine, uniform crumbs. This fine texture allows the melted butter to bind them perfectly, preventing a crumbly crust and ensuring it holds its shape beautifully when sliced.
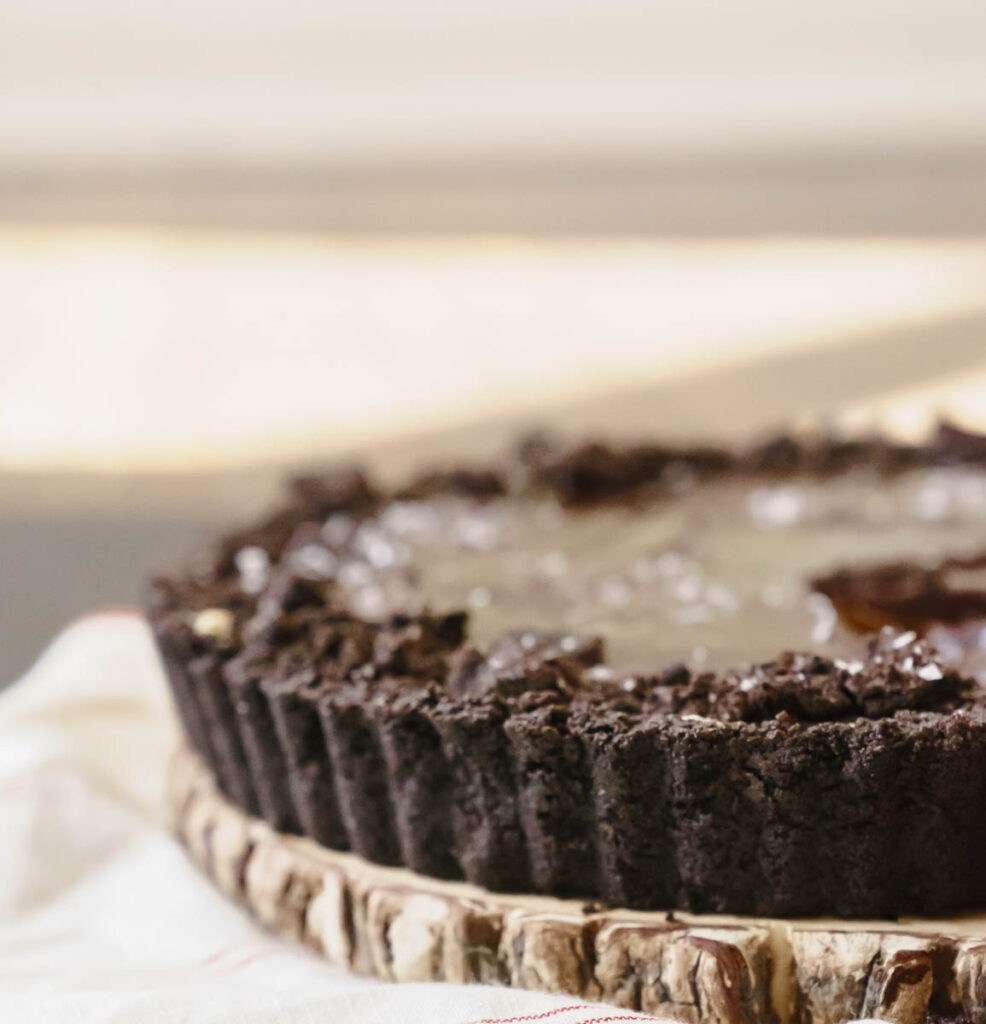
- Press the Crust Evenly and Firmly: After combining the Oreo crumbs with melted butter, it’s crucial to press the mixture firmly and evenly into your tart pan. Use the bottom of a flat glass or the back of your hand to create a compact and uniform layer on both the bottom and sides. This prevents the crust from falling apart when you serve it.
- Utilize Room Temperature Butter and Peanut Butter for a Creamy Filling: For the ultimate smooth and light peanut butter filling, ensure both your unsalted butter and creamy peanut butter are at room temperature. This allows them to cream together effortlessly with the powdered sugar, resulting in a perfectly airy and lump-free filling that melts in your mouth.
- Gradually Mix the Ganache for a Smooth Finish: When preparing the chocolate ganache, don’t rush the process. After pouring hot heavy cream over the chocolate chips, let it sit undisturbed for a few minutes (covering it can help). Then, stir gently from the center outwards until all the chocolate is melted and the mixture is perfectly smooth and glossy. Over-stirring or aggressive mixing can sometimes lead to a less desirable texture.
- Don’t Skip the Flaky Salt on Top: This seemingly small addition makes a world of difference. A sprinkle of flaky sea salt on top of the chocolate ganache provides a crucial counterpoint to the sweetness of the pie, enhancing the flavors of both the chocolate and peanut butter. It adds a sophisticated touch and a delightful flavor contrast.
- Chill the Pie for at Least Two Hours: Patience is a virtue, especially with no-bake pies! Allowing the pie to chill in the refrigerator for a minimum of two hours is essential. This time allows the crust to firm up, the peanut butter filling to set, and the ganache to reach its ideal consistency, making for clean slices and a truly satisfying texture. Overnight chilling is even better for optimal results.
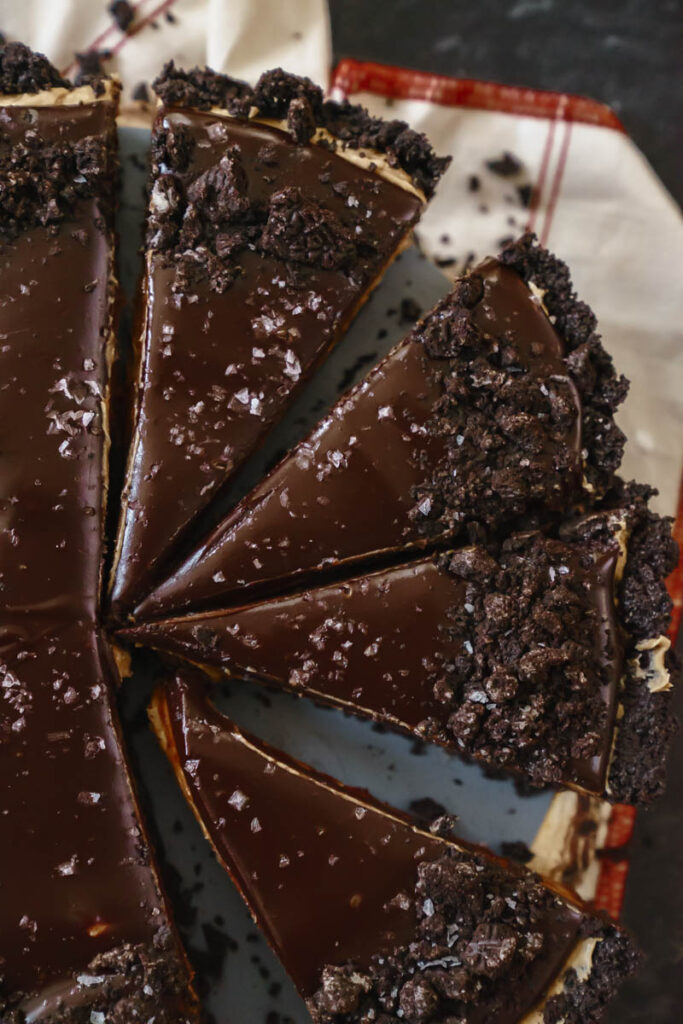
- Use a Hot, Clean Knife for Clean Slices: For picture-perfect slices, warm your knife under hot water, then wipe it clean and dry before each cut. The warm blade will glide through the chocolate ganache and creamy filling without dragging, leaving you with beautifully neat and presentable portions.

What’s In Molly’s Kitchen? Recommended Tools for Your No-Bake Pie
Having the right tools can make all the difference in the kitchen, especially when crafting delicious desserts like this Peanut Butter Chocolate Pie. Here’s a curated list of essential tools I highly recommend to ensure a smooth and enjoyable baking (or rather, no-baking!) experience.
- Food Processor or Blender: Absolutely indispensable for achieving those perfectly fine Oreo cookie crumbs for your pie crust. A powerful food processor or blender will make quick work of crushing them evenly, ensuring a cohesive and professional-looking base.
- Medium-Sized Bowl: You’ll need this trusty bowl to effortlessly combine your crushed Oreo cookie crumbs with the melted butter for the crust. Its versatility makes it a kitchen workhorse for many steps in this recipe.
- Tart Pan with Removable Bottom: This specific pan is a game-changer for serving your pie. The removable bottom allows for easy release of the pie without damaging the delicate crust or filling, making for a stunning presentation. A standard 9-inch tart pan is ideal.
- Hand Mixer: Essential for whipping up the creamy peanut butter filling. A hand mixer ensures your butter and peanut butter are perfectly creamed, resulting in a light, airy, and lump-free texture that’s simply divine.
- Rubber Spatula: A versatile tool that you’ll reach for constantly. It’s perfect for scraping down the sides of your mixing bowl to ensure all ingredients are thoroughly incorporated, and for gently spreading the filling and ganache.
- Microwave-Safe Bowl: Crucial for heating your heavy cream to the perfect temperature for the chocolate ganache. Choose one that’s large enough to comfortably whisk in your chocolate chips.
- Spoon or Small Offset Spatula: These tools are perfect for spreading the luscious chocolate ganache evenly over your peanut butter filling. An offset spatula, with its angled blade, is particularly handy for achieving a smooth and professional finish.
Frequently Asked Questions About This No-Bake Peanut Butter Chocolate Pie
To ensure your pie-making journey is as smooth as the ganache topping, here are answers to some common questions you might have regarding this delectable No-Bake Peanut Butter Chocolate Pie. If you have any further questions, please don’t hesitate to leave a comment below!
Can I use natural peanut butter instead of creamy peanut butter?
It’s highly recommended to stick with creamy, processed peanut butter (like Jif or Skippy) for this recipe. Natural peanut butter, especially those that separate oil, can significantly alter the texture and consistency of the filling, making it less stable and potentially greasy. Creamy peanut butter provides the necessary body and emulsification for that perfectly smooth, fluffy texture.
How long does the pie need to chill in the refrigerator?
A minimum chilling time of two hours in the refrigerator is essential for the pie to set properly, allowing the crust to firm up and the filling and ganache to achieve their ideal textures. However, for the best possible flavor and firmest slices, I highly recommend a longer chilling time of 2-3 hours, or even better, overnight. This extra time allows all the flavors to meld beautifully.
Can I make this pie in advance?
Absolutely! This No-Bake Peanut Butter Chocolate Pie is an excellent make-ahead dessert, which is perfect for holiday planning or entertaining. You can easily prepare the entire pie a day in advance. Simply cover it well with plastic wrap or place it in an airtight container, and store it in the refrigerator until you’re ready to serve. This allows the flavors to deepen and the pie to firm up wonderfully.
What if I don’t have a tart pan with a removable bottom?
While a tart pan with a removable bottom is ideal for easy serving and a beautiful presentation, you can still make this pie! A regular 9-inch pie plate will work just fine. You won’t be able to remove the pie from the pan for serving, but it will still be incredibly delicious. Just be prepared to slice and serve directly from the pie plate.
Can I use a different type of chocolate for the ganache?
Semi-sweet chocolate chips are recommended for their balanced flavor profile. You could use dark chocolate for a more intense, less sweet ganache, which some prefer. However, milk chocolate tends to be much sweeter and might make the overall pie overly rich. If using dark chocolate, you might consider slightly adjusting the sugar in the peanut butter filling to maintain balance, though it’s often not necessary with the salt.

Storing and Freezing Your No-Bake Peanut Butter Chocolate Pie
Proper storage is key to enjoying your delicious Peanut Butter Chocolate Pie for as long as possible. To maintain its optimal freshness and delightful flavor, always cover the pie tightly with plastic wrap or transfer it to an airtight container. Keep it refrigerated, where it will stay wonderfully fresh for up to 3-4 days. For extended enjoyment, this pie also freezes beautifully, though be mindful that there might be a very slight textural change upon thawing.
Freezing Your Peanut Butter Chocolate Pie for Later
Freezing this no-bake pie is a fantastic way to prepare it in advance or save leftovers for a future treat. To freeze your Peanut Butter Chocolate Pie successfully, first ensure it’s thoroughly chilled in the refrigerator until completely firm. Once firm, wrap the entire pie (or individual slices) tightly in several layers of plastic wrap. This crucial step helps prevent freezer burn, preserving the pie’s flavor and texture. After wrapping, place it in an additional layer of protection, such as an airtight freezer-safe container or a heavy-duty freezer bag. Don’t forget to label it with the date! The pie can be stored in the freezer for up to 2-3 months. When you’re ready to indulge, simply transfer the frozen pie to the refrigerator and allow it to thaw slowly overnight or for several hours before serving. This gradual thawing helps maintain its best texture.
Remember to LEAVE A 5-STAR REVIEW AND A COMMENT below if you absolutely love this recipe or if you have any questions along the way. Your feedback helps other dessert enthusiasts! Also, be sure to follow me on Instagram, Pinterest, and TikTok. I share so many fun things, delicious recipes, and behind-the-scenes glimpses on all platforms!
The Ultimate No-Bake Peanut Butter Chocolate Pie Recipe!
Ready to create a dessert that will truly be the star of your next gathering? This easy no-bake recipe combines the beloved flavors of peanut butter, chocolate, and Oreo cookies into one incredibly satisfying pie. Follow these simple steps to bring this decadent treat to life!
Peanut Butter Chocolate Pie
Molly Murphy
Pin Recipe
Ingredients
For The Crust:
- 2 cups of finely crushed Oreo cookies (approximately 32 standard cookies)
- ½ cup unsalted butter (melted)
- A pinch of salt
For The Filling:
- 1 ½ cups of creamy Skippy peanut butter (or your preferred creamy brand)
- 1 cup unsalted butter (room temperature)
- ¾ cup powdered sugar
- ¼ teaspoon salt
- ½ teaspoon ground cinnamon
Ganache Topping:
- 1 cup semi-sweet chocolate chips
- ½ cup heavy cream
- A pinch of flaky salt (for garnish, highly recommended!)
Instructions
For the Crust:
-
Begin by finely crushing the Oreo cookies. You can achieve this by using a food processor or a blender until they resemble fine, uniform crumbs.
-
In a medium-sized mixing bowl, combine the finely crushed Oreo crumbs, the melted unsalted butter, and a pinch of salt. Mix thoroughly until all the crumbs are moistened and well combined.
-
Transfer this mixture into a 9-inch tart pan (preferably one with a removable bottom). Using your hand or the back of a flat-bottomed cup, press the mixture firmly and evenly into the bottom and up the sides of the pan to form a compact crust.
-
Place the prepared crust into the freezer for at least 10 minutes to allow it to set and firm up while you prepare the creamy peanut butter filling.
For the Filling:
-
In a large mixing bowl, using an electric hand mixer (or a stand mixer with the paddle attachment), cream the room temperature unsalted butter on high speed. Beat for about 2 minutes until it becomes noticeably light and fluffy.
-
Scrape down the sides of the bowl to ensure everything is incorporated. Add the creamy peanut butter and continue to beat on medium-high speed until the mixture is light, fluffy, and its volume has visibly increased, approximately 2-3 minutes.
-
Now, add the powdered sugar, a quarter teaspoon of salt, and the ground cinnamon to the peanut butter mixture. Mix on medium speed until all ingredients are fully combined and the filling is perfectly smooth.
-
Carefully spoon the rich peanut butter filling into the chilled Oreo cookie crust. Use the back of a spoon or a small offset spatula to spread it evenly across the crust, creating a smooth and uniform layer.
-
Return the pie to the freezer while you move on to preparing the decadent chocolate ganache topping.
For the Ganache Topping:
-
In a medium microwave-safe bowl, heat the heavy cream until it’s very hot and just begins to show small bubbles around the edges. Start with 30-second intervals, stirring in between, as microwave wattages vary. Be careful not to let it boil vigorously.
-
Once the cream is hot, immediately add the semi-sweet chocolate chips to the bowl. Let the mixture sit undisturbed for at least 3 minutes (you can cover the bowl with plastic wrap to trap the heat and expedite melting). This allows the residual heat from the cream to melt the chocolate.
-
After 3 minutes, gently stir the mixture with a spoon or whisk until all the chocolate has melted and you have a completely smooth, glossy, and luxurious ganache.
-
Carefully pour the warm chocolate ganache evenly over the cooled peanut butter filling. Use the back of a spoon or a small offset spatula to spread it gently from the center outwards, ensuring a smooth and even layer.
-
For that perfect gourmet touch, generously sprinkle a pinch of flaky salt over the freshly spread ganache. This enhances the flavors beautifully.
-
Cover the pie tightly and refrigerate for at least 2 hours, or until it’s completely set and ready to be served. Overnight chilling yields the best results. Enjoy your spectacular No-Bake Peanut Butter Chocolate Pie!
