Ultimate Cookie Dough Brownies: Fudgy, Chewy, and Decadent Layers of Bliss
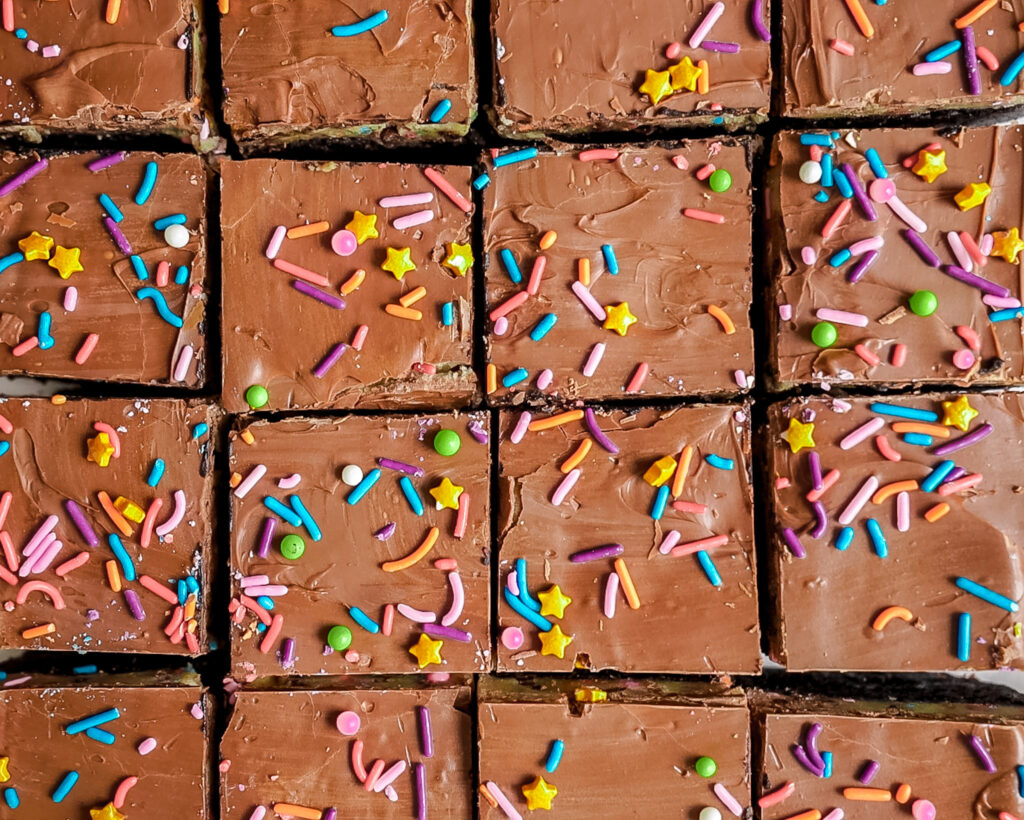
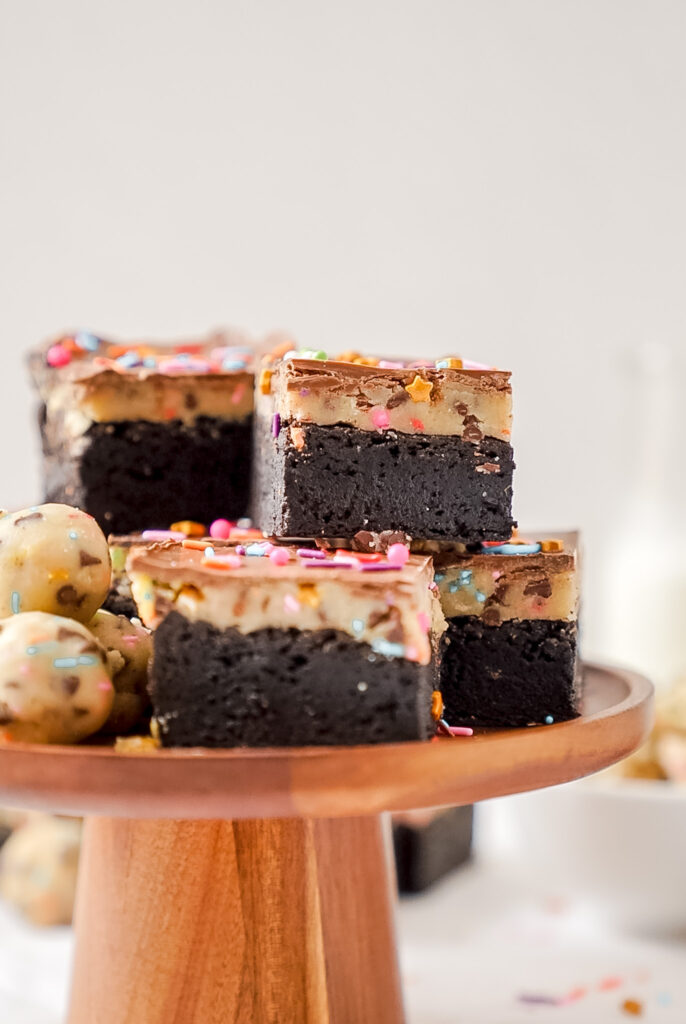
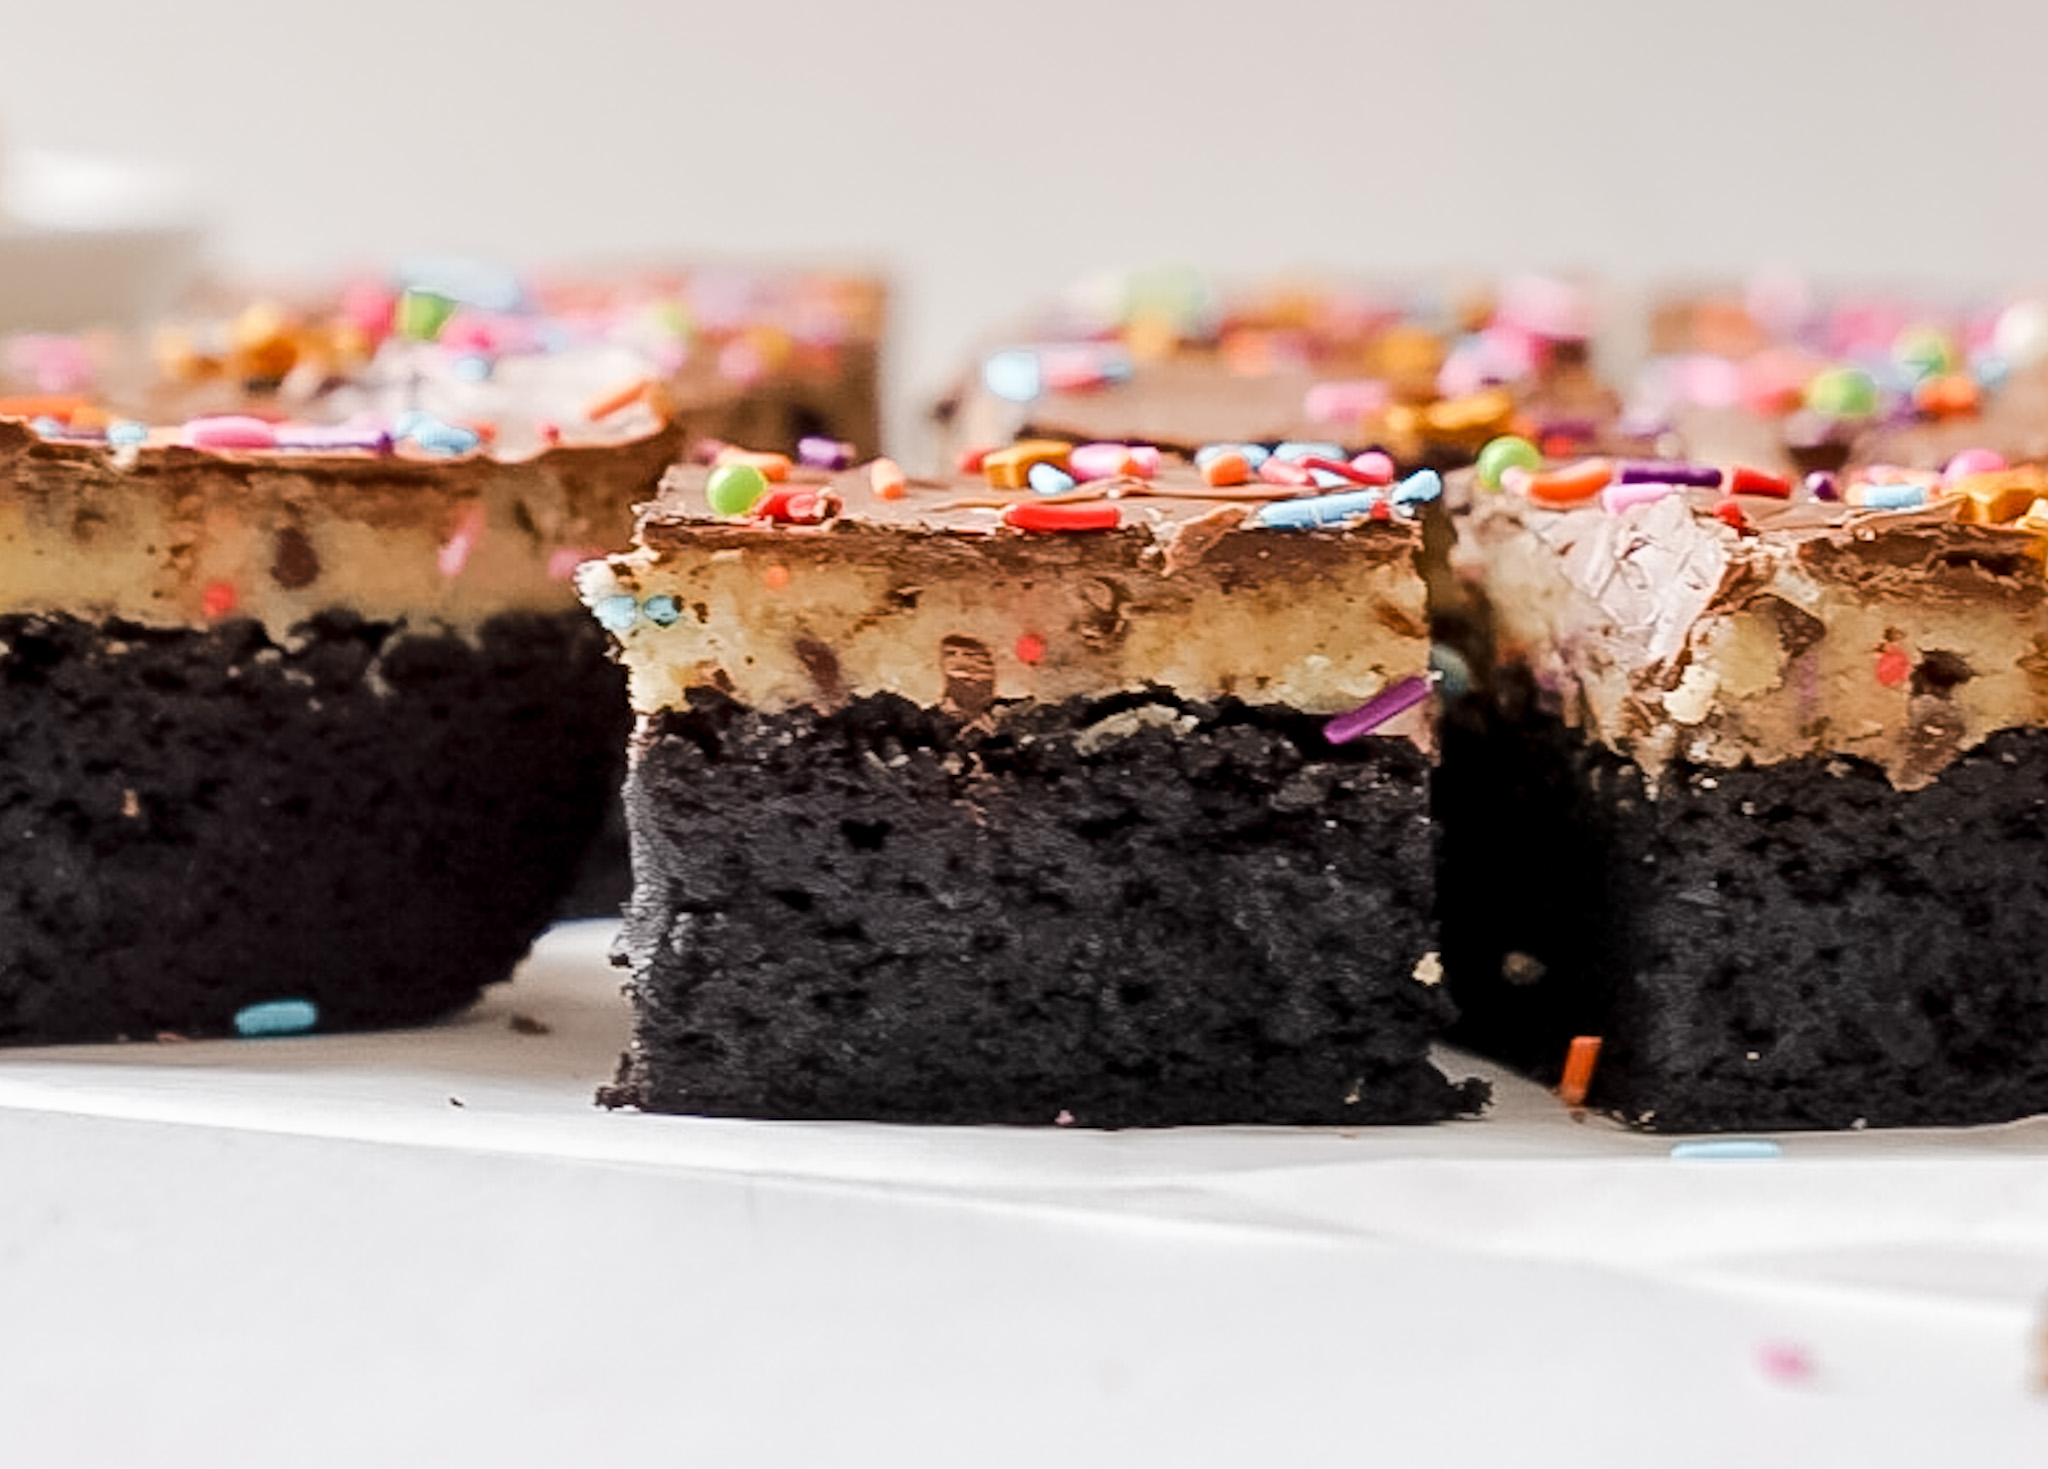
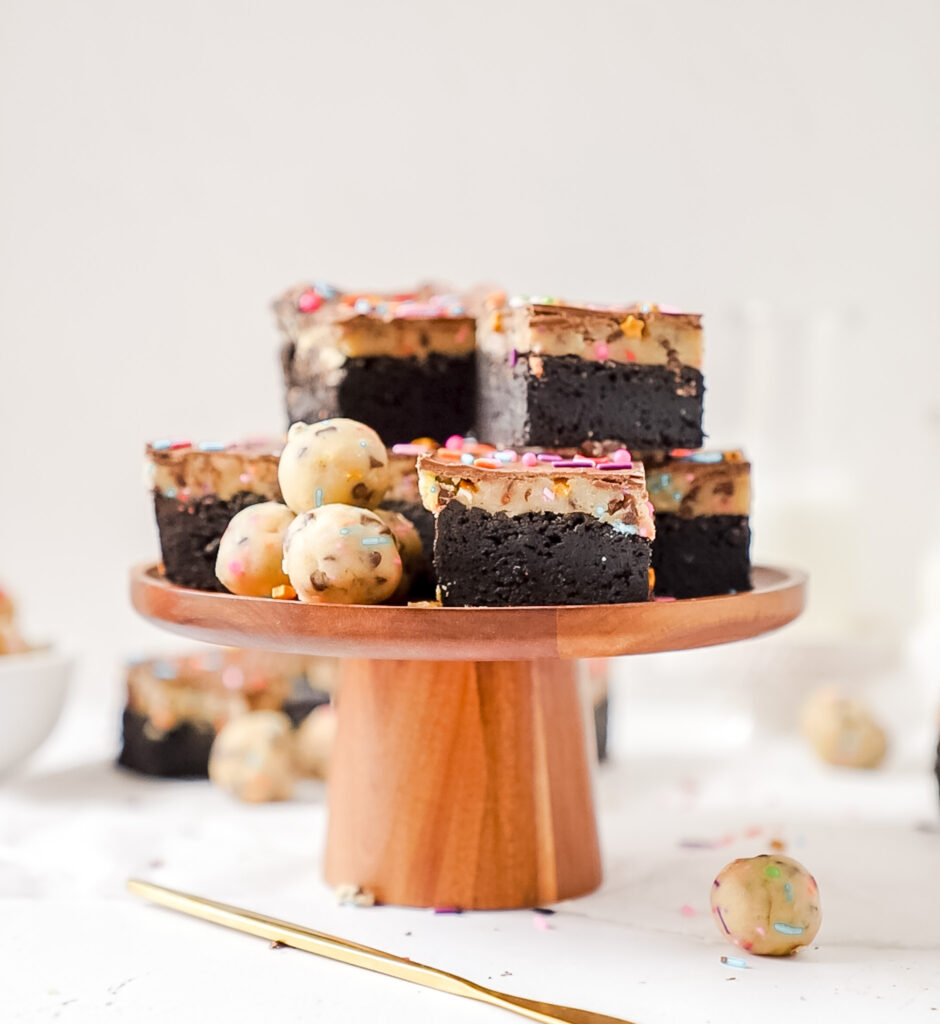
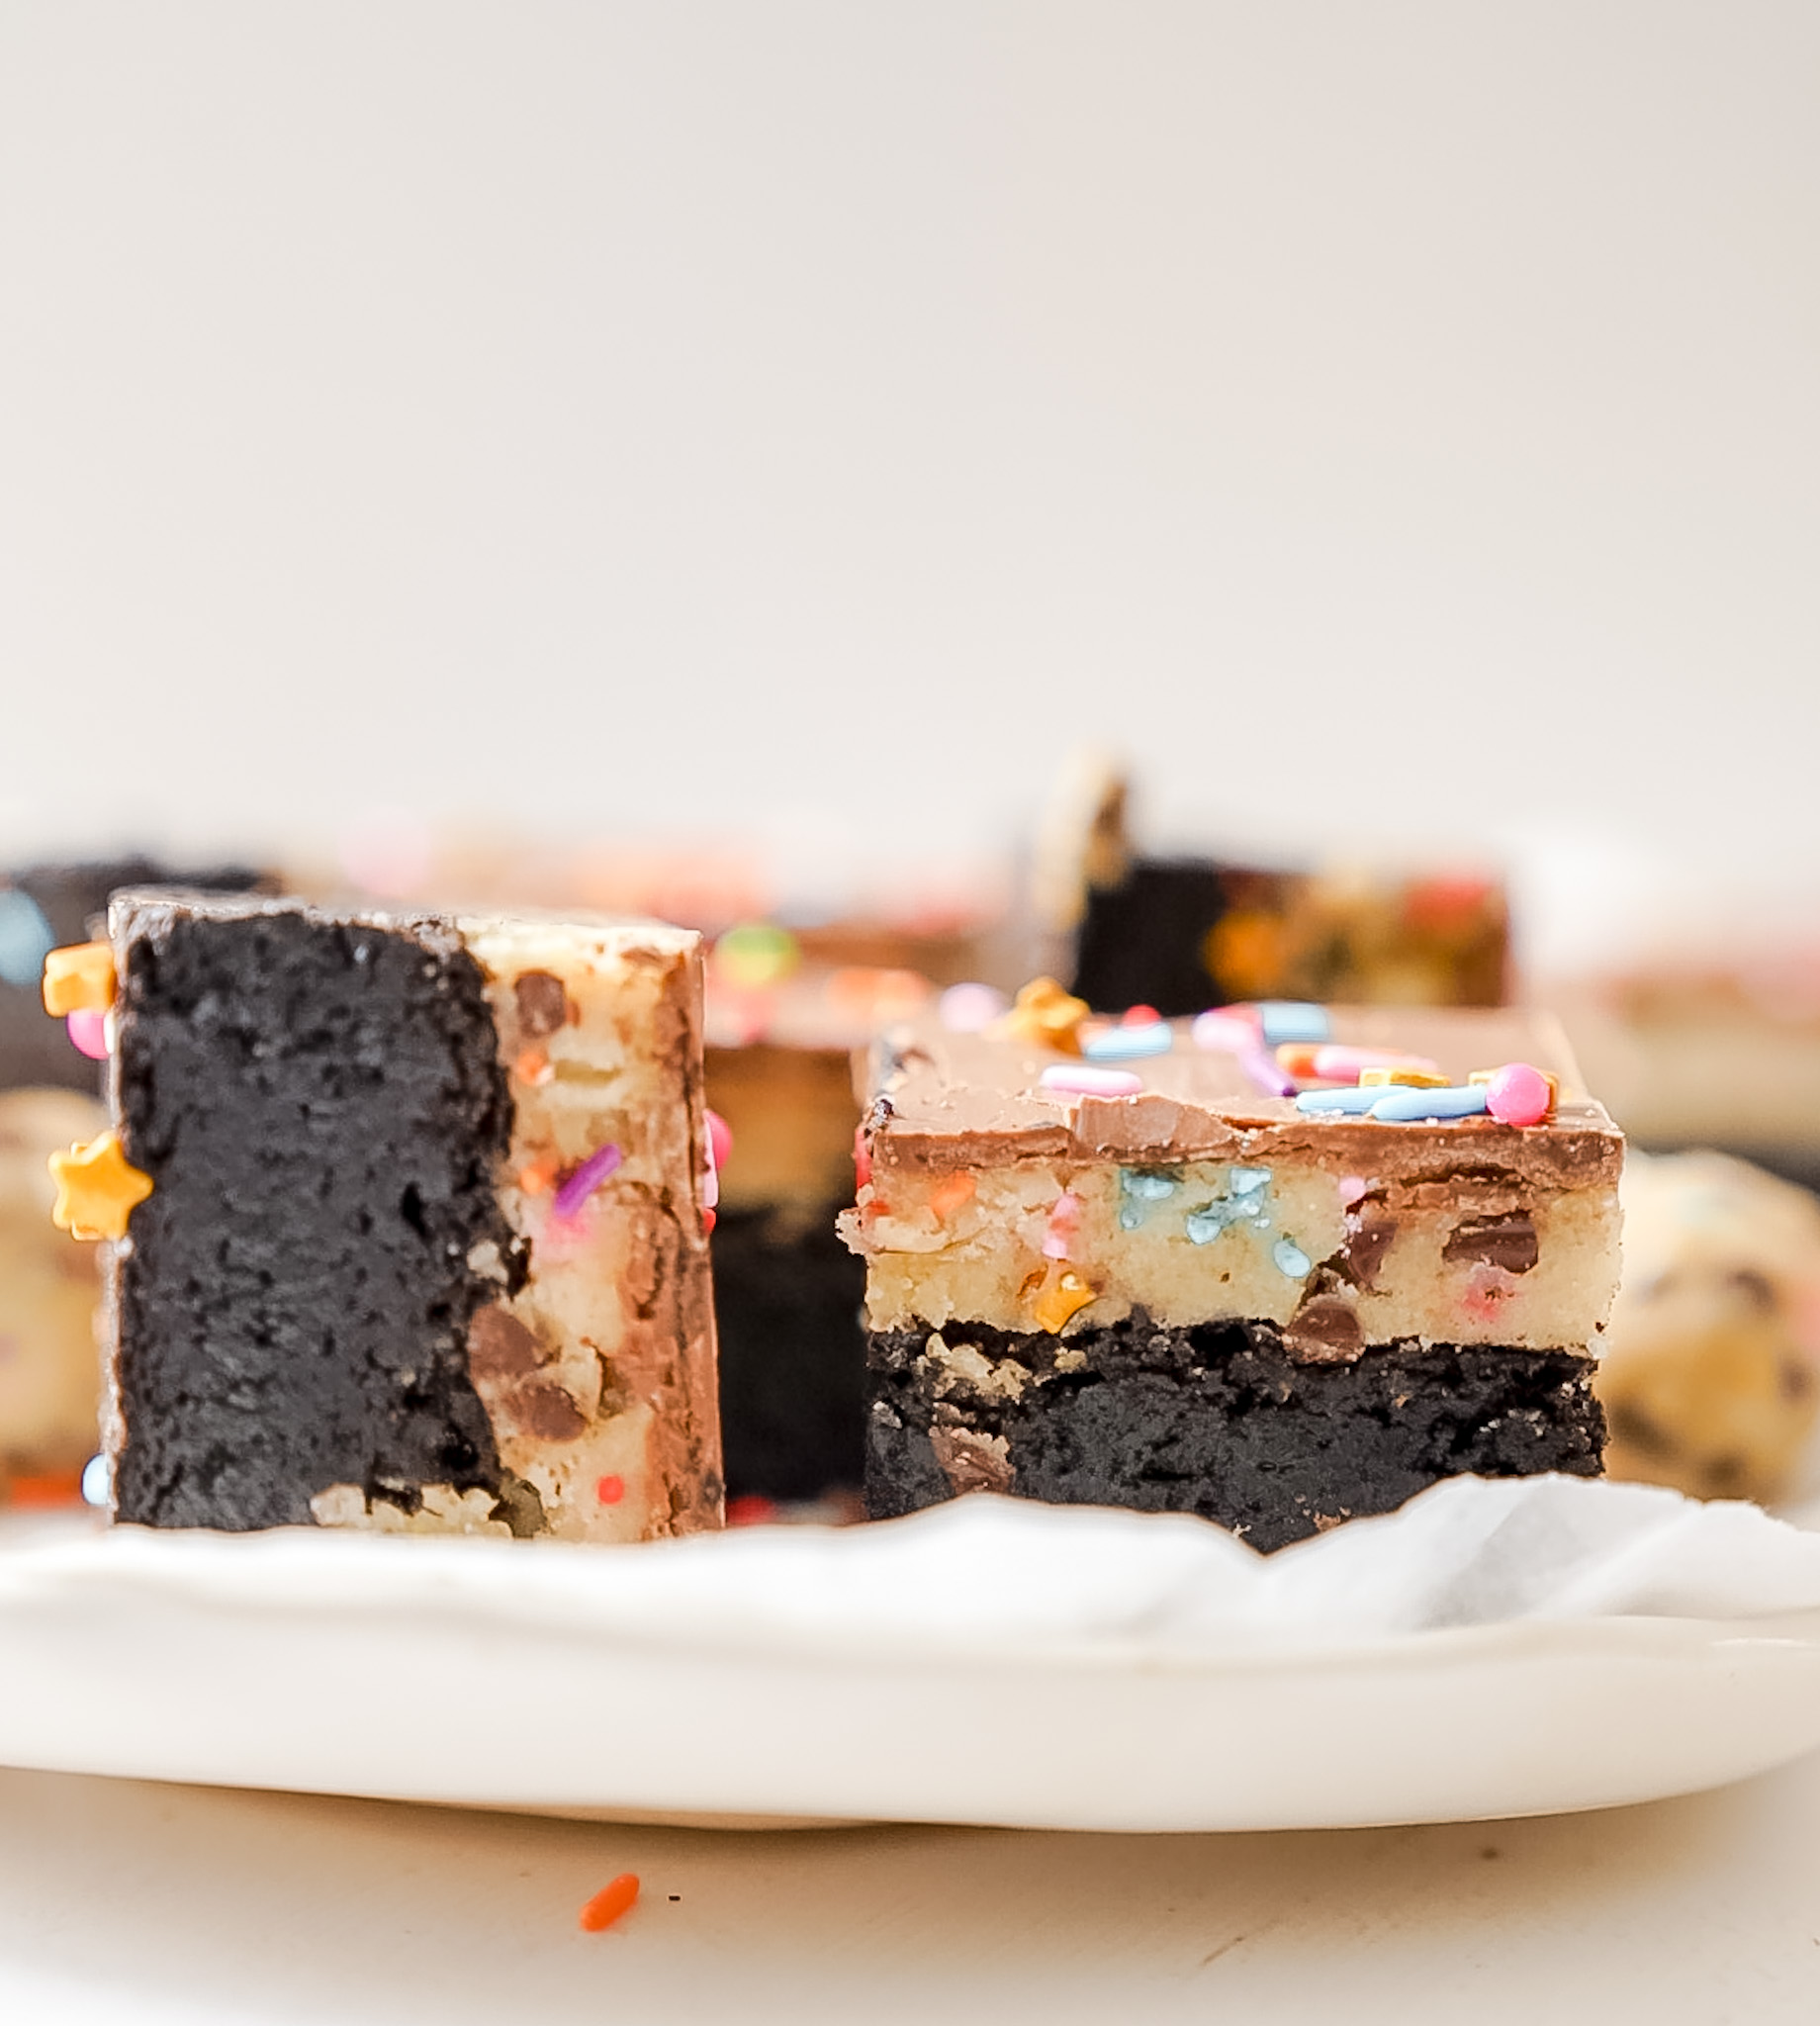
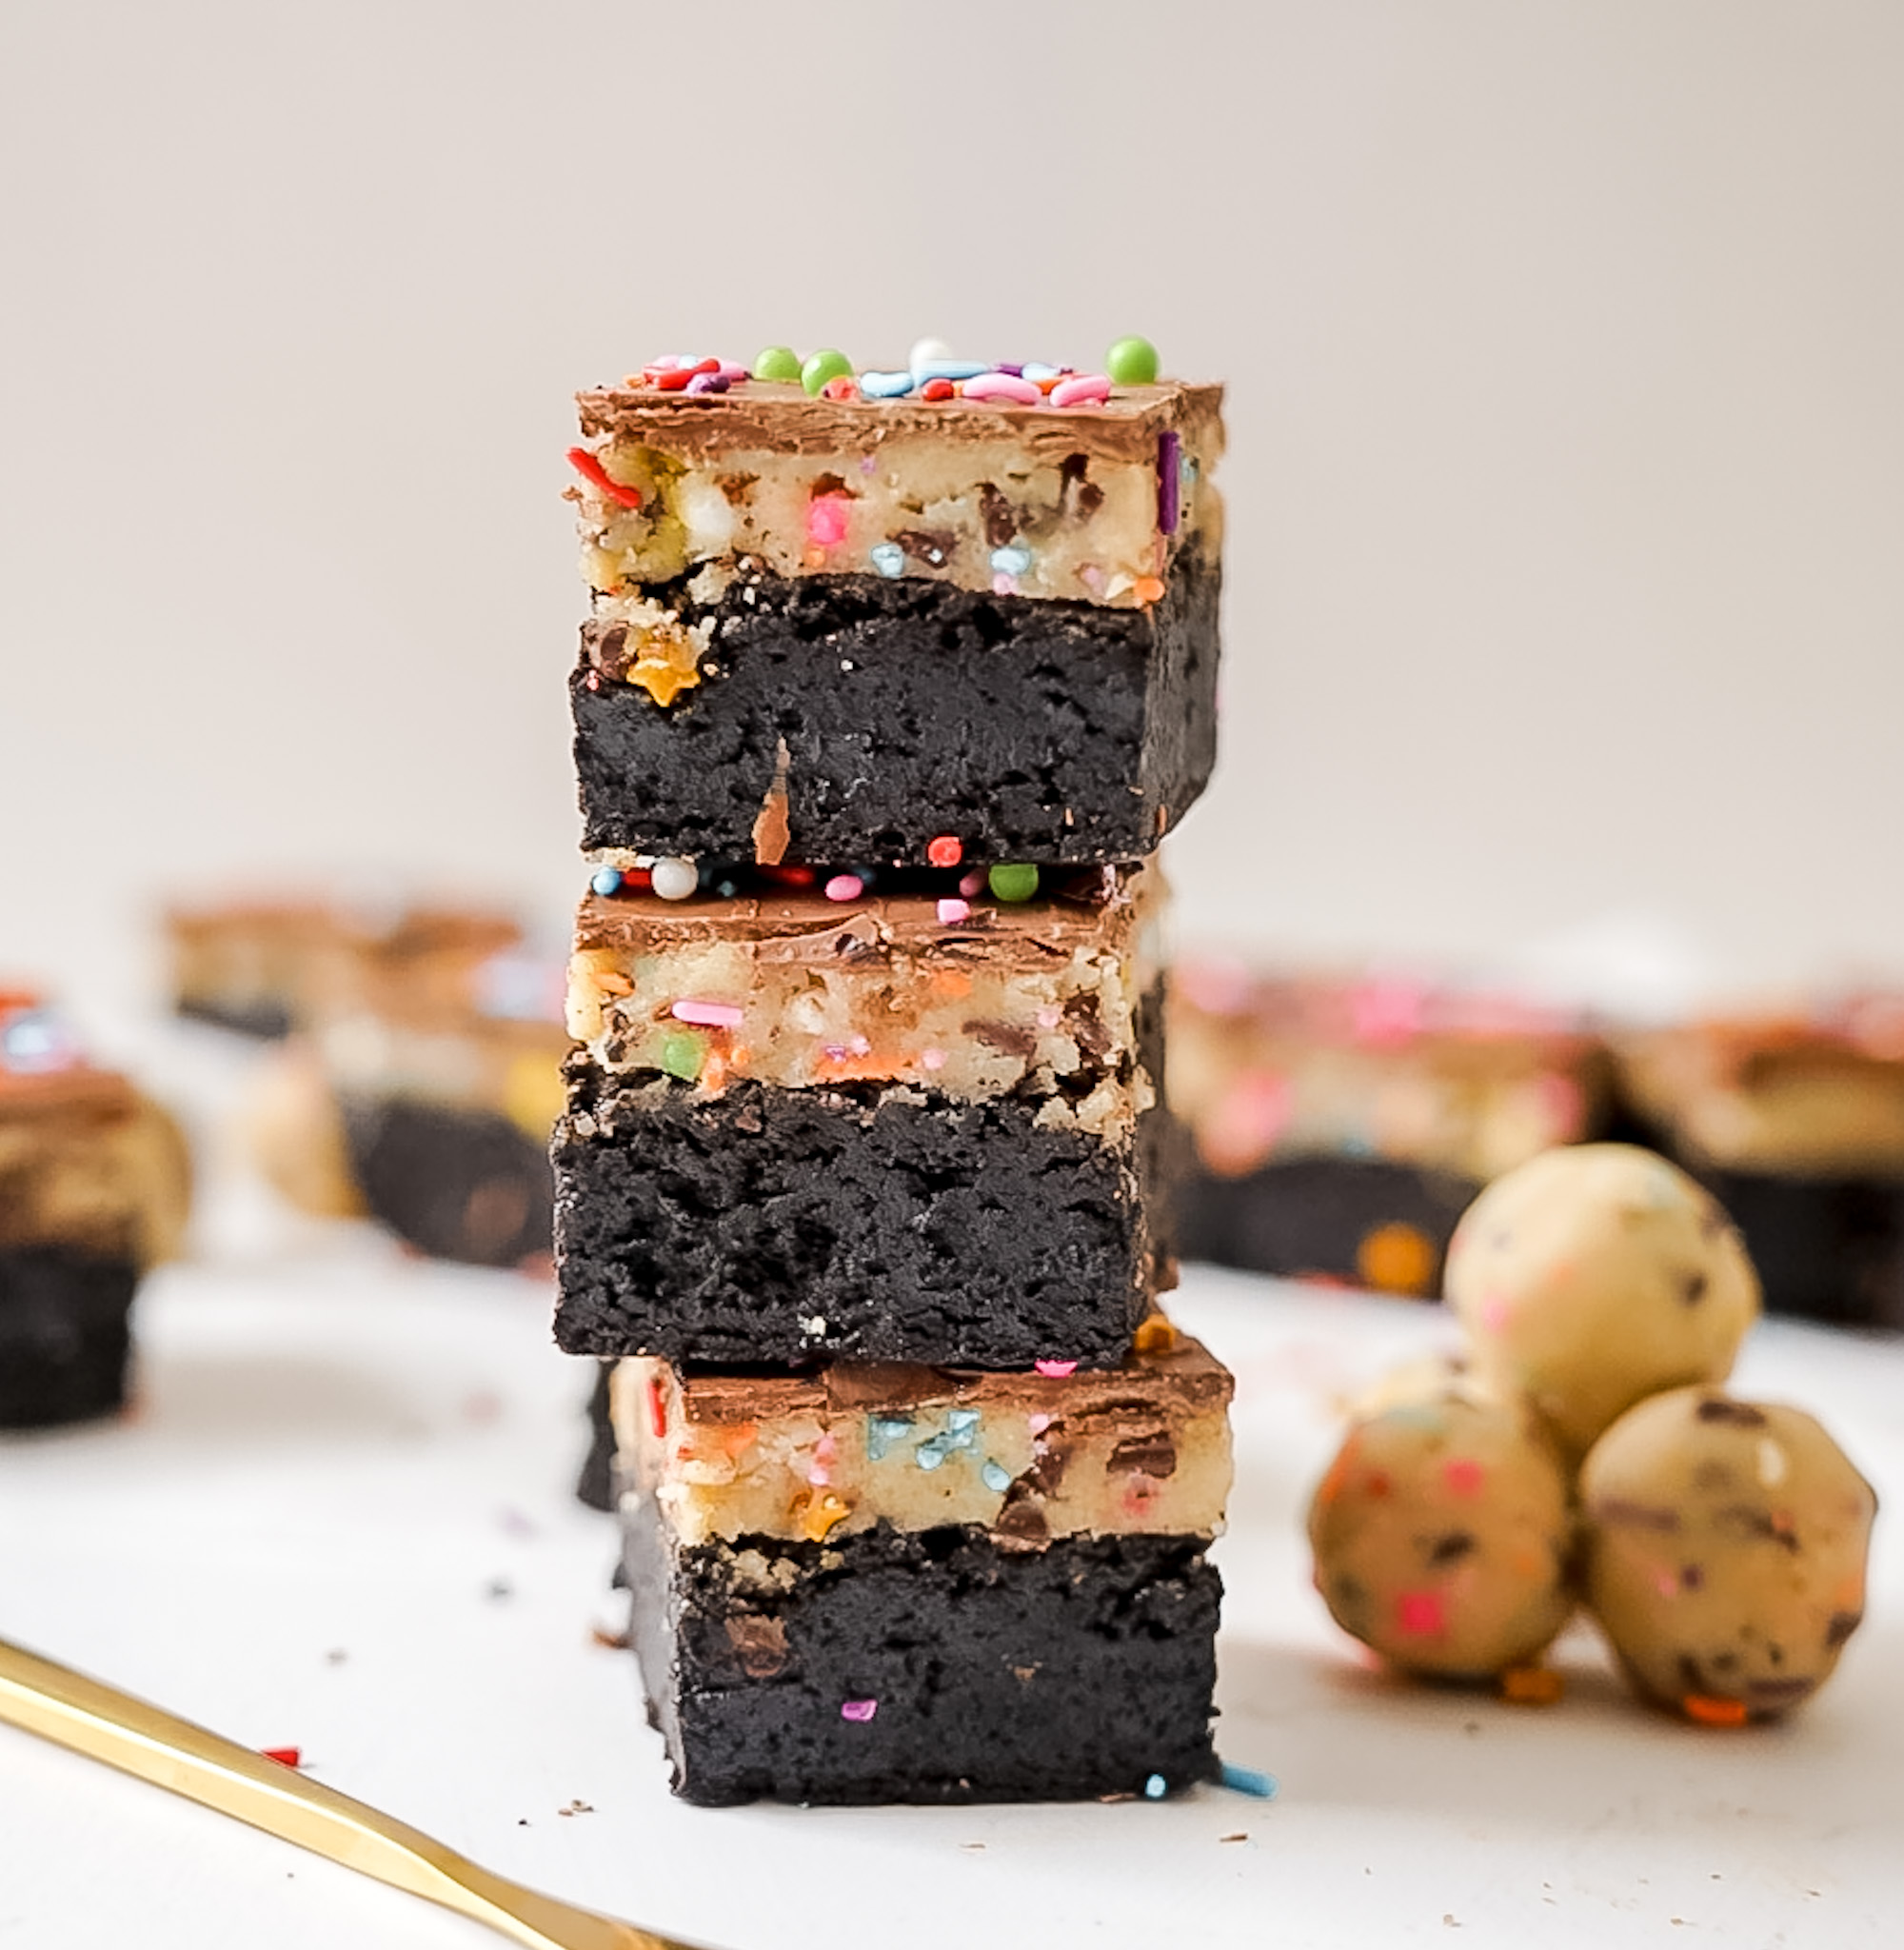
Get ready to elevate your dessert game with these show-stopping **Cookie Dough Brownies**! Imagine sinking your teeth into a perfectly soft, intensely fudgy, and delightfully chewy brownie base, then hitting a luscious layer of rich, creamy edible cookie dough, all crowned with a snappy, decadent chocolate shell. This isn’t just a dessert; it’s an experience—a harmonious blend of textures and flavors designed to satisfy every sweet craving. We’re confident you’ll find this to be the most delicious and satisfying cookie dough brownie recipe you’ve ever tried.
The Best Brownies: A Quest for Perfection
My culinary journey has often led me down paths in search of perfection, and the quest for the ultimate brownie was no exception. For years, I experimented, tinkered, and taste-tested, determined to create a homemade brownie that could truly stand head and shoulders above the rest. While those convenient boxed mixes certainly serve their purpose in a pinch, I craved something more: a brownie that was not just good, but utterly irresistible. I envisioned a brownie with an intense chocolate flavor, a dense and fudgy interior, a satisfyingly chewy bite, and that hallmark shiny, crinkly top that signals brownie perfection. This particular recipe, forming the base of our incredible cookie dough brownies, is the triumphant result of that tireless pursuit. It’s a recipe I’ve fallen completely in love with, and I believe you will too.


So What Makes These Brownies Extraordinarily Good?
The secret behind the unparalleled fudginess, chewiness, and deep chocolate flavor of my brownies comes down to a few critical choices in ingredients. These small adjustments make an enormous difference, transforming a simple brownie into a truly extraordinary dessert.
Firstly, I am incredibly generous with the **unsalted butter**. Butter is not just a fat; it’s a flavor carrier and a texture enhancer. A substantial amount of butter in the brownie batter ensures an incredibly rich taste and contributes significantly to that moist, melt-in-your-mouth fudgy texture we all crave. It helps create a tender crumb and prevents the brownies from becoming dry or cakey.
Secondly, and perhaps most impactful, is the deliberate choice to use **light brown sugar instead of white granulated sugar** for the brownie base. This simple swap is a game-changer! Brown sugar contains molasses, which is a natural humectant – meaning it attracts and retains moisture. This is key to keeping the brownies wonderfully soft and incredibly moist for days, while also imparting a distinctive chewy texture. Beyond moisture and chewiness, the molasses in brown sugar introduces a complex, caramel-like undertone that deepens the overall chocolate flavor. This nuanced sweetness gives the brownies a “darker,” more sophisticated taste profile that truly sets them apart from typical sugar-laden recipes, making them simply amazing.
Together, these two ingredients work in harmony to create a brownie base that is not only intensely chocolatey but also perfectly balanced in sweetness, with an irresistible texture that is both dense and tender.
Key Ingredients for Your Decadent Cookie Dough Brownies
Crafting these sensational cookie dough brownies requires a thoughtfully selected array of quality ingredients. Each component plays a vital role in achieving the perfect balance of flavor and texture in every delectable layer. Here’s a detailed look at what you’ll need:
- Unsalted Butter: The foundation of richness for both the brownie and the cookie dough. Using unsalted butter allows you to control the salt content precisely.
- Light Brown Sugar: Essential for the brownies, this sugar’s molasses content ensures a moist, fudgy, and chewy texture with a deeper, caramelized flavor. It’s also used in the cookie dough for its distinct taste.
- Granulated Sugar: Primarily for the edible cookie dough, providing classic sweetness and contributing to its texture.
- Large Eggs (Room Temperature): For the brownie layer, room temperature eggs emulsify better with the butter and sugar, leading to a smoother batter and a more uniform texture in the final baked good.
- Dark Cocoa Powder (This is a must!): Do not compromise on this! A high-quality dark cocoa powder (such as Dutch-processed) is crucial for an intense, deep, and truly decadent chocolate flavor that is the hallmark of an exceptional brownie.
- Salt: A pinch of salt is vital in both layers. It balances the sweetness, enhances the chocolate and butter flavors, and prevents the dessert from tasting flat.
- Pure Vanilla Extract: A fragrant and essential flavor enhancer. Use pure vanilla for the best aroma and taste; it adds warmth and depth to both the brownie and cookie dough.
- All-Purpose Flour: The primary structural ingredient for both the brownie base and the edible cookie dough. Proper measurement (spoon and level) is key to prevent dense or dry results.
- Mini Chocolate Chips: A non-negotiable for the edible cookie dough layer! Their small size ensures that every bite of cookie dough has a delightful burst of chocolate.
- Melted Dark Chocolate Wafers or Chips: For the top layer, providing a crisp, shiny finish and an extra layer of chocolatey goodness. Ensure they are cooled slightly after melting.
- Sprinkles (Optional): For a festive flourish and a fun pop of color, especially great for celebrations.
How to Make These Irresistible Cookie Dough Brownies: Step-by-Step
Creating these magnificent layered cookie dough brownies is a joyful process, and each of the three distinct layers is surprisingly simple to master. While the brownies bake up relatively quickly, remember that patience is a virtue, especially when it comes to cooling. Allowing each layer to chill and set properly is the key to achieving those clean, beautiful slices and the perfect texture. Trust me, the anticipation only makes the final indulgence even sweeter!
Crafting the Fudgy Brownie Base:
The journey begins with our intensely fudgy brownie base. This recipe is designed to be straightforward, ensuring even beginner bakers can achieve spectacular results. First, you’ll melt the unsalted butter and light brown sugar together. This creates a glossy, rich foundation for the batter. Next, whisk in the room-temperature eggs, one at a time. The vigorous whisking, particularly after adding the eggs, helps to incorporate air and develop that signature shiny, crinkly top that is the hallmark of a truly great brownie. Finally, gently fold in your dry ingredients – the dark cocoa powder, all-purpose flour, and a pinch of salt – along with the vanilla extract. Be careful not to overmix at this stage; overmixing can develop gluten, leading to a tougher, more cake-like brownie. Pour the luscious batter into your prepared pan, bake until just set, and then the most important part for fudginess: let them cool completely. This step is non-negotiable for a perfect base.
Preparing the Dreamy Edible Cookie Dough:
This isn’t just a regular cookie dough; it’s specifically formulated to be perfectly safe and incredibly delicious for eating raw! There’s no need for eggs, which means you can enjoy it straight from the mixing bowl without any concerns. You’ll start by creaming together softened unsalted butter with both granulated and light brown sugars until the mixture is beautifully light and fluffy. This creaming process is crucial for achieving that characteristic soft, tender cookie dough texture. A generous amount of pure vanilla extract is then added to deepen the flavor. After that, slowly incorporate the all-purpose flour and a touch of salt. Mix until the dry ingredients are just combined and a cohesive, smooth cookie dough forms. The final, essential addition is **mini chocolate chips**. Their smaller size ensures that every single bite of the cookie dough layer is studded with delightful pockets of chocolate. Mix them in gently, and voilà – you have a luscious, safe, and utterly irresistible edible cookie dough ready to adorn your cooled brownies!
Adding the Decadent Melted Chocolate Topping:
The grand finale is a sleek, rich melted chocolate layer that adds an elegant finish and a delightful snap when you bite into it. I highly recommend using a double boiler method to melt your dark chocolate wafers or chips; it provides gentle, even heat, resulting in a smooth, perfectly tempered chocolate. If you opt for the microwave, do so in short bursts, stirring frequently, to prevent burning. Once melted, the critical step is to allow the chocolate to cool slightly for a few minutes. It should still be pourable but not hot to the touch. Pouring warm chocolate over the chilled cookie dough layer will cause it to melt and create a messy outcome. A slightly cooled chocolate will set beautifully, creating a distinct, firm layer. Once poured, if you’re using sprinkles, now is the time to add them before the chocolate sets. A quick chill in the refrigerator will speed up the setting process, preparing your cookie dough brownies for their triumphant unveiling.

Why You Will Fall in Love with This Cookie Dough Brownie Recipe
This recipe isn’t just about baking a dessert; it’s about creating an unforgettable culinary experience that will leave everyone asking for more. Here’s why these layered cookie dough brownies are destined to become your new go-to indulgence:
- Unrivaled Flavor and Texture Combination: The interplay between the deep, dark chocolate of the fudgy brownie, the sweet and tender chew of the edible cookie dough, and the crisp snap of the chocolate topping is simply magical. Each bite is a symphony of contrasting delights.
- Guaranteed Fudgy & Chewy: Thanks to carefully selected ingredients like brown sugar and generous butter, the brownie base is consistently moist, dense, and boasts that coveted chewy edge and fudgy center that separates a good brownie from a great one.
- Safe & Satisfying Edible Cookie Dough: Indulge in the pure nostalgia of raw cookie dough without any concerns. Our special recipe ensures a delicious and perfectly safe layer that’s full of mini chocolate chips.
- Impressive Yet Achievable: Despite their stunning layered appearance, these brownies are surprisingly straightforward to make. Each step is clearly outlined, making this an accessible recipe for bakers of all skill levels.
- The Ultimate Crowd-Pleaser: Whether it’s for a birthday party, a holiday gathering, a potluck, or just a special weekend treat, these brownies are universally loved. They disappear fast, so consider making a double batch!
- Versatile for Customization: While perfect as is, this recipe also provides an excellent foundation for your own creative twists and variations (see our ideas below!).
Tips for Achieving the Perfect Cookie Dough Brownies
To ensure your cookie dough brownies come out flawlessly delicious every single time, pay attention to these key tips and tricks. They’ll help you achieve that perfect fudgy texture, distinct layers, and incredible flavor:
- Invest in Quality Ingredients: The flavor of your brownies largely depends on the quality of your ingredients. Use a good brand of unsalted butter and, crucially, a high-quality dark cocoa powder (Dutch-processed cocoa often yields a richer, less bitter chocolate flavor).
- Room Temperature Eggs: For the brownie batter, ensure your eggs are at room temperature. This helps them emulsify more effectively with the butter and sugar, creating a smoother, more uniform batter and contributing to the brownies’ desired texture and shiny, crinkly top.
- Do NOT Overbake the Brownies: This is arguably the most critical tip for fudgy brownies. Brownies continue to cook slightly from residual heat after being removed from the oven. When testing for doneness, a toothpick inserted into the center should come out with moist crumbs attached, not wet batter, but also not completely clean. Overbaking is the quickest way to end up with dry, cakey brownies.
- Patience with Cooling: Allow the baked brownies to cool completely in the pan on a wire rack before attempting to add the cookie dough layer. If the brownies are warm, the cookie dough will melt and spread, ruining the distinct layers. This step is essential for clean assembly.
- Chill the Cookie Dough Layer: After spreading the edible cookie dough over the cooled brownies, briefly place the pan in the freezer for about 10-15 minutes (or refrigerator for 30 minutes). This firms up the cookie dough, making it much easier to pour the melted chocolate on top without it sinking or melting the layer beneath.
- Cool the Melted Chocolate Slightly: Once your chocolate topping is melted, let it cool for a few minutes before pouring. It should still be liquid and pourable, but not hot. This prevents it from melting the chilled cookie dough and ensures a beautiful, firm, and glossy chocolate layer.
- Use Parchment Paper for Easy Removal: Line your baking pan with parchment paper, leaving an overhang on two sides. This creates “handles” that allow you to easily lift the entire cooled and set batch of brownies out of the pan for perfect, clean slicing.
- Sharp, Warm Knife for Slicing: Once the brownies are completely chilled and the chocolate topping is firm, use a sharp knife for slicing. For extra clean cuts, run your knife under hot water, wipe it dry, and then make each slice. Repeat this warming and wiping process for every cut.
Storage and Freezing Instructions
While these decadent cookie dough brownies are notoriously delicious fresh out of the pan, they also store wonderfully, making them perfect for meal prep or a delightful treat anytime!
- Room Temperature: For optimal enjoyment of their soft and fudgy texture, store any leftover brownies in an airtight container at room temperature for up to 3-4 days. Ensure they are kept away from direct sunlight or heat.
- Refrigeration: If you prefer a firmer, chewier brownie or want to extend their shelf life, store them in an airtight container in the refrigerator for up to a week. The chocolate topping will be firmer, offering a satisfying snap. Allow them to sit at room temperature for 15-20 minutes before serving for a slightly softer texture, or enjoy them chilled!
- Freezing: These cookie dough brownies freeze exceptionally well! Once completely cooled and the chocolate layer is fully set, cut them into individual squares. Wrap each square tightly in plastic wrap, then place them in a freezer-safe bag or an airtight container. They can be frozen for up to 2-3 months without loss of quality. To thaw, simply place them at room temperature for an hour or two, or pop them in the refrigerator overnight. You can even enjoy them straight from the freezer for a surprisingly delicious frozen treat!
Variations and Customizations for Your Brownie Masterpiece
This cookie dough brownie recipe is a fantastic starting point, but don’t hesitate to unleash your creativity and customize it to match your preferences or the occasion! Here are some ideas to inspire your next batch:
- Alternate Chocolate Chips: While mini chocolate chips are fantastic in the cookie dough, feel free to experiment with milk chocolate chips, white chocolate chips, butterscotch chips, or even a mix for different flavor profiles.
- Nutty Additions: For an added crunch and earthy flavor, fold about ½ cup of chopped walnuts, pecans, or almonds into the brownie batter.
- Elevated Flavor Extracts: Beyond vanilla, try adding a few drops of almond extract to the cookie dough for a subtle nutty essence, or a hint of peppermint extract for a festive, holiday-themed treat. Coffee extract can also enhance the chocolate flavor.
- Caramel Swirl: For an extra layer of pure indulgence, drizzle a thin layer of soft, store-bought, or homemade caramel sauce over the cookie dough layer before adding the melted chocolate topping.
- Pretzel Crust: Create a delightful salty-sweet crunch by preparing a simple crushed pretzel crust at the bottom of your pan before adding the brownie batter. Combine 1 ½ cups crushed pretzels with ¼ cup melted butter and press into the pan.
- Holiday Sprinkles: Easily adapt these brownies for any holiday or special event by simply changing the color and style of the sprinkles used on top of the melted chocolate.
- Peanut Butter Swirl Topping: Melt 2-3 tablespoons of creamy peanut butter and swirl it into the still-wet chocolate topping with a skewer for an irresistible peanut butter and chocolate combination.
- Espresso Powder Boost: For an even deeper chocolate flavor in the brownies, add 1-2 teaspoons of instant espresso powder to the dry ingredients. It won’t make the brownies taste like coffee, but it will intensify the chocolate.
Frequently Asked Questions About Cookie Dough Brownies
- Is the cookie dough truly safe to eat raw?
- Yes, absolutely! This specific cookie dough recipe is designed to be edible. It omits raw eggs, which are the primary concern in traditional raw cookie dough. While the recipe doesn’t explicitly call for heat-treating the flour, which some edible cookie dough recipes do to eliminate potential bacteria, many home bakers successfully and safely use un-heat-treated flour in egg-free edible cookie doughs. If you are particularly concerned, you can heat-treat your flour by spreading it on a baking sheet and baking it at 300°F (150°C) for 5-7 minutes until it reaches 160°F (71°C), then let it cool completely before using.
- Can I use a different size baking pan?
- A 9×9-inch (23×23 cm) pan is highly recommended for achieving the ideal thickness and layer ratio described in this recipe. If you use a larger pan (e.g., 9×13-inch), your brownie and cookie dough layers will be thinner, and baking times will need to be reduced. A smaller pan will result in much thicker brownies, requiring longer baking times and potentially affecting the overall texture.
- How do I get perfectly clean slices?
- The secret to neat, clean slices is twofold: patience and a sharp, warm knife. Ensure the entire pan of brownies is completely cooled and, ideally, chilled in the refrigerator for at least an hour (or even overnight) before slicing. To cut, run a very sharp knife under hot water for about 10-15 seconds, wipe it completely dry, and then make a single, decisive cut. Repeat this warming and wiping process for each individual slice to prevent sticking and achieve those professional-looking edges.
- Why did my brownies turn out cakey instead of fudgy?
- Cakey brownies are typically the result of one of two things: overbaking or overmixing the batter. For that signature fudgy texture, it’s better to slightly underbake your brownies. Also, when combining wet and dry ingredients, mix only until just combined; overmixing develops the gluten in the flour, which leads to a lighter, more cake-like texture rather than a dense, fudgy one.
- Can I use milk chocolate for the top layer instead of dark chocolate?
- Yes, you certainly can! While dark chocolate offers a lovely contrast to the sweetness of the cookie dough, milk chocolate wafers or chips can be used if you prefer a sweeter, milder chocolate topping. Just be aware that milk chocolate can sometimes be a bit more sensitive to heat when melting, so melt it slowly and carefully to avoid seizing.
Recipe

Cookie Dough Brownies
Molly Murphy
Pin Recipe
Ingredients
For the Fudgy Brownies
- 1 ¼ cups unsalted butter
- 2 ½ cups light brown sugar
- 4 large eggs room temperature
- 1 ½ cups dark cocoa powder
- 1 teaspoon salt
- 1 Tablespoon pure vanilla extract
- ⅔ cup all-purpose flour
For the Edible Cookie Dough
- 1 cup all-purpose flour
- ¼ teaspoon salt
- ½ cup unsalted butter room temperature
- ½ cup granulated sugar
- ¼ cup brown sugar lightly packed
- 2 teaspoons pure vanilla extract
- ½ cup mini chocolate chips
- ¼ cup sprinkles (optional, for mixing into cookie dough)
For the Chocolate Topping
- ½ cup melted dark chocolate wafers or chips (cooled slightly)
- Extra sprinkles (optional, for garnish)
Instructions
For the Fudgy Brownie Base
-
Preheat your oven to 325°F (160°C). Prepare a 9″x9″ (23×23 cm) baking pan by lining it with parchment paper, allowing an overhang on two opposite sides. This creates “handles” for easy removal later. Lightly spray the parchment paper with cooking spray. Set aside.
-
In a medium-sized microwave-safe bowl (or in a saucepan over low heat), combine the unsalted butter and light brown sugar. Melt the butter and sugar in 30-second increments in the microwave, stirring well after each interval, until the butter is fully melted and the sugar is mostly dissolved. This usually takes about 1.5-2 minutes total.
-
Allow the melted butter-sugar mixture to cool slightly for about 5 minutes – it should still be warm but not hot enough to scramble the eggs. Whisk in the large eggs one at a time, whisking vigorously for about 30 seconds after each addition. Continue whisking for an additional 1-2 minutes after the last egg to incorporate air; this step is key for achieving that desirable shiny, crinkly top. The mixture should become lighter in color and visibly thicker and glossy.
-
Using a rubber spatula, gently fold in the dark cocoa powder, all-purpose flour, salt, and pure vanilla extract. Mix until the dry ingredients are just incorporated into the wet, taking care not to overmix the batter. Overmixing can lead to tougher, less fudgy brownies.
-
Pour the brownie batter into the prepared pan and spread it evenly with the spatula. Bake for roughly 45-50 minutes. To test for doneness, insert a toothpick into the center of the brownies; it should come out with moist crumbs attached, but not wet batter. Baking times can vary by oven, so start checking at 40 minutes.
-
Remove the brownies from the oven and let them cool completely in the pan on a wire rack. This is a crucial step for achieving that signature fudgy texture and ensuring easy assembly of the layers. Do not rush this step.
For the Edible Cookie Dough Filling
-
In the bowl of a stand mixer fitted with the paddle attachment (or using a hand mixer), combine the softened unsalted butter, granulated sugar, and lightly packed brown sugar. Beat on medium speed for 2-3 minutes until the mixture is light, fluffy, and well-creamed.
-
Add the pure vanilla extract and mix on low speed until thoroughly combined. Scrape down the sides of the bowl as needed.
-
Slowly add in the all-purpose flour and salt. Mix on low speed until the dry ingredients are just incorporated and a cohesive, soft cookie dough forms. Be careful not to overmix.
-
Using a rubber spatula, stir in the mini chocolate chips and optional sprinkles by hand until they are evenly distributed throughout the cookie dough.
Assembly of the Cookie Dough Brownies
-
After the brownies have cooled completely, gently spread the prepared edible cookie dough evenly over the top of the brownies while they are still in the pan. Use an offset spatula or the back of a spoon to create a smooth, even layer, making sure to reach all four corners.
-
Place the pan containing the layered brownies in the freezer for about 10-15 minutes, or in the refrigerator for 30 minutes. This chilling step is important to firm up the cookie dough layer, which will prevent it from melting when the chocolate topping is added.
-
While the brownies are chilling, melt your dark chocolate wafers or chips using a double boiler or microwave (in 30-second intervals, stirring between). Once melted and smooth, allow the chocolate to cool slightly for a few minutes; it should still be pourable but not hot to the touch. Pour the cooled melted chocolate evenly over the chilled cookie dough layer. If desired, immediately sprinkle with extra colorful sprinkles before the chocolate topping sets.
-
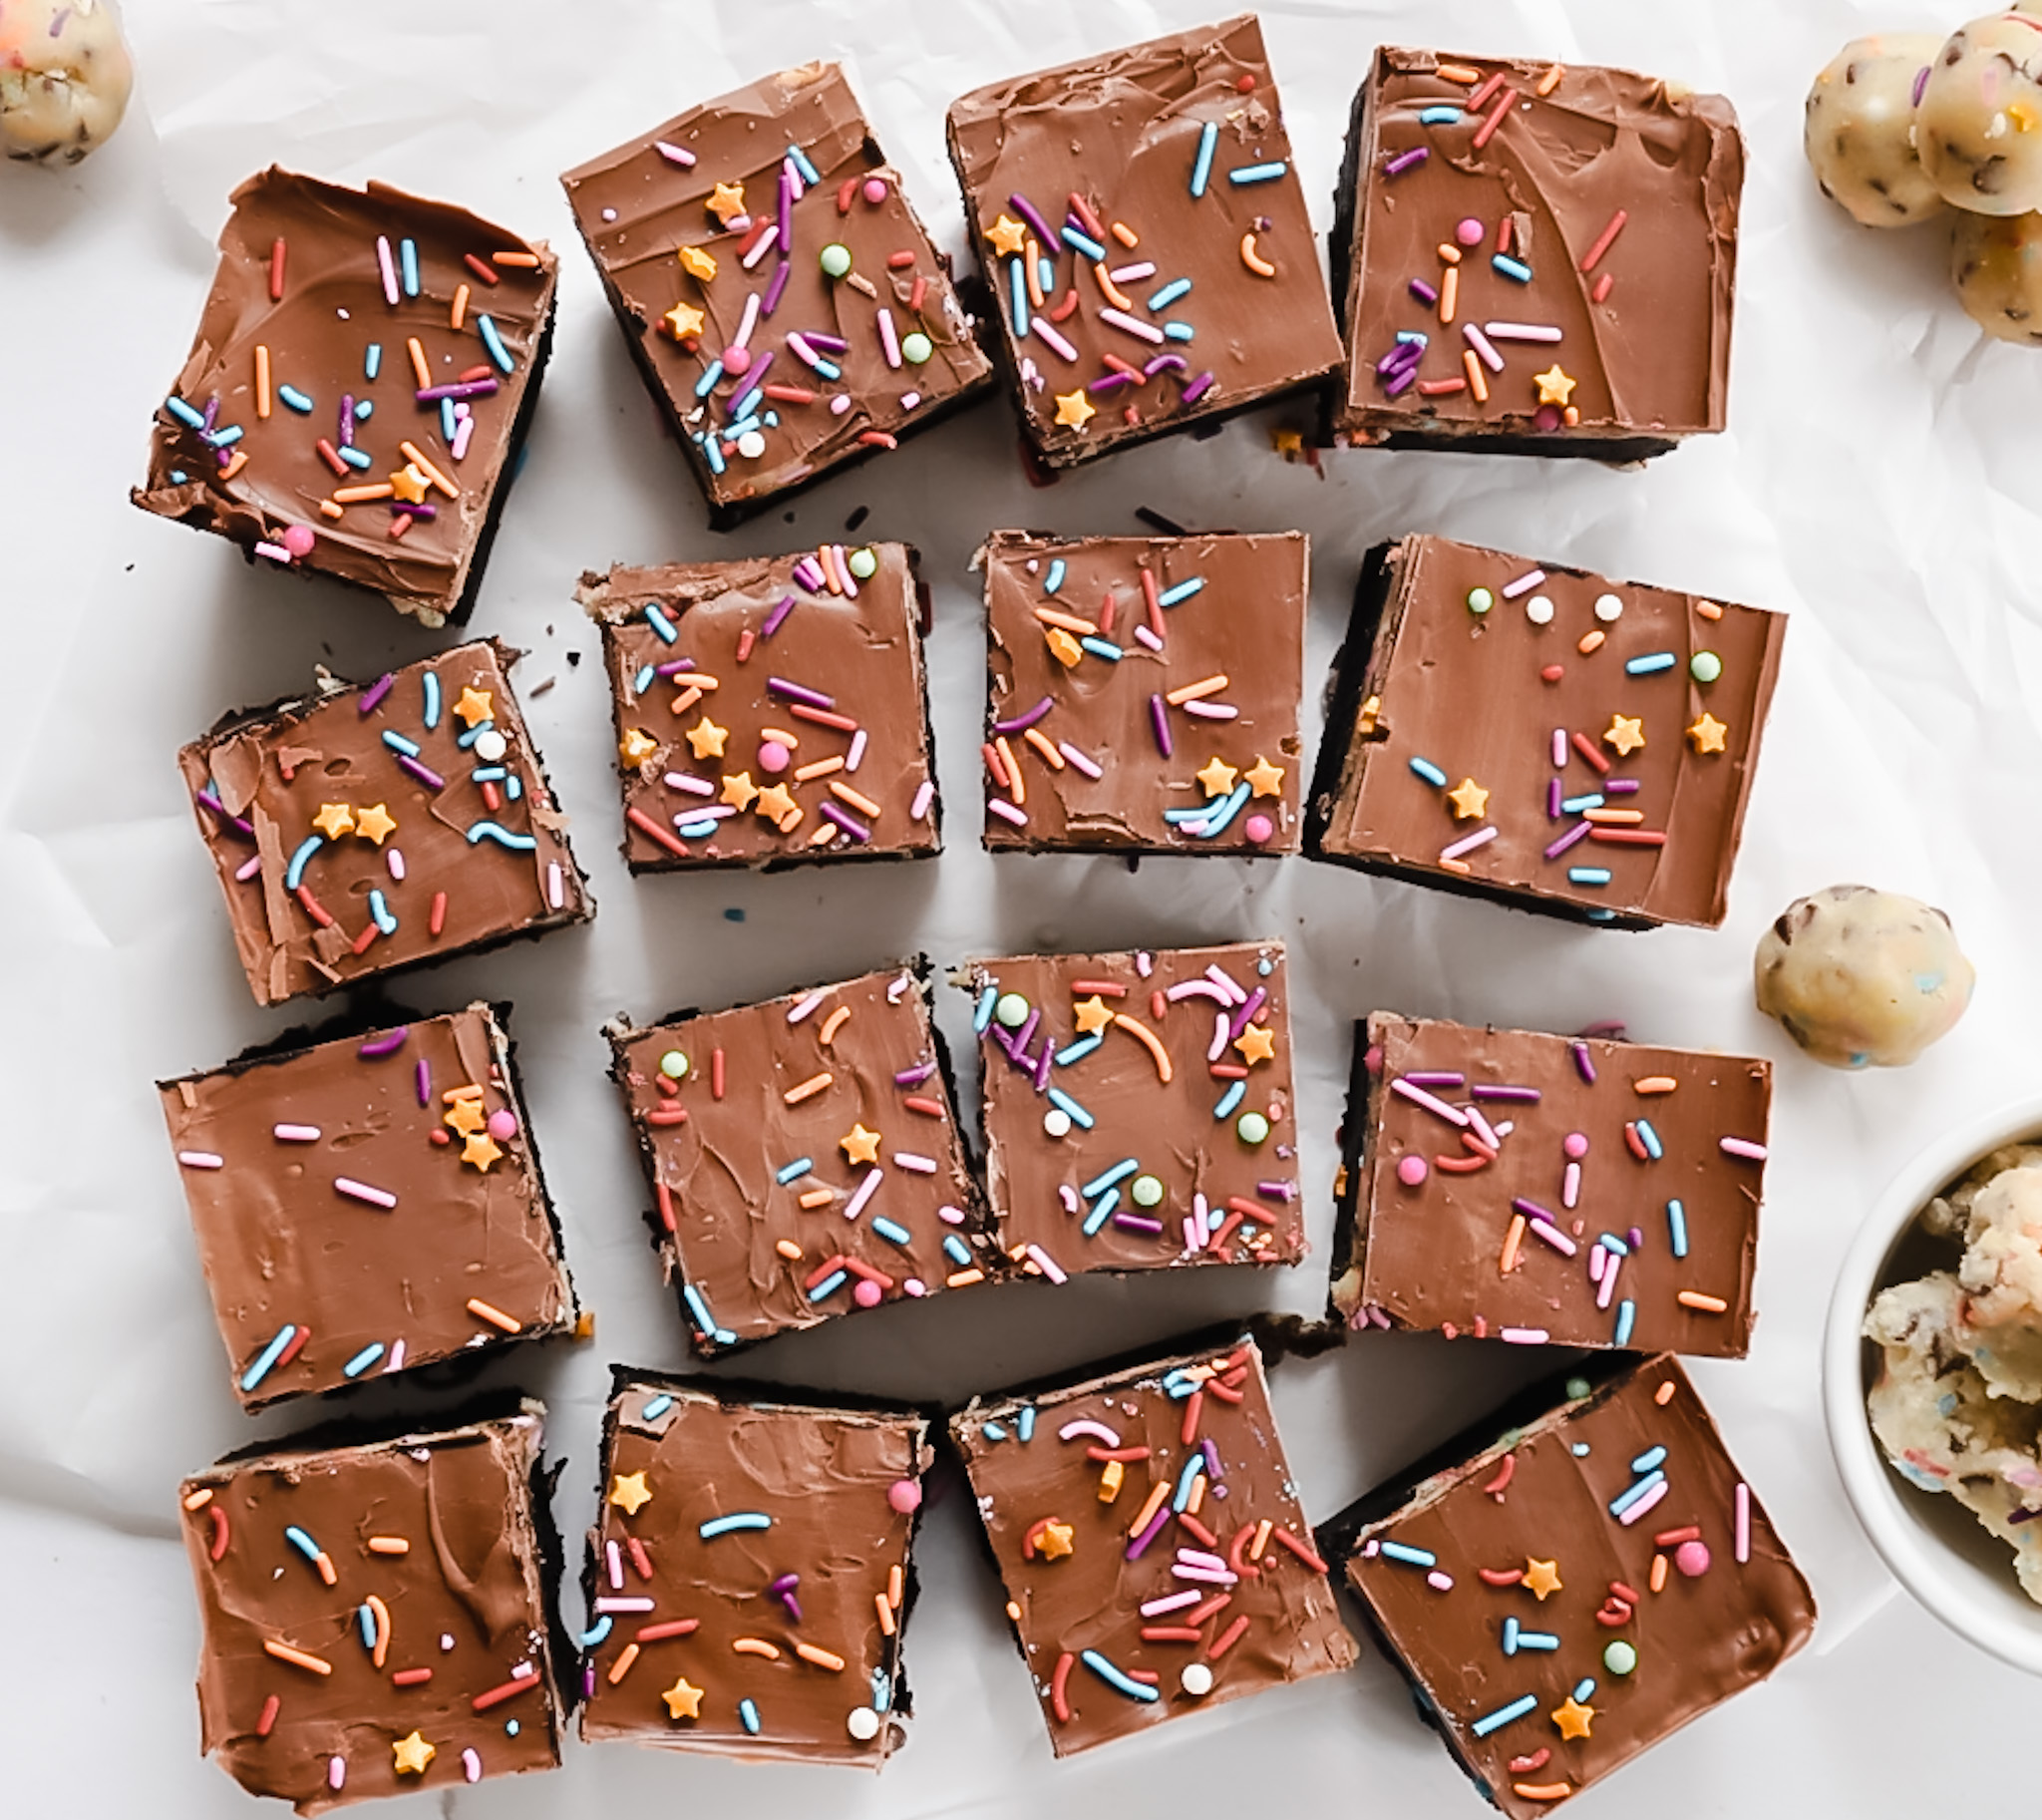
Allow the chocolate topping to set completely at room temperature (this may take a couple of hours) or in the refrigerator (about 30-60 minutes). Once the chocolate is firm, use the parchment paper overhang to carefully lift the entire slab of brownies out of the pan. Place on a cutting board, slice into squares with a sharp, warm knife (cleaning between cuts), and serve! Enjoy your ultimate cookie dough brownies!
