The Ultimate S’mores Cheesecake Recipe: A Decadent Dessert Masterpiece
S’mores Cheesecake – Experience the magic of campfire s’mores transformed into a luxurious, creamy chocolate cheesecake with a buttery graham cracker crust and topped with a homemade, perfectly toasted marshmallow fluff. This recipe brings together classic flavors in an unforgettable dessert!
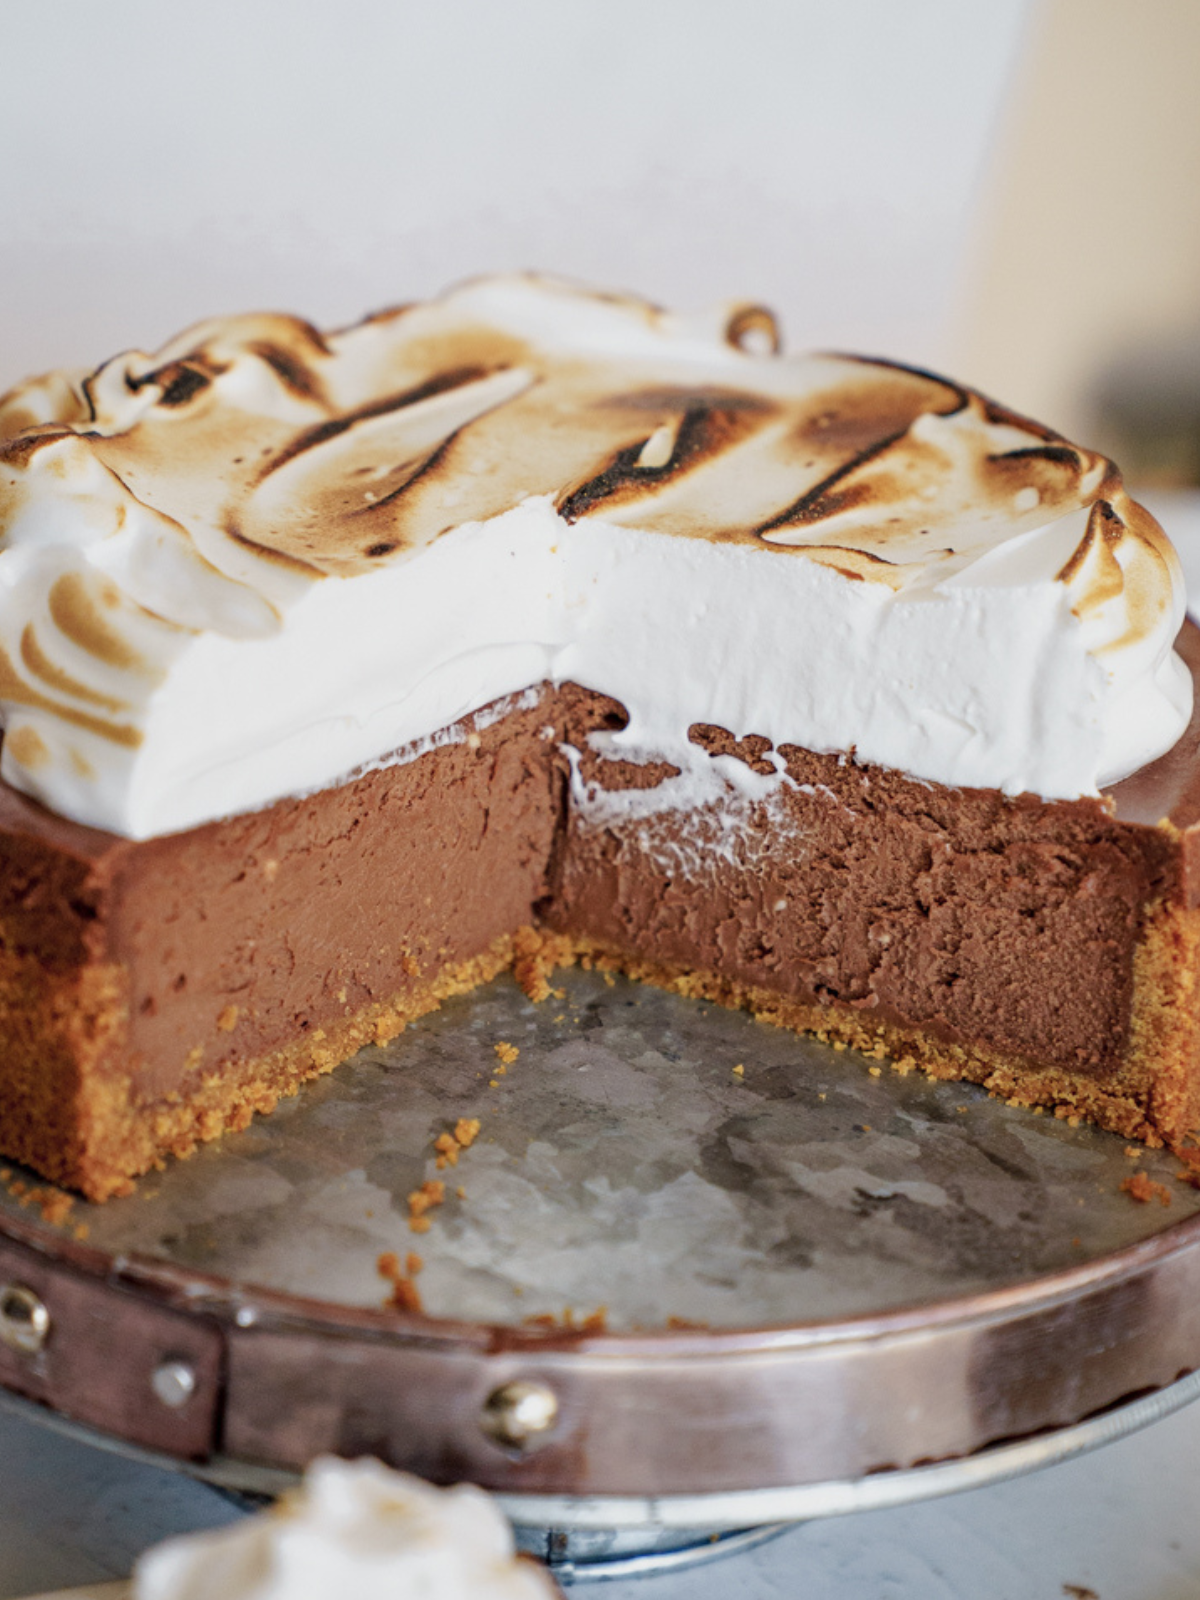
There’s something undeniably magical about s’mores – the crackle of graham crackers, the melt of chocolate, and the sweet, gooey embrace of toasted marshmallow. Now, imagine all those iconic flavors infused into the rich, velvety texture of a classic cheesecake. This S’mores Cheesecake recipe does exactly that, transforming a beloved campfire treat into an elegant, show-stopping dessert that’s perfect for any occasion. Whether you’re hosting a sophisticated dinner party or simply craving a taste of nostalgia, this recipe delivers an utterly irresistible experience. It features a perfectly baked, buttery graham cracker crust, a deeply satisfying chocolate cheesecake filling, and is crowned with a cloud of light, homemade marshmallow fluff, expertly toasted to golden perfection.
If you’re a true s’mores enthusiast, you might also enjoy some of my other s’mores-inspired creations:
- S’mores Blondies With Homemade Marshmallow Fluff
- Spring-Inspired S’mores Strawberry Cake
- Tasty Graham Cracker S’mores Cake
Why This S’mores Cheesecake Will Be Your New Favorite
This S’mores Cheesecake isn’t just another dessert; it’s an experience. Here’s why you’ll fall in love with this recipe:
- Classic Flavors, Elevated Twist: This recipe brilliantly merges the rustic charm of s’mores with the sophisticated allure of cheesecake. You get the familiar taste of toasted marshmallow, rich chocolate, and crumbly graham cracker, all reimagined in a luxurious, creamy form. It’s a nostalgic treat with a gourmet feel.
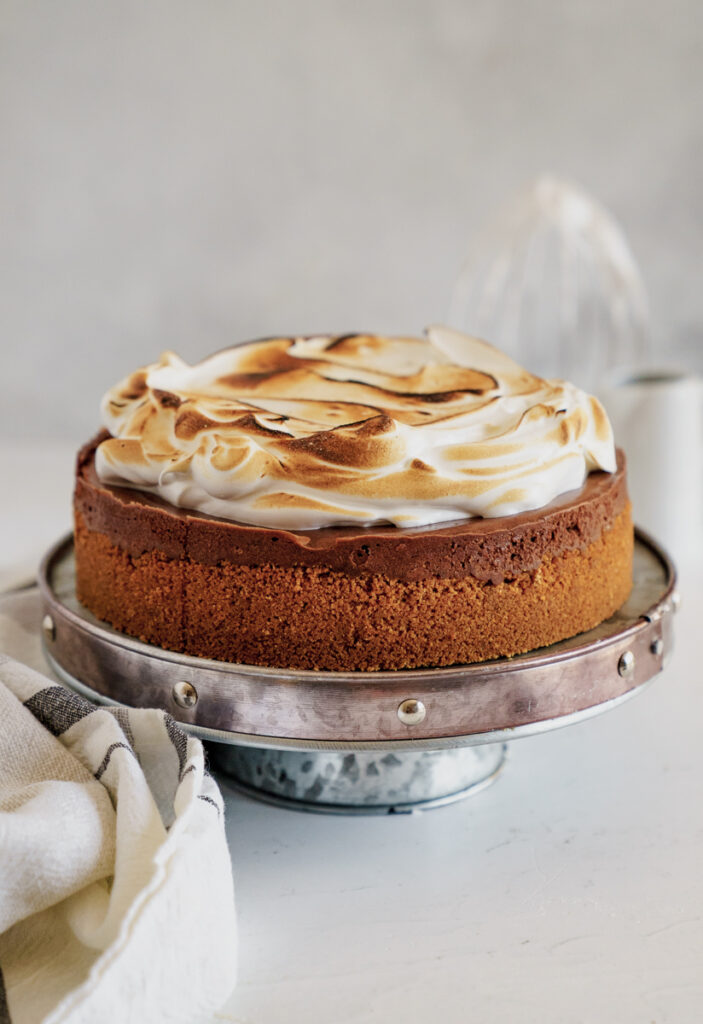
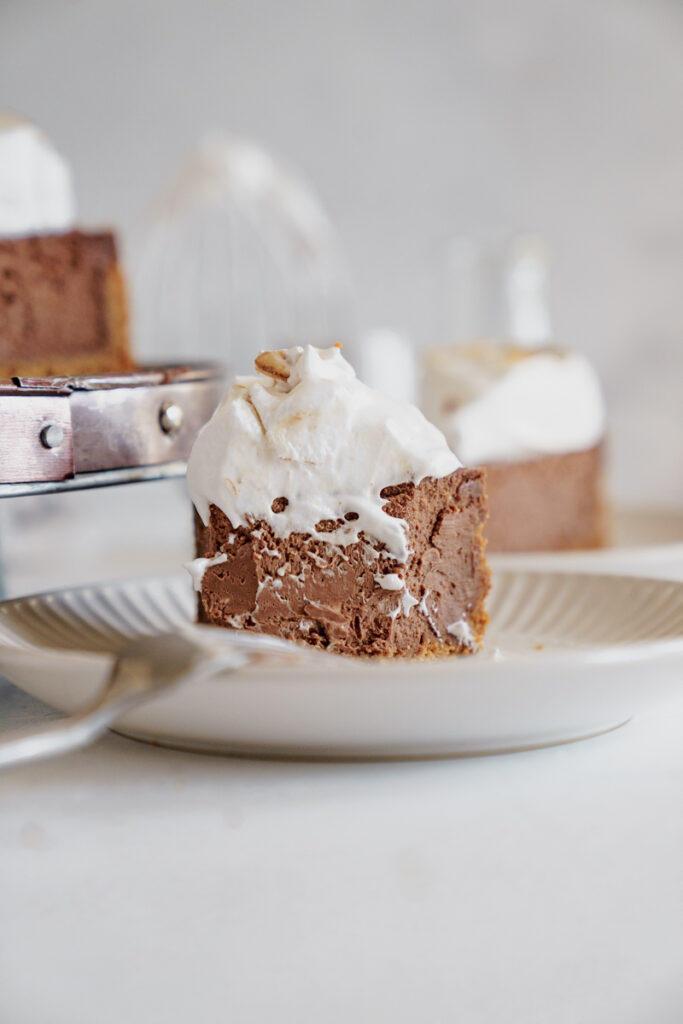
- A Showstopper for Any Gathering: Looking to impress your guests? This s’mores cheesecake is a guaranteed conversation starter and crowd-pleaser. Its striking appearance, from the perfectly toasted marshmallow peaks to the inviting chocolate layers, makes it an ideal centerpiece for birthdays, holidays, or any festive occasion. It’s perfect for sharing, ensuring everyone gets a slice of pure bliss.
- Accessible with Simple Ingredients: Despite its impressive presentation, this cheesecake relies on everyday pantry staples like graham crackers, cream cheese, and chocolate chips. The ingredients are easy to find, making this decadent dessert surprisingly achievable for home bakers of all skill levels.
- Homemade Marshmallow Fluff Perfection: While store-bought marshmallow fluff can be an option, this recipe includes instructions for a homemade version that is unbelievably light, airy, and fresh. This homemade touch elevates the entire dessert, giving it an authentic, gourmet s’mores flavor that’s hard to beat.
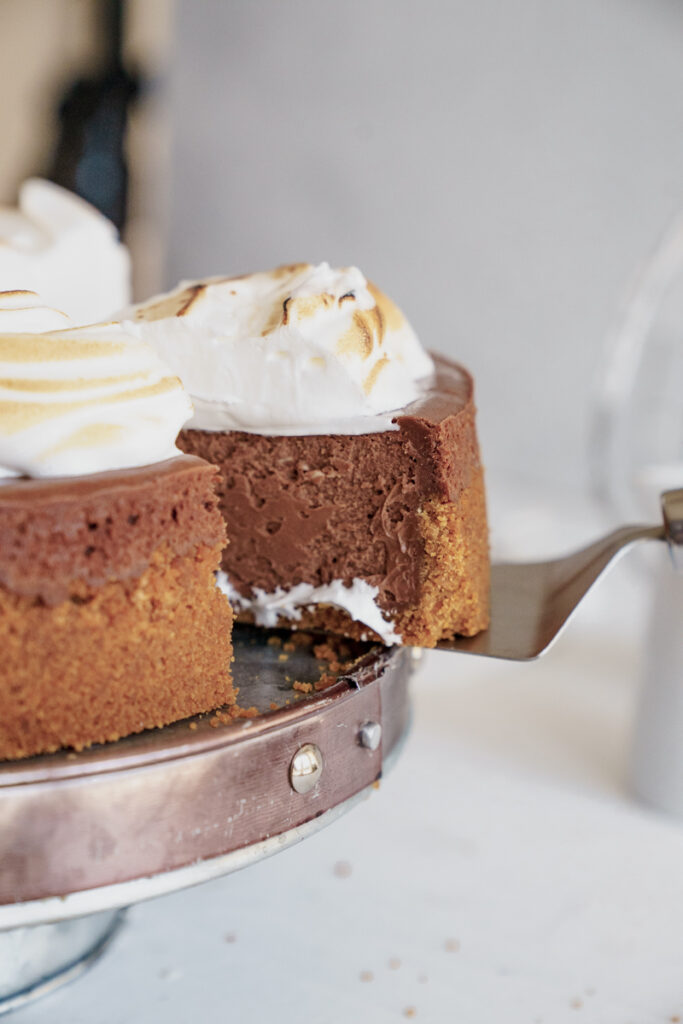
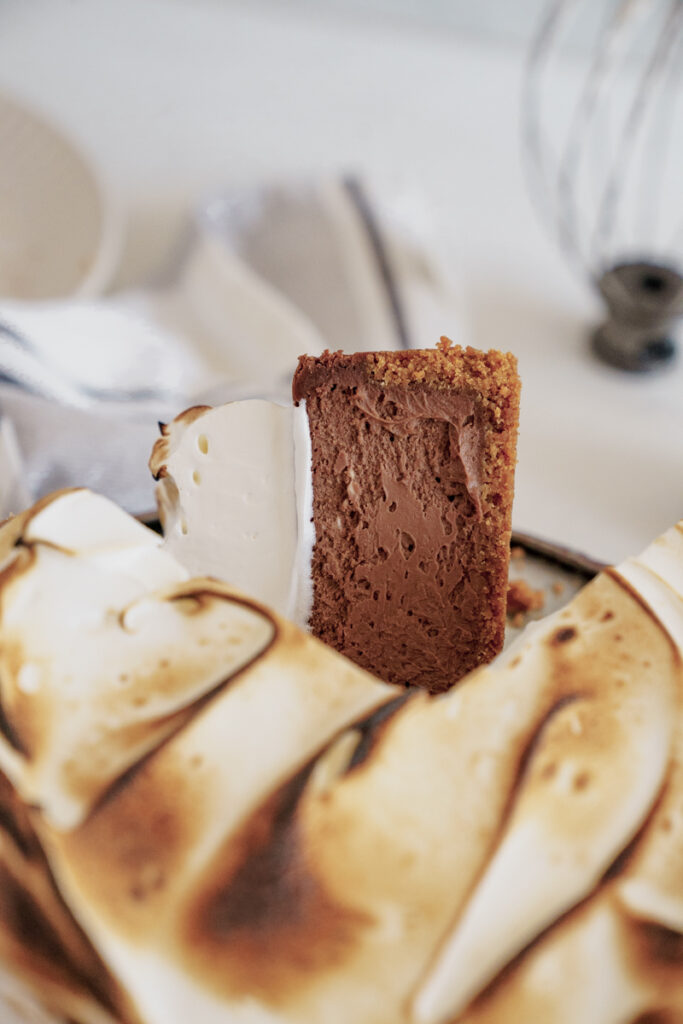
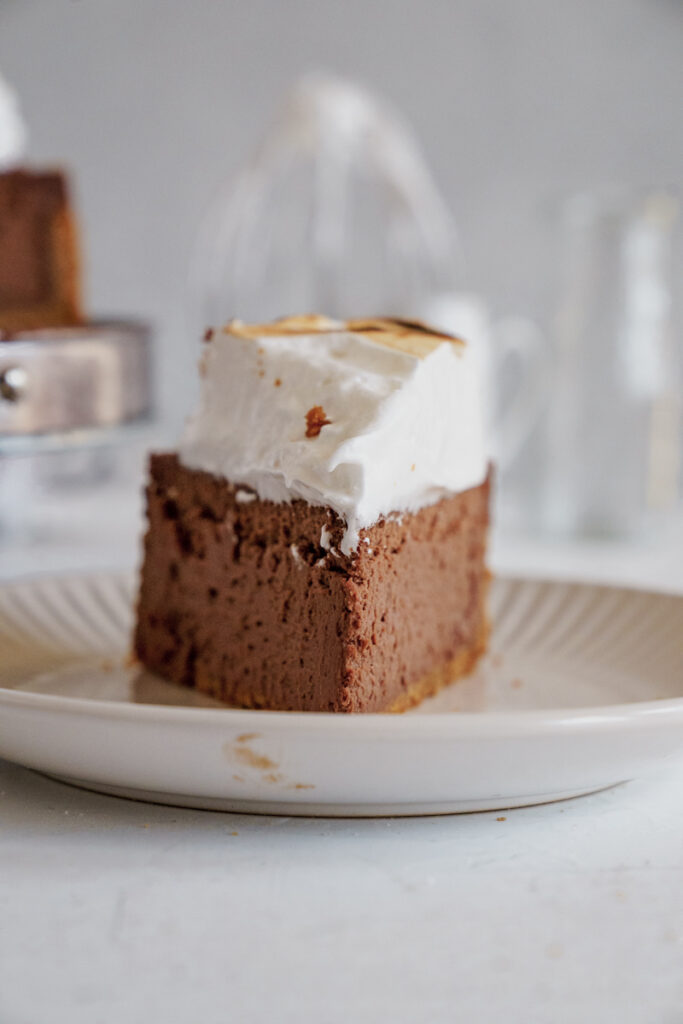
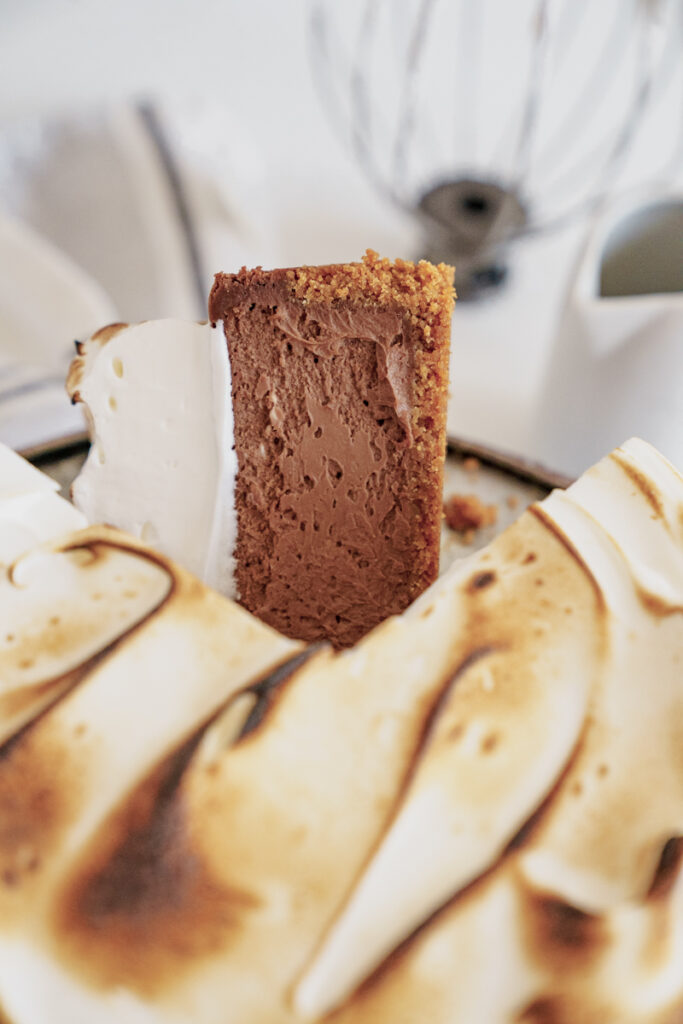
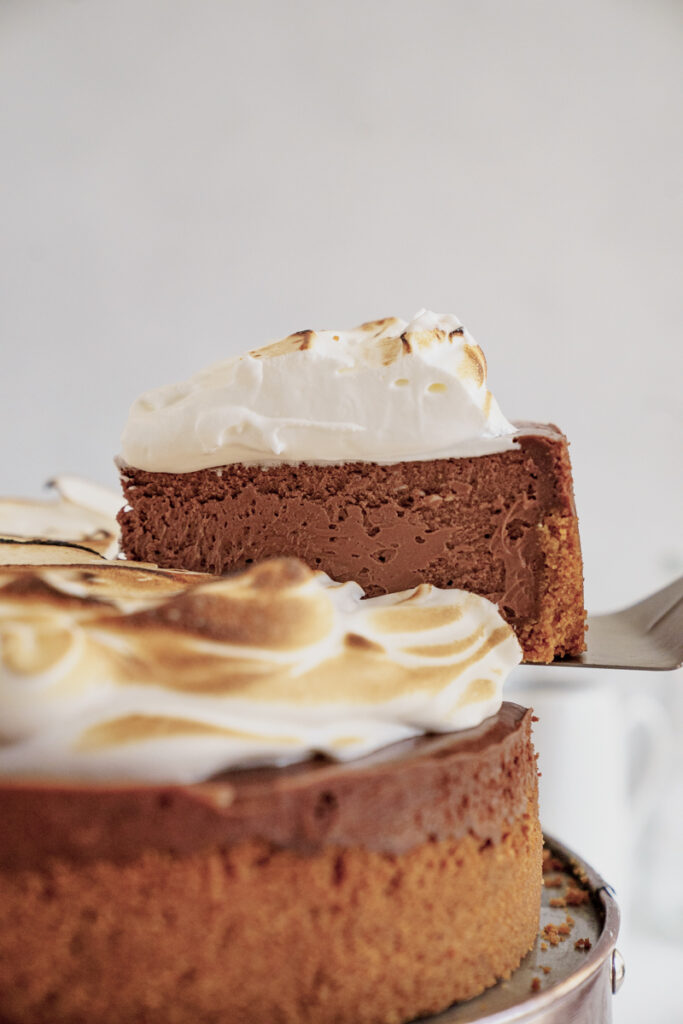
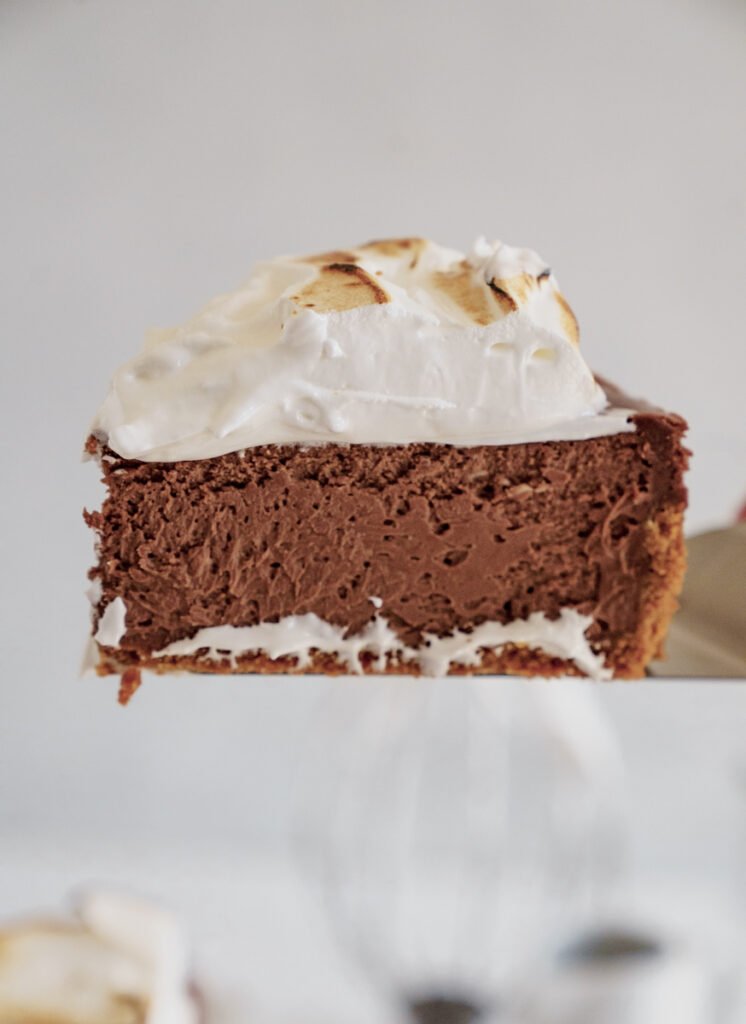
- The Perfect Balance of Textures: From the crunchy, buttery graham cracker crust, through the smooth, dense chocolate cheesecake filling, and finally to the soft, slightly chewy, and toasted marshmallow topping – every bite offers a delightful interplay of textures that keeps you coming back for more.
Essential Ingredients for Your S’mores Cheesecake
Crafting this incredible S’mores Cheesecake requires a selection of high-quality ingredients, each playing a crucial role in achieving the perfect flavor and texture. While this section lists some key components, remember to consult the detailed recipe card below for the complete list and precise measurements.
- Graham Cracker Crumbs: The foundation of our crust! Use fine crumbs for a solid, even base. You can buy them pre-crushed or crush whole graham crackers in a food processor.
- Unsalted Butter: Essential for binding the crust and adding richness. Using unsalted butter allows you to control the overall saltiness of the dessert.
- Heavy Cream: Used in both the chocolate ganache and potentially in the marshmallow fluff, it adds richness and creaminess.
- Dark Chocolate: The star of our chocolate cheesecake filling. Opt for a good quality dark chocolate (60-70% cocoa) for a deep, rich flavor that isn’t overly sweet. You can use chocolate chips or chopped baking chocolate.
- Full-Fat Cream Cheese: This is non-negotiable for a truly creamy and luxurious cheesecake. Ensure it’s at room temperature – this is critical for a smooth, lump-free batter. Pull it out of the fridge at least 2 hours before you start baking.
- Egg Whites: Crucial for the homemade marshmallow fluff, creating that light and airy texture. Room temperature egg whites whip up much faster and achieve greater volume, so plan ahead!
- Light Karo Syrup (Corn Syrup): A key ingredient for the marshmallow fluff, it helps prevent sugar crystallization and gives the fluff its characteristic elasticity and sheen.
- Vanilla Extract: A splash of pure vanilla extract enhances the flavors in both the cheesecake filling and the marshmallow fluff, adding warmth and depth.
- Granulated Sugar: Sweetens both the crust and the cheesecake filling, and forms the basis of the syrup for the marshmallow fluff.
- Large Eggs (whole and yolk): Contribute to the cheesecake’s structure and richness. Like the cream cheese, ensure they are at room temperature for optimal emulsification and a smoother batter.
- Cornstarch: A secret ingredient in the cheesecake filling that helps prevent cracks and ensures a perfectly set, yet creamy, texture.
- Salt: A pinch of salt in the crust and marshmallow fluff (and sometimes the filling) balances the sweetness and enhances all the other flavors.
Step-by-Step Guide: Crafting Your Graham Cracker Crust
A perfect cheesecake begins with a perfectly golden, buttery crust. Here’s how to create the ideal foundation for your S’mores Cheesecake. For a complete list of detailed instructions and measurements, please refer to the recipe card below.
- Preheat Your Oven and Prepare the Pan: Begin by preheating your oven to 325°F (160°C). This ensures the oven is at the correct temperature when the crust goes in, allowing for even baking. Take a 9-inch springform cake pan and generously spray it with cooking spray. An essential step for cheesecakes is to line the outside bottom of the pan with a double layer of heavy-duty aluminum foil. This clever trick prevents any water from the water bath from seeping into the crust, ensuring it stays crisp and buttery. Set the prepared pan aside.
- Combine the Crust Mixture: In a medium-sized mixing bowl, combine the fine graham cracker crumbs with the granulated sugar. Stir them together until they are well mixed.
- Incorporate the Melted Butter: Pour the melted unsalted butter into the graham cracker mixture. Mix thoroughly until all the crumbs are evenly moistened and resemble wet sand. This butter is what binds the crumbs together to form a sturdy crust.
- Form the Crust in the Pan: Transfer the buttery crumb mixture into the bottom of your prepared 9-inch springform pan. Using the bottom of a flat glass or a measuring cup, press the mixture firmly and evenly across the bottom of the pan. Continue pressing the mixture halfway up the sides of the pan. This creates a beautiful and functional border for your cheesecake filling.
- Bake the Crust to Golden Perfection: Place the springform pan with the crust into the preheated oven and bake for 14 minutes. Baking the crust briefly helps it set and become slightly crisp, preventing it from becoming soggy once the cheesecake filling is added. Once baked, remove the crust from the oven and let it cool completely while you prepare the rich cheesecake batter. Cooling is important to prevent the warm crust from melting the cheesecake filling upon contact.
Step-by-Step: Preparing the Silky Smooth Cheesecake Batter
Now for the star of the show – the rich, creamy chocolate cheesecake filling. Follow these steps carefully to achieve a perfectly smooth and decadent batter, ready for baking in a gentle water bath.
- Prepare the Water Bath: Keep your oven at 325°F (160°C). Find a larger baking pan, such as a roasting pan or a deep sheet pan, that can comfortably fit your springform pan. Pour hot water into this larger pan, filling it up to about halfway. This creates a gentle, moist environment in the oven, preventing cracks in your cheesecake. Set this aside.
- Melt the Chocolate into a Ganache: In a medium microwave-safe bowl, heat the heavy whipping cream until it’s hot and just begins to bubble (this usually takes about 1 minute in a microwave, but watch it closely). Immediately add your dark chocolate chips or chopped dark chocolate to the hot cream. Let it sit undisturbed for 2-3 minutes; the residual heat from the cream will melt the chocolate. Then, stir gently with a spatula until the mixture is completely smooth and glossy, forming a rich ganache. If there are still a few stubborn chocolate chunks, microwave for an additional 15-30 seconds and stir again until smooth. Allow this ganache to cool slightly.
- Beat the Cream Cheese: In a large mixing bowl, using either a handheld electric mixer or a stand mixer fitted with the paddle attachment, beat the room temperature full-fat cream cheese on medium speed. Continue beating for about 2 minutes, or until it’s incredibly smooth, light, and creamy with no lumps. Proper cream cheese consistency is vital for a silky cheesecake.
- Gradually Add Sugar and Eggs: With the mixer now on low speed, slowly add the granulated sugar to the cream cheese mixture. Continue beating until the sugar is fully incorporated and the mixture is smooth again. Next, add the large egg yolk and the two large whole eggs all at once. Mix on low speed just until they are incorporated into the batter. Immediately stop mixing. Using a rubber spatula, scrape down the sides and bottom of the bowl thoroughly to ensure everything is evenly combined. Overmixing at this stage can introduce too much air, which can lead to cracks.
- Fold in Remaining Ingredients: Gently fold in the slightly cooled melted chocolate/cream mixture, along with the salt, vanilla extract, and cornstarch, using your rubber spatula. Mix until just combined and smooth, making sure there are no streaks or lumps. Again, be very careful not to overmix; gentle folding is key to maintaining the cheesecake’s dense, creamy texture and preventing excess air bubbles.
- Pour and Even Out the Batter: Carefully pour the prepared cheesecake batter into your pre-baked and cooled graham cracker crust. Use a small offset spatula or the back of a spoon to gently spread the batter evenly across the crust, ensuring a flat top.
- Bake the Cheesecake in its Water Bath: Once your oven temperature is hot and ready, carefully place the springform pan (which is wrapped in foil) into the larger pan with hot water (the water bath). Transfer both pans to the preheated oven. Bake for 60-65 minutes. The cheesecake is done when the edges are set and slightly puffed, but the very center still has a slight jiggle when gently shaken. The top may also begin to show very light browning.
- Cool and Chill for Setting: After baking, turn off the oven but leave the cheesecake inside with the oven door propped open slightly for about 1 hour. This gradual cooling helps prevent cracks. Then, remove the cheesecake from the oven and the water bath, place it on a wire rack on the counter to cool completely for another hour. Finally, transfer the cooled cheesecake (still in the springform pan) to the refrigerator and chill for at least 4 hours, or preferably overnight. This crucial chilling time allows the cheesecake to fully set and for the flavors to deepen and meld.
Step-by-Step: Mastering the Homemade Marshmallow Fluff
The pièce de résistance of our S’mores Cheesecake is the light, airy, and beautifully toasted marshmallow fluff. While you can opt for store-bought, making it from scratch adds an unparalleled freshness and flavor. (Alternatively, you can use a 7-ounce jar of good quality marshmallow fluff if you’re short on time.)
- Whisk the Egg Whites to Frothy: In the clean, dry bowl of a stand mixer (or a large bowl if using a handheld mixer), add the room temperature egg whites and a pinch of salt. Begin whisking on the lowest speed until the egg whites become frothy. Keeping the speed low initially helps to stabilize the egg whites, creating a more robust meringue.
- Prepare the Hot Sugar Syrup: While the egg whites are gently whisking, combine the granulated sugar, light Karo syrup (corn syrup), water, and vanilla extract in a small saucepan. Place the saucepan over medium heat. Stir continuously until the sugar has completely dissolved and the mixture begins to bubble around the edges, typically taking about 3-5 minutes. You don’t need to reach a specific temperature, just ensure the sugar is fully dissolved.
- Slowly Combine Sugar Syrup with Egg Whites: Once the sugar syrup is ready, immediately increase the mixer speed to medium-high for the egg whites. Very slowly and carefully pour the hot sugar mixture down the inside rim of the mixing bowl. This slow pouring method is crucial for tempering the egg whites, gently cooking them without scrambling them, and incorporating the hot syrup evenly. This step should take about 2 minutes. Avoid pouring directly onto the whisk or beaters.
- Beat Until Stiff and Shiny: After all the hot sugar syrup has been added, increase the mixer to high speed. Continue beating for about 5 minutes. The mixture will transform into a glossy, very stiff, and fluffy marshmallow fluff that holds firm peaks. It should look bright white and have a beautiful sheen.
Assembly: The Final S’mores Touch
With your chilled cheesecake and homemade marshmallow fluff ready, it’s time to bring the S’mores magic to life!
- Spread the Fluff: Once the cheesecake is thoroughly chilled and firm, gently spread the prepared marshmallow fluff evenly over the top surface. You can create decorative swirls or peaks using a spatula for a more appealing look.
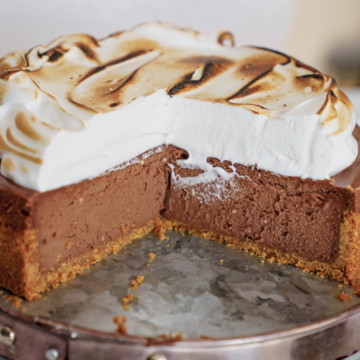
- Toast the Marshmallow: This is where the “s’mores” truly comes to life! Using a kitchen torch, carefully and continuously toast the surface of the marshmallow fluff until it achieves a beautiful, golden-brown hue in spots, mimicking perfectly roasted marshmallows. Keep the torch moving to avoid burning any single area. Serve immediately or chill briefly before serving.
Expert Tips and Tricks for the Perfect S’mores Cheesecake
Achieving a flawless S’mores Cheesecake is easier than you think with these professional tips and tricks:
- Room Temperature Ingredients are Non-Negotiable: This is perhaps the most crucial tip for any cheesecake. Ensure your cream cheese, eggs (whole and yolk), and egg whites (for the fluff) are all at room temperature. Cold ingredients don’t emulsify properly, leading to a lumpy batter and a less smooth, creamy final texture. Take them out of the refrigerator at least 1-2 hours before you plan to start baking.
- Master the Water Bath Technique: A water bath (bain-marie) is your best friend when baking cheesecake. It provides a gentle, even heat, which cooks the cheesecake slowly and prevents the edges from drying out and cracking. The steam from the hot water also creates a moist environment, contributing to that signature silky texture and preventing those dreaded surface cracks.
- Slow and Steady Wins the Race (Pouring Syrup): When adding the hot sugar syrup to your whisking egg whites for the marshmallow fluff, pour it in a very thin, steady stream down the side of the mixing bowl. This process, known as tempering, slowly raises the temperature of the egg whites without scrambling them, ensuring a smooth, stable meringue. Patience here prevents a clumpy or grainy fluff.
- Avoid Overmixing the Cheesecake Batter: Mix your cream cheese and sugar until just combined and smooth. Once you add the eggs and other wet ingredients, mix only until they are incorporated. Overmixing introduces too much air into the batter, which can cause the cheesecake to puff up too much during baking and then collapse, leading to unsightly cracks.
- Water Bath Protection Tips: To prevent water from seeping into your graham cracker crust (which can make it soggy), double-wrap the outside of your springform pan with heavy-duty aluminum foil. Ensure the foil goes up the sides of the pan well past the water level in your larger roasting pan. Use a pan large enough for the water bath so the springform pan doesn’t touch the sides, allowing for even heat distribution.
- Gradual Cooling is Key to Crack Prevention: Once the cheesecake is baked, do not remove it from the oven immediately. Turn off the oven, crack the door open (you can use a wooden spoon to prop it), and let the cheesecake cool gradually inside the oven for at least an hour. This slow cooling process prevents a sudden temperature change that can cause the cheesecake to contract too quickly and crack. After that, cool on the counter before chilling.
- Prioritize Chilling Time: This cheesecake is not meant for instant gratification! Refrigerate the cheesecake for a minimum of 4 hours, but ideally overnight. This extended chilling time allows the cheesecake to fully set, firm up, and allows all the wonderful flavors to meld together, resulting in the best possible texture and taste.
- Expert Marshmallow Toasting: When using a kitchen torch to toast the marshmallow fluff, keep the flame moving constantly and evenly across the surface. This technique prevents burning one spot while leaving others un-toasted. Aim for a beautiful, varied golden-brown color, reminiscent of a perfectly roasted campfire marshmallow.
- For Best Results, Make the Fluff Last: While the cheesecake can be made a day in advance, the marshmallow fluff is best made and toasted just before serving for optimal freshness, texture, and visual appeal.
Recommended Tools for Baking Success
Having the right equipment can make all the difference in your S’mores Cheesecake baking experience:
- 9-inch Springform Pan: Essential for cheesecakes, as the removable sides make it easy to release the finished dessert without damage.
- Stand Mixer or Handheld Electric Mixer: Crucial for beating the cream cheese to a smooth consistency and for whipping the egg whites into a fluffy marshmallow.
- Small Saucepan: For preparing the sugar syrup for the homemade marshmallow fluff.
- Kitchen Torch: Absolutely necessary for achieving that signature toasted marshmallow topping.
- Food Processor: Ideal for quickly and efficiently grinding graham crackers into fine crumbs for the crust.
- Rubber Spatula: Indispensable for scraping down the sides of the bowl and gently folding ingredients, minimizing overmixing.
- Large Roasting Pan: Used for creating the water bath, ensuring even baking for your cheesecake.
FAQs – Your S’mores Cheesecake Questions Answered
Here are some common questions about making and enjoying your S’mores Cheesecake:
Q: Can I make this cheesecake ahead of time?
A: Absolutely! The cheesecake itself can be baked and chilled a day or even two in advance. For the best presentation and texture, I recommend adding the marshmallow fluff and toasting it just before you plan to serve. This ensures the fluff is fresh, light, and perfectly browned.
Q: Can I use milk chocolate instead of dark chocolate?
A: Yes, definitely! While dark chocolate provides a deep, rich contrast to the sweet marshmallow, feel free to use your favorite type of chocolate. Milk chocolate will result in a sweeter, milder chocolate flavor, which many people love. You could even use a mix of milk and dark chocolate for a balanced profile.
Q: How do I store leftover S’mores Cheesecake?
A: To keep your cheesecake fresh, place any leftovers in an airtight container and store it in the refrigerator for up to 3 days. If the marshmallow fluff has been toasted, it might lose some of its crispness, but the flavor will still be delicious.
Q: Can I freeze this S’mores Cheesecake?
A: Yes, freezing is a great option for longer storage! To freeze, wrap the baked and chilled cheesecake (without the marshmallow fluff) tightly in several layers of plastic wrap, then an additional layer of aluminum foil. Freeze for up to 1 month. When you’re ready to enjoy it, thaw the cheesecake in the refrigerator overnight. Once thawed, you can prepare the marshmallow fluff and toast it just before serving.
Q: How can I prevent my cheesecake from cracking?
A: Preventing cracks is a common cheesecake challenge! Follow these key steps for success: ensure all ingredients are at room temperature, use a water bath during baking, avoid overmixing the batter, and allow the cheesecake to cool gradually in the oven before transferring to the counter and then the refrigerator. These steps are outlined in detail in our “Tips and Tricks” section above.
Q: Can I use store-bought marshmallow fluff?
A: Yes, you certainly can! While homemade fluff offers a superior taste and texture, a 7-ounce jar of good quality store-bought marshmallow fluff can be used as a convenient alternative. Simply spread it over the chilled cheesecake and toast as directed.
Storing and Freezing Your S’mores Cheesecake
Proper storage is essential to maintain the freshness and quality of your homemade S’mores Cheesecake. For any leftovers, place them in an airtight container or cover tightly with plastic wrap and refrigerate for up to 3 days. The marshmallow fluff, especially after being toasted, is best when fresh, but it will still be enjoyable if stored. If you need to store the cheesecake for a longer period, it freezes beautifully. To freeze, ensure the cheesecake is fully baked and chilled, then remove it from the springform pan. Wrap the cheesecake (without the marshmallow fluff, as it doesn’t freeze well) tightly in at least two layers of plastic wrap, followed by a layer of heavy-duty aluminum foil to prevent freezer burn. It can be frozen for up to 1 month. When you’re ready to serve, thaw the frozen cheesecake in the refrigerator overnight. Once thawed, you can then prepare the marshmallow fluff, spread it on top, and toast it for that perfect s’mores finish.
I truly hope you enjoy this S’mores Cheesecake as much as I do! It’s the perfect blend of nostalgic campfire fun and modern-day dessert deliciousness, guaranteed to bring smiles to every face. Happy baking!
More Delicious Cheesecake Recipes
- Easy Birthday Cheesecake Cake Recipe
- Copycat Cookie Dough Cheesecake Factory Recipe
- Easy Creamy Crème Brûlée Cheesecake Recipe
- Best Cinnamon Roll Cheesecake Recipe
You might also love these chocolate delights:
- Easy Chocolate Cake With Cream Cheese Frosting
- Chocolate Salted Caramel Cookie With Frosting
- Easy Chocolate Peanut Butter Sheet Cake Recipe
Don’t forget to leave a 5-star review and a comment if you loved the recipe or have any questions! Your feedback means a lot to me and helps other bakers. Also, don’t forget to follow me on Instagram, Pinterest, and TikTok for more fun content and baking inspiration. I can’t wait to connect with you there!
Recipe Card
S’mores Cheesecake
Molly Murphy
Pin Recipe
Ingredients
For the Graham Cracker Crust:
- 2 ½ cups graham cracker crumbs fine crumb
- ¼ cup granulated sugar
- 10 tablespoons unsalted butter melted
For the Cheesecake Filling:
- ⅓ cup heavy whipping cream
- 10 ounces dark chocolate melted and cooled
- 32 ounces full-fat cream cheese 4 blocks, room temperature
- ¾ cup granulated sugar
- 1 large egg yolk room temperature
- 2 large whole eggs room temperature
- 2 tablespoons cornstarch
For the Marshmallow Fluff:
- Note: You can use a 7-ounce jar of marshmallow fluff if you prefer not to make your own.
- 2 egg whites room temperature
- Pinch of salt
- 3 tablespoons granulated sugar
- ½ cup light Karo syrup
- 2 tablespoons water
- 1 teaspoon vanilla extract
Instructions
For the Graham Cracker Crust:
-
Preheat your oven to 325°F. Spray a 9-inch springform cake pan with cooking spray, and line the outside bottom with tin foil to prevent water from getting into the bottom of the pan. Set aside.
-
In a medium bowl, combine the graham cracker crumbs and granulated sugar.
-
Add the melted unsalted butter to the crumb mixture and mix until combined.
-
Press the mixture into the bottom of the 9-inch springform pan, creating an even layer and going halfway up the sides.
-
Bake the crust in the preheated oven for 14 minutes. Remove from the oven and let it cool while you prepare the cheesecake batter.
For the Cheesecake Batter:
-
Keep your oven at 325°F. Pour water into a sheet pan or roasting pan, filling up only a little less than halfway. Set aside.
-
In a medium microwave-safe bowl, heat the cream until hot and bubbly (about 1 minute). Add the chocolate chips. Let it sit for 2-3 minutes, then stir. If there are still chunks of chocolate, microwave for an additional 30 seconds.
-
In a large mixing bowl, using a handheld electric mixer or in a stand mixer fitted with the paddle attachment, beat the room temperature cream cheese on medium speed until smooth and creamy (about 2 minutes).
-
While the mixer is on low, gradually add the granulated sugar to the cream cheese, continuing to beat until the mixture is well combined and smooth.
-
With the mixer on low speed, add the egg yolk and whole eggs all at once and mix until incorporated. Scrape down the sides and bottom of the bowl with a rubber spatula.
-
Gently fold in the melted chocolate/cream mixture, salt, vanilla extract, and cornstarch with a rubber spatula until smooth, making sure there are no lumps. Be careful not to overmix to avoid introducing excess air bubbles.
-
Pour the cheesecake batter into the prepared crust and spread it evenly with a small offset spatula or the back of a spoon.
-
Place the springform pan into the water bath and bake for 60-65 minutes, or until the middle of the cheesecake has a slight jiggle and the top begins to slightly brown.
-
Let the cheesecake cool on the counter for an hour, then refrigerate for at least 4 hours to set up.
For the Marshmallow Fluff:
-
In the bowl of a stand mixer, whisk the egg whites and salt until frothy. Keep the mixer on the lowest speed to stabilize the mixture.
-
While the egg whites are whipping, combine the sugar, corn syrup, water, and vanilla in a small saucepan over medium heat. Heat until the sugar has dissolved (about 3-5 minutes).
-
Once the sugar has melted, increase the mixer speed to medium-high, and slowly pour the hot sugar mixture down the inside rim of the mixing bowl. Pour very slowly to temper the eggs without scrambling them (about 2 minutes).
-
After all the sugar has been added, turn the mixer to high speed and beat for about 5 minutes, or until the mixture is very stiff and shiny.
Assembly:
-
Gently spread the marshmallow fluff on top of the chilled cheesecake.
-
Using a kitchen torch, carefully toast the top of the marshmallow fluff until lightly browned.
